Funnel Runners Guide
Featured
How to Repair the Van in Funnel Runners
Diagnose the Van, prepare the right tools, replace the Battery and Tires, install Fuses, fill every fluid, and confirm the escape.
Read Guide →Game Guide Hub
Start here for Van repairs, Oil and part locations, solo routes, tornado survival, weather gear, and the decisions needed to escape.
Recommended Order
Use these guides to find the right Funnel Runners walkthrough, solution or next step.
Guide
Diagnose the Van, prepare the right tools, replace the Battery and Tires, install Fuses, fill every fluid, and confirm the escape.
Guide
Use the Van diagnostic, search the right landmarks, follow Radar markers, and get required parts installed before the storm destroys the route.
Guide
Complete a solo run with a full-map search route, strict inventory priorities, practical Vitastation purchases, and clear return decisions.
Guide
Read Doppler reports, recognize F1–EF5 threats, survive tornado pull, use weather gear correctly, and leave before the route collapses.
Guide Cluster
Diagnose the Van, prepare the right tools, replace the Battery and Tires, install Fuses, fill every fluid, and confirm the escape.
Read Guide →Use the Van diagnostic, search the right landmarks, follow Radar markers, and get required parts installed before the storm destroys the route.
Read Guide →Complete a solo run with a full-map search route, strict inventory priorities, practical Vitastation purchases, and clear return decisions.
Read Guide →Read Doppler reports, recognize F1–EF5 threats, survive tornado pull, use weather gear correctly, and leave before the route collapses.
Read Guide →Start with the Van Repair Guide when you do not know how to clear the diagnostic or install a returned part. Use the Repair Parts Locations Guide when Oil, Fuel, Coolant, a Battery, Tire, Fuses, Toolbox, or Scissor Jack is missing. Read the Solo Guide for a first solo escape, limited inventory, and Vitastation decisions. Use the Tornado and Weather Survival Guide when funnels, Acid Rain, Hail, Lightning, fire, or damaged roads are stopping the return.
| Guide | Best search question | Use it when | What it solves |
|---|---|---|---|
| Van Repair Guide | “How do I repair the Van?” | A part has reached the Van, but the task remains active | Diagnostic bars, repair tools, Battery, Tires, Fuses, fluids, minigames, Leave City |
| Repair Parts Locations Guide | “Where do I find Oil or repair parts?” | The diagnostic identifies the missing item, but the first search produced nothing useful | Garages, gas stations, junkyards, truck beds, houses, Pocket Radar searches |
| Solo Guide | “Can I beat Funnel Runners alone?” | One player must handle the full map, inventory, repairs, purchases, and return trips | First-run mode, short search loops, loadouts, Vitastation, optional objectives, restart rules |
| Tornado & Weather Survival Guide | “How do I survive the weather?” | The original route is being changed by funnels, rain, Lightning, fire, or destruction | Doppler reports, F1–EF5 threats, tornado pull, shelter, Umbrellas, Conductors, damaged roads |
Funnel Runners is a tornado-survival extraction game for solo players and co-op teams of up to eight.
Each mission begins with a broken Van. I have to identify the active faults, search the town for the required parts and tools, complete the repairs, and escape before worsening weather removes the route.
The objective stays consistent, but the mission does not.
Runs can change through:
Because of that randomization, this cluster does not promise that one specific garage always contains Motor Oil or that one street is always safe. Each guide focuses on a repeatable decision:
What does the Van need, where should I look next, and is the return still worth attempting?
For a first run, I use five steps.
Turn the key and read every active repair task.
Do not build the search around whatever loose item happens to be closest. The diagnostic decides whether the mission needs a Battery, Tire, Fuses, Fuel, Motor Oil, Coolant, or several of them together.
Use the Van Repair Guide when the task bars, tools, or installation sequence are unclear.
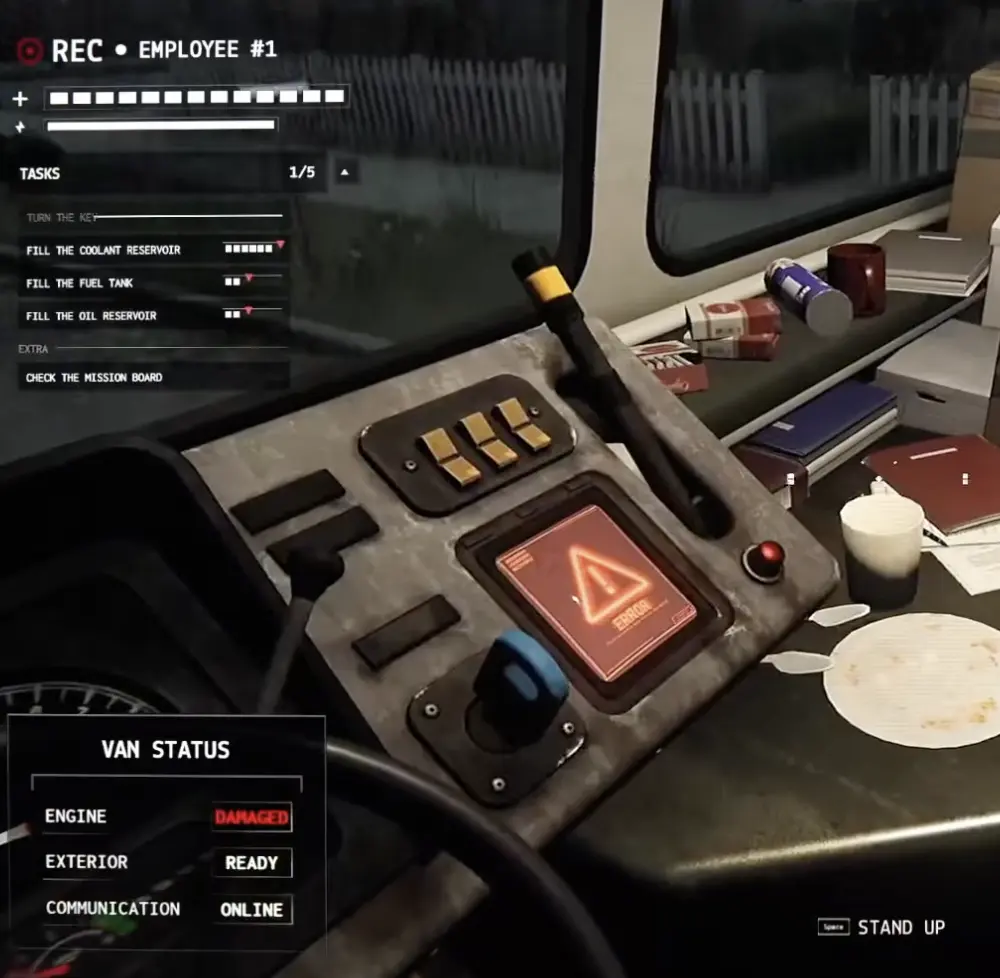
Check the equipment already available at the Van and prepare the repair area when possible.
The detailed Battery, Tire, Fuse, and fluid interactions belong in the repair guide. At Hub level, the important point is simpler:
A replacement part is more useful when the correct repair point and required tool are ready for it.
Start with the nearest useful landmark rather than clearing every open house.
The Repair Parts Locations Guide ranks the locations worth checking for each missing item and explains how the Pocket Radar can narrow searches without pretending that any spawn is guaranteed.
Bring required items back while the route is still usable.
Finding a part, delivering it, installing it, and clearing the diagnostic are separate states. The team should not stop searching until the Van confirms that the requirement is gone.
Solo players can use the Solo Guide to decide how long each trip should be and when an optional room is no longer worth opening.
When every diagnostic entry clears, return to the driver’s seat and use Leave City.
Do not reopen the map for one more Token, collectible, or unknown route after the escape prompt becomes available.
The two Radar systems solve different problems.
The Pocket Radar travels with the player.
It helps narrow searches for nearby items. A useful marker can point toward another room, floor, attached garage, yard, or object hidden behind equipment.
The Repair Parts Locations Guide explains how to use the marker without confusing it with the white outline around the physical pickup.
The Doppler Radar is tied to the Weather Report inside the Van.
It helps track the larger storm and its distance trend. It does not reveal every smaller funnel forming beside the current route, so I still use wind, debris, sirens, building damage, and team callouts before crossing another street.
The Tornado and Weather Survival Guide covers the Doppler report, F1–F4 threats, the final EF5, and the point where a planned route is no longer safe.
Solo and co-op use the same core loop, but they fail in different ways.
Smaller parties receive fewer Van problems and relatively more item spawns, but the map remains full-sized.
One player must still search, carry parts, manage equipment, complete repairs, read the weather, and return without anyone covering another route.
The Solo Guide focuses on:
A team can divide landmarks and carry several repairs at once, but duplicated searches quickly waste that advantage.
The most useful distinction is whether an item is:
“Oil found” should not stop the entire team from searching. “Oil cleared” should.
The repair and location guides provide the shared language needed to keep those handoffs accurate.
A location can be the correct search priority and still become the wrong destination during the current storm.
Weather can:
That is why the location guide answers:
Where should I look?
while the weather guide answers:
Is that route still usable?
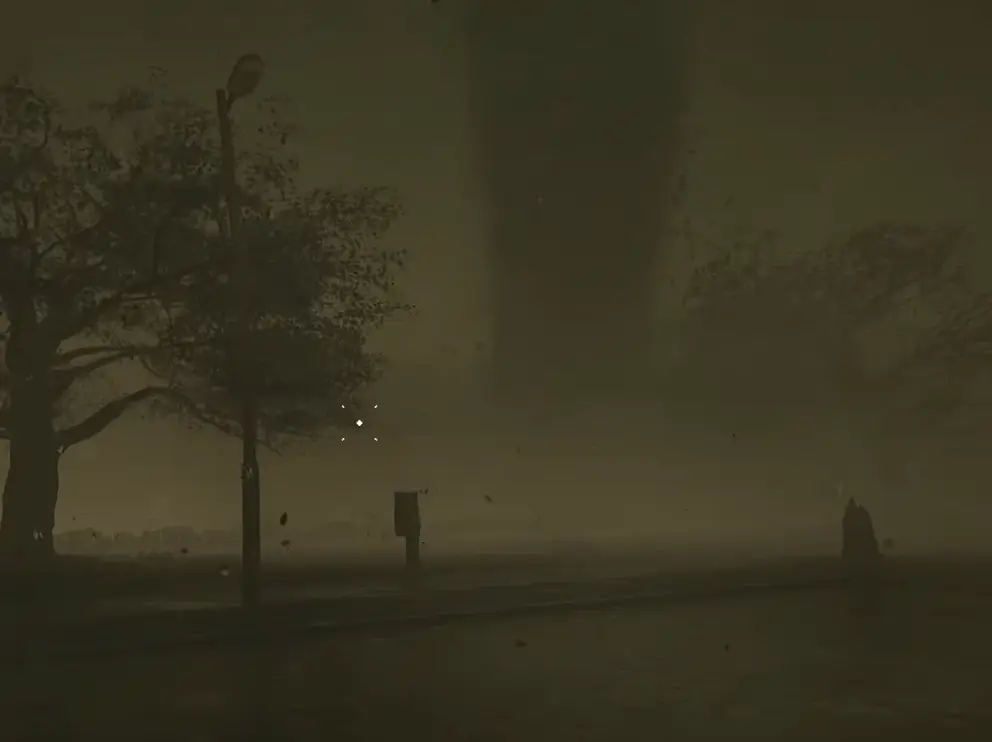
The best theoretical location is not worth forcing after the route has collapsed.
Use the Tornado and Weather Survival Guide for shelter choices, tornado pull, Acid Rain, Hail, Lightning, fire, damaged roads, and final-return decisions.
These states are not enough on their own:
The Van must confirm that the complete repair sequence is finished.
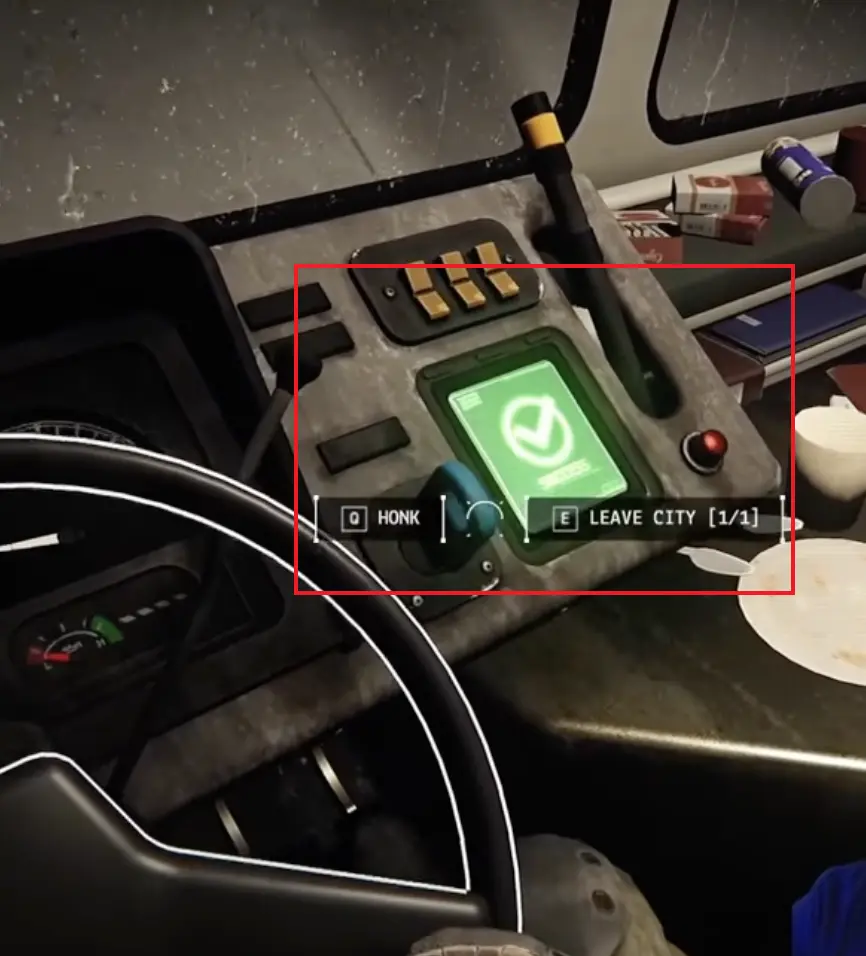
New players should begin with the Van Repair Guide. After that, choose the Parts, Solo, or Weather guide based on what is currently stopping the escape.
Use the Van Repair Guide. It separates found, delivered, and cleared parts, then checks whether the old component was removed, the correct tool was present, the repair minigame succeeded, and the diagnostic actually updated.
Use the Repair Parts Locations Guide. Its route starts with useful vehicle-related landmarks and then moves into Radar-marked houses, rather than repeatedly searching the same garage as though Oil had a fixed spawn.
Yes. Smaller parties receive fewer Van problems and relatively more item spawns, but the map stays the same size. The Solo Guide explains how to cover that full area with shorter routes, limited inventory, and practical restart decisions.
The carried Pocket Radar helps narrow nearby item searches. The Doppler Radar uses a Weather Report to track the larger storm. Neither system replaces checking the item label or watching the street for a nearby funnel.
No. Van faults, item positions, weather, tornado activity, map layout, and usable routes can change between missions. These guides therefore use repeatable priorities and decision points rather than fixed coordinates.