Fortune Mill Walkthrough
A practical Fortune Mill walkthrough for room order, cross-room synergy, Shadow Realm timing, blockers, Gacha, Executor, and first-clear cleanup.
Updated:

Quick Answer
To beat Fortune Mill, follow the main route of Darts → Room 2 scratch tickets → Pachinko → Sushi → Gacha → Executor, but do not play it like five disconnected rooms. The route gets smoother when old rooms keep working while you push new rooms: Rattling Gunner keeps Darts relevant, Accountant Toad keeps Room 2 best wins paying, Sushi bonuses can improve older ticket runs, Shadow Realm adds permanent multipliers, and Gacha passives can affect more than the Gacha room. A normal first base clear usually takes about 4–6 hours; 51-achievement cleanup and New Game+ can take longer.
Fast Walkthrough Route
Use this table as the practical route. The goal is not to max every room before moving on. The goal is to leave each room with its main engine working, then rotate back when an old room has a cheap upgrade or cross-room bonus waiting.
| Step | Stage | What to do | Move on when… |
|---|---|---|---|
| 1 | Room 1: Darts | Build gold with Better Nuggets, Bigger Bullseye, Fancy Flights, Multi-Throw, Trial Mode, and Rattling Gunner | You can pay Verminous and still have a useful dart engine |
| 2 | Shadow Realm | Unlock it from the dart side, test your damage, then leave if the boss barely moves | Boss attempts start showing real damage instead of tiny chip damage |
| 3 | Room 2: Scratch Tickets | Upgrade Crazy Cash Circles, jackpots, Green Tickets, Accountant Toad, Abacus Frog, and Auto Scratch | You can pay Gorgon and Room 2 still has best-win / Toad value |
| 4 | Pachinko | Build ball flow, buckets, ticket gain, dice games, Bubba, Auto Drop, and Poker Pirate | You can pay Rimmington without leaving Pachinko dead |
| 5 | Sushi | Generate fuel, drag matching sushi together, build ribbons, unlock Poppy and Ghost Janitor, and start Poppy’s Wheel | You can pay Hivemind and have wheel / ribbon cleanup moving |
| 6 | Gacha | Pull capsules, keep useful passives, place pedestal items, trash duplicates for stuffing, and unlock helpers | You can pay Executor after checking cleanup goals |
| 7 | Final Escape | Confirm the final payment only after achievement and cleanup checks | You are ready to end the base run or move into NG+ |
Route Notes for the 51-Achievement Build
This walkthrough matches the current 51-achievement route. Escaping once still clears the base run, but it is no longer the whole completion path. For full cleanup, you also need the added bullseye achievements and New Game+ COMPLETED after the base escape.
Check your in-game achievement list before using the cleanup sections. If you see 51 achievements, follow the New Game+ notes here. If you only see the older 40-achievement list, the main room order still works, but the New Game+ cleanup route does not apply to your build yet.
Room Order and What Each Page Covers
This walkthrough is the route page. It explains what to do next and when to leave each stage. Use the deeper guides when one system becomes your actual blocker.
| If you are stuck on… | Use this deeper guide |
|---|---|
| Room 2 scratch tickets, Jackpot, Big time win, Gorgon | Scratcher and Jackpot Guide |
| Auto Scratch, Auto Throw, Toad payouts, AFK room rotation | Automation Guide |
| Pachinko, Sushi, Shadow Realm, Poppy’s Wheel, Gacha | Midgame and Late-Game Rooms Guide |
| All 51 achievements, Lucky Spin, Pearlescent Pull, New Game+ COMPLETED | Achievements Guide |
| Which upgrades to buy first by room | Best Upgrades Guide |
Cross-Room Synergy: Why Old Rooms Still Matter
The biggest mistake in Fortune Mill is treating a finished room as dead. You do move through the rooms in order, but older rooms keep producing value through helpers, best-win systems, passive upgrades, and room-to-room bonuses.
Use synergy checks when the newest blocker feels too expensive. In most cases, the fix is not “wait longer.” The fix is to return to an older room and buy the cheapest upgrade that improves the current bottleneck.
| Synergy check | What to look for | When to go back |
|---|---|---|
| Darts → Room 2 | Check Darts for broad money / Lotto-related boosts, Rattling Gunner progress, Trial Mode multiplier upgrades, and Auto Throw value. | Room 2 feels slow right after paying Verminous. |
| Room 2 → Darts | After a strong scratch-ticket payout or jackpot, check whether Darts has a cheap upgrade that was previously out of reach. | You are waiting on Room 2 but Darts has cheap scaling left. |
| Room 2 best wins → Toad income | Accountant Toad pays from best wins, so one stronger Green Ticket, jackpot, or Purple Ticket result can improve passive income. | Toad is active but every 30-second payout feels weak. |
| Pachinko → Room 2 cleanup | Better ticket generation and later room income can make jackpot colors, Big time win, and old scratch-ticket cleanup easier. | You still need Room 2 achievements but the ticket layouts feel too weak right now. |
| Sushi → ticket safety | Check Sushi bonuses that improve ticket survival, such as extra-life style bonuses for Money Maze Madness / High Roller Heist / Lotto-related tickets when available in your build. | Green Ticket or High Roller Heist runs keep dying before they produce value. |
| Shadow Realm → Darts | Boss kills add permanent multipliers that make Darts, Rattling Gunner, Auto Throw, and Trial Mode income stronger. | Shadow Realm damage has improved enough that a boss kill is realistic. |
| Gacha → multiple rooms | Check whether an item is passive or needs a pedestal. A strong item does nothing if it needs placement and is not active. | Gacha items seem useless, or Executor is slow despite many pulls. |
Room 1 Walkthrough: Build the Dart Engine
Room 1 looks simple, but it carries the whole run. It gives you gold, Trial Mode, Rattling Gunner, Magician Mousey, Auto Throw, and the Shadow Realm path.
Start with upgrades that make every throw better:
| Upgrade | Early value | Why it matters |
|---|---|---|
| Better Nuggets | First cheap gold-value upgrade | Makes every pickup stronger |
| Bigger Bullseye | Makes aim and Trial Mode easier | Helps bullseyes, achievements, and scoring |
| Fancy Flights | One early level makes darts drop 1.5x more gold | Strong value multiplier before the first blocker |
| Multi-Throw | Adds more darts per throw | More hits means more gold and better Trial Mode attempts |
| Trial Mode | First unlock appears around 5,000 gold | Turns a good dart score into a multiplier |
| Rattling Gunner | Appears early around 3,000 gold | Your first real background dart income |
| Magician Mousey | Unlocks special dart scaling | Makes passive darts more valuable |
| Auto Throw | Throws every 16.67 seconds while away | Good before long Room 2 sessions |
Trial Mode Timing
Trial Mode should not be ignored, but it should also not be spammed on the same weak board. Run it after a meaningful board improvement: bigger bullseyes, more darts, new bullseye zones, or better scoring upgrades.
| Trial Mode timing | What to do |
|---|---|
| First unlock | Try it after you have at least some bullseye size or extra-dart support |
| Score around 40–50 | Good early benchmark, usually enough to feel the multiplier |
| After new bullseye zones | Run again because the score ceiling is higher |
| After more darts | Run again because each attempt has more scoring chances |
| Nothing has changed | Wait; the same weak setup will probably give the same weak result |
When to Pay Verminous
Verminous - BRIBED is the first progression gate. Pay 1,000,000 gold to move into the scratch ticket room.

Before paying Verminous, aim for this state:
| Check | Recommended state |
|---|---|
| Gold value | Several cheap value levels bought |
| Bullseye size | Comfortable enough to hit better zones |
| Fancy Flights | Bought if affordable |
| Multi-Throw | Strongly recommended |
| Trial Mode | At least one decent early multiplier |
| Rattling Gunner | Strongly recommended |
| Magician Mousey | Good if affordable without a long stall |
| Auto Throw | Nice before spending a long time in Room 2 |
Shadow Realm Walkthrough: Check It Early, Push It Later
Shadow Realm is the most common route misunderstanding. It is not “the next room.” It is a parallel boss system attached to the dart side.
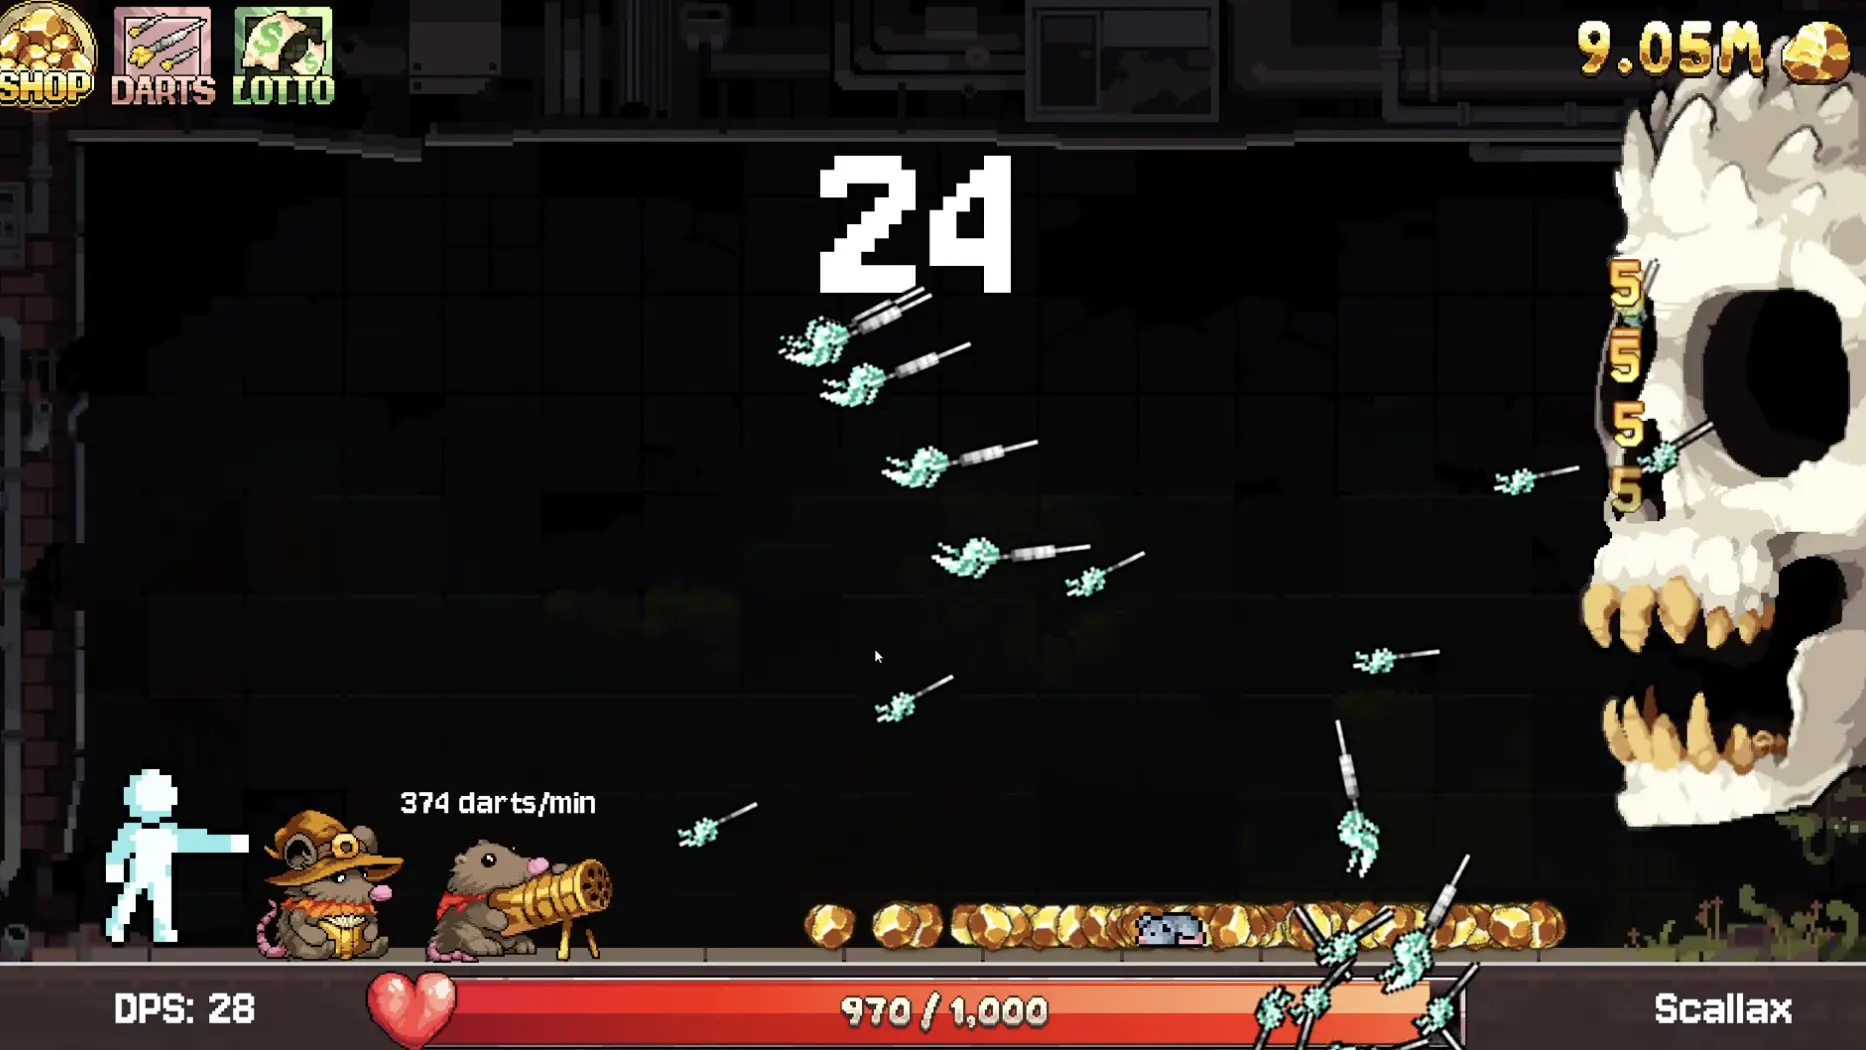
The first visit can feel terrible. If the boss barely takes damage, that is not a bug and not a reason to keep retrying. You are missing damage scaling.
Why Shadow Realm Does No Damage
| Problem | What it feels like | Fix |
|---|---|---|
| Too few darts | You simply do not hit enough | Buy more darts and improve throw speed |
| Slow Rattling Gunner | Background hits barely matter | Buy cheap firing-rate upgrades when useful |
| No special damage | Normal darts feel like chip damage | Unlock special dart effects through Magician Mousey / Shadow Realm upgrades |
| No marks saved | Attempts feel flat | Wait between attempts so marks can build |
| Too little visit time | You almost kill the boss but time runs out | Buy duration after your damage is already real |
| Forcing bad attempts | Same failed run again and again | Leave, upgrade Darts, then return later |
Room 2 Walkthrough: Scratch Tickets, Toad, Frog, and Gorgon
Room 2 begins with Crazy Cash Circles, but the room is really about building a scratch ticket engine. Your key goals are stronger best wins, jackpot symbols, Green Tickets, Accountant Toad, Abacus Frog, Auto Scratch, and eventually Gorgon.

Keep the walkthrough version simple:
| Priority | What to do |
|---|---|
| 1 | Raise prize value, possible numbers, and scratch spots |
| 2 | Unlock jackpot symbols |
| 3 | Unlock Green Tickets and set a useful best win |
| 4 | Hire Accountant Toad so best wins pay every 30 seconds |
| 5 | Hire Abacus Frog if affordable so ticket play gives EXP |
| 6 | Turn on Auto Scratch once repetition becomes valuable |
| 7 | Pay Gorgon when you can leave Room 2 with a working engine |
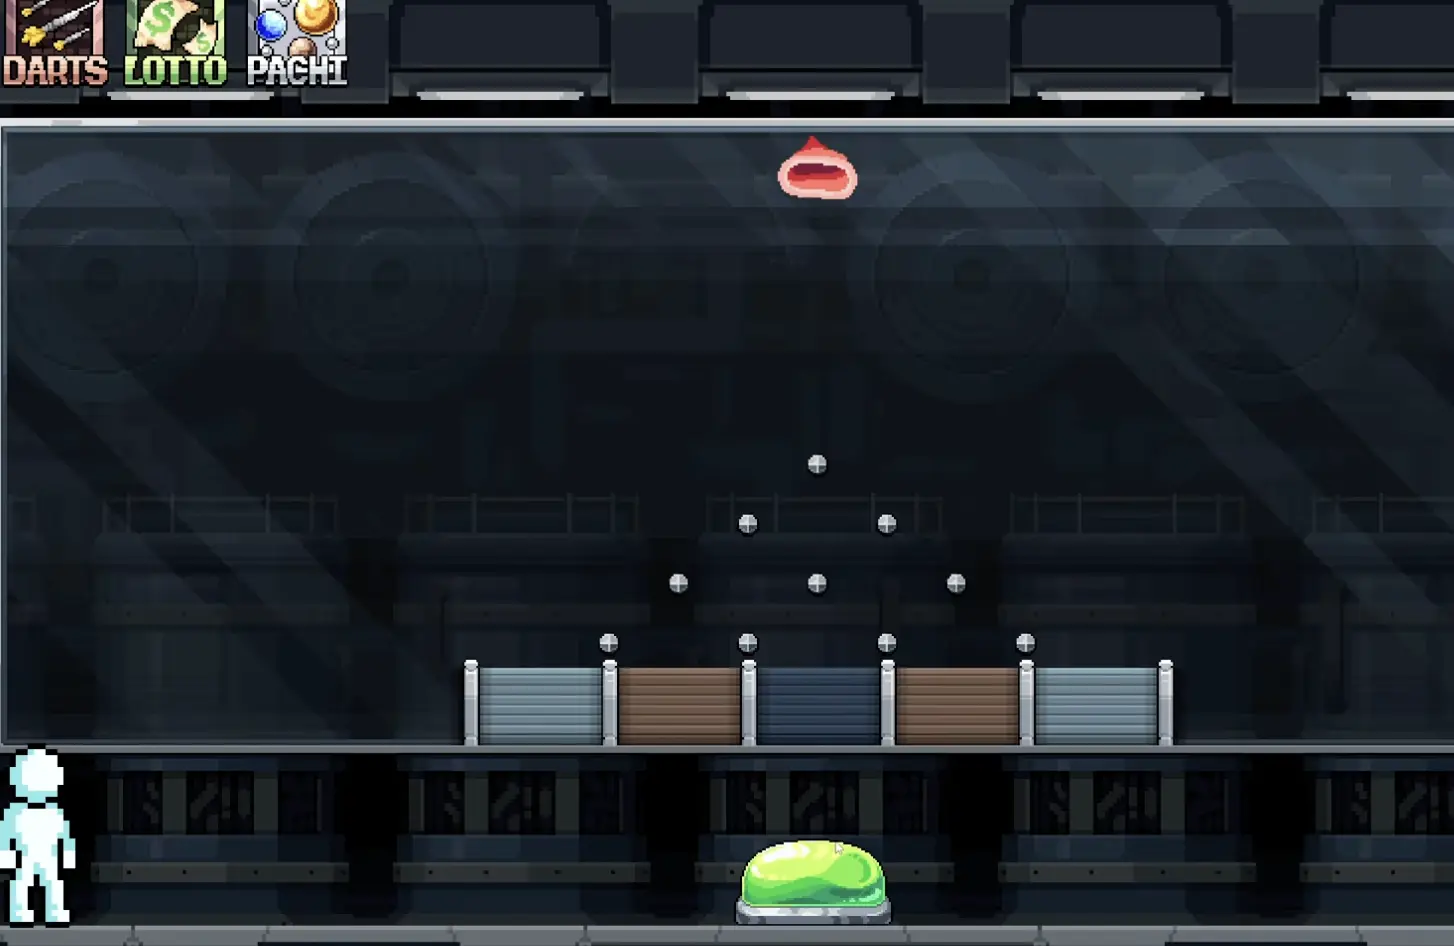
Pachinko Walkthrough: Balls, Buckets, Dice, and Poker Pirate
Pachinko is where the run changes from simple room income into a layered midgame engine. Build enough ball flow and ticket value before relying on Auto Drop or Poker Pirate.
Use the short diagnosis:
| If Pachinko feels stuck because… | Fix |
|---|---|
| You wait too long between drops | Improve ball gain and fill rate |
| Balls drop but tickets stay low | Improve ticket gain, bucket value, and peg rows |
| Auto Drop drains everything | Improve ball generation, Bubba, and Poker Pirate |
| Poker Pirate feels weak | Build enough ball flow for stronger hands to matter |
| Rimmington feels far away | Improve ball flow and ticket value before waiting |
Rimmington - BRIBED costs 1,000,000 tickets. Pay when Pachinko can keep producing tickets through ball flow, bucket value, and at least some support from dice or Poker Pirate.
For the full midgame route, use the Midgame and Late-Game Rooms Guide.
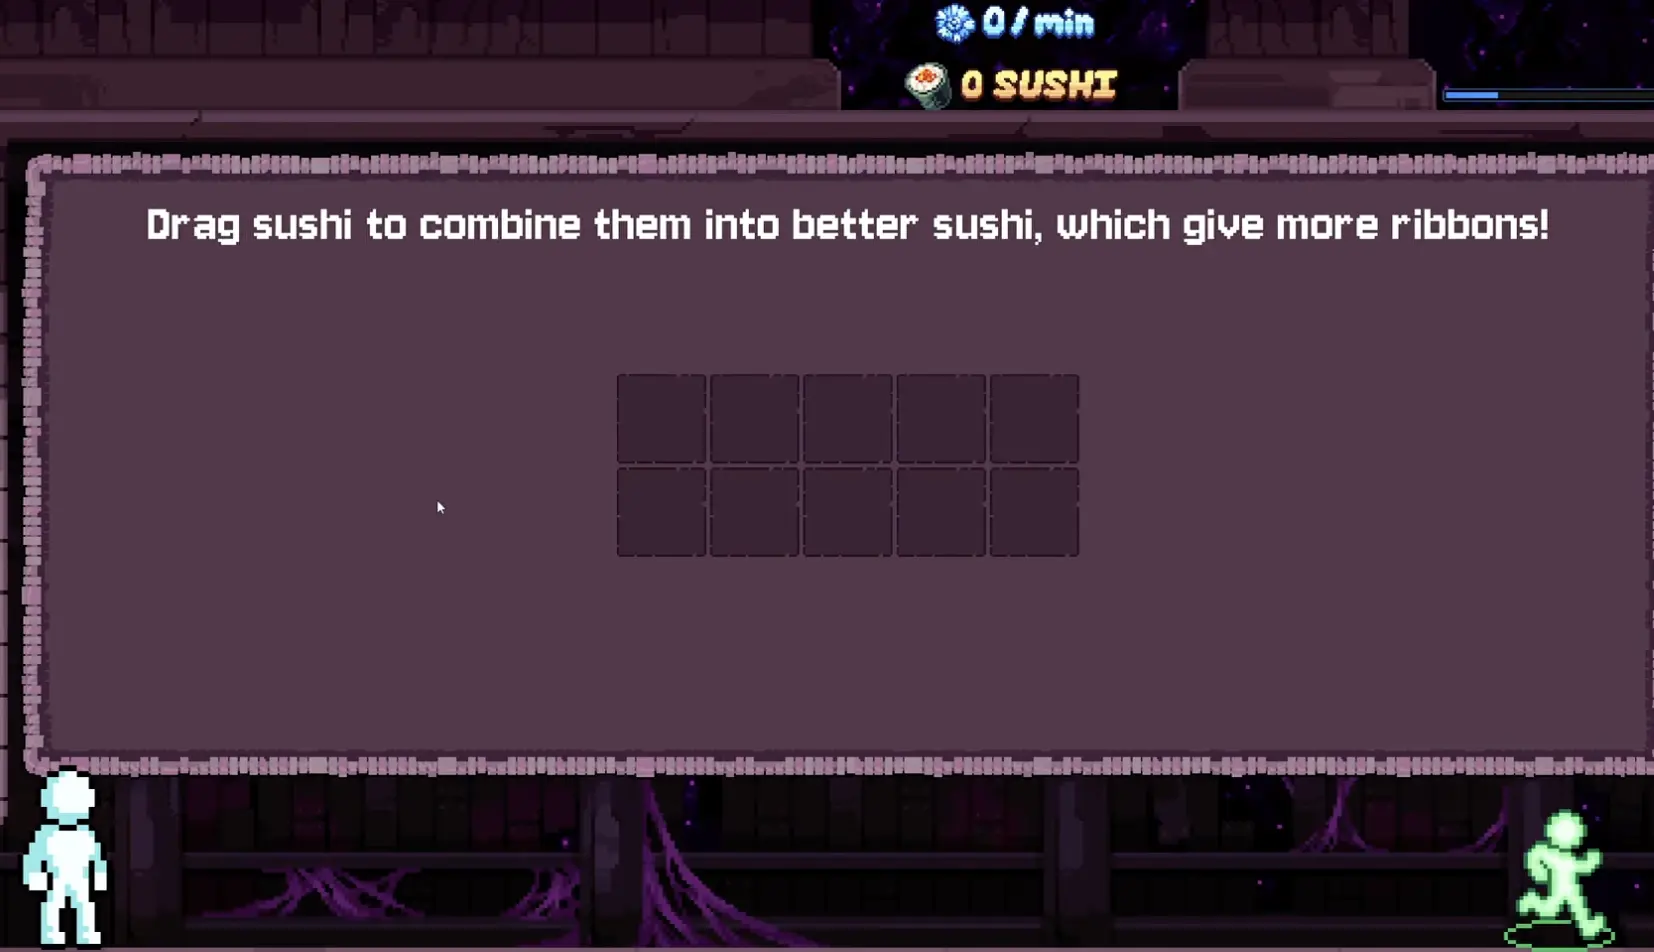
Sushi Walkthrough: Fuel, Merging, Poppy, and Hivemind
Sushi is a merge room. Fuel creates sushi pieces. You drag matching sushi together to make higher-tier sushi. Higher-tier sushi creates better ribbon progress.
| Sushi bottleneck | What to improve |
|---|---|
| Pieces appear too slowly | Fuel generation |
| Fuel caps while you are away | Fuel capacity or more frequent returns |
| Pieces are too weak | Starting sushi value / sushi tier upgrades |
| Ribbons are slow | Ribbon gain |
| You need Lucky Spin later | Unlock Poppy and start Poppy’s Wheel in the Sushi stage |
| Hivemind feels far away | Fuel + higher-tier sushi + ribbon gain |
Poppy’s Wheel Timing
Start Poppy’s Wheel during the Sushi stage once Poppy is available. Do not leave it until the very end if you care about achievements, because Lucky Spin can take repeated spins. Even when your route is focused on escaping, it is safer to start wheel attempts earlier and let them progress alongside Sushi and Gacha instead of saving every spin for final cleanup.
When to Pay Hivemind
Hivemind - BRIBED costs 1,000,000 ribbons. Pay when your Sushi ribbon engine is moving consistently and you have checked Poppy / Ghost Janitor if you care about helper achievements.
Gacha Walkthrough: Items, Stuffing, and Executor
Gacha is the final main system before the escape. You pull items, decide what is passive versus what needs a pedestal, convert duplicates into stuffing, and push toward Executor.

The main Gacha rule is simple: owning an item is not always the same as using it.
| Item type | How it works | What to check |
|---|---|---|
| Passive item | Works without taking a pedestal slot | Keep it if the bonus applies automatically |
| Pedestal item | Needs placement before it works | Put it on a pedestal if the effect matters |
| Duplicate item | Can become stuffing or collection value | Do not hoard useless duplicates forever |
| Currency booster | Improves one or more room currencies | Compare it against your current blocker |
| Collection item | Helps Bin Goosey / Gumball Goose / set progress | Check before trashing everything |
Legendary and Pearlescent Cleanup
For a simple base clear, you do not need to finish every Gacha rarity achievement before escaping. For 51-achievement cleanup, Legendary Pull and Pearlescent Pull are major checks. Use higher pull volume, useful Gacha machines, animation skip if available, and rare-rate bonuses like Goldfish Gacha when your build shows them.
Final Escape: When to Pay Executor
Executor - BRIBED costs 1,000,000 stuffing. Paying Executor is the base-run ending gate.
Do not treat the final payment like a normal upgrade if you care about cleanup. Check your achievements and late systems first.
| Before final escape | Why it matters |
|---|---|
| Boss Slain / Shadow Realm progress | Permanent multipliers may still speed cleanup |
| Big time win | It needs a single scratcher payout, not passive Toad income |
| Jackpot achievements | One ticket color can be easy to forget |
| Lucky Spin | Poppy’s Wheel can take repeated attempts |
| Legendary Pull / Pearlescent Pull | These are common late Gacha cleanup walls |
| Bin Goosey / Gumball Goose | Late Gacha helpers can be missed if you rush |
| Pinnacle and late bullseyes | Room 1 cleanup may still be unfinished |
| New Game+ plan | 51/51 requires NG+ COMPLETED after the base run |
How Long Fortune Mill Takes to Beat
A first base clear usually takes around 4–6 hours if you are learning systems naturally. A cleaner route can be faster, but several things can extend the run:
| What adds time | Why |
|---|---|
| Shadow Realm boss attempts | You may need to leave and return after stronger dart damage |
| Big time win / jackpot cleanup | Room 2 achievements can take extra ticket attempts |
| Lucky Spin | Poppy’s Wheel can take repeated spins |
| Legendary / Pearlescent Pull | Gacha rarity pulls depend on volume and luck |
| New Game+ | Blockers become 10,000,000 per room and upgrades are more expensive |
If you only want a first escape, keep the route moving. If you want all 51 achievements, slow down before Executor and clean up the rare or luck-based goals.
Practical Stuck Points
| Stuck point | What it usually means | Fix |
|---|---|---|
| Room 2 feels too slow after Verminous | You left Darts without enough background value | Return for Trial Mode, Rattling Gunner, Auto Throw, or Lotto-money boosts |
| Shadow Realm does no damage | Your dart engine is not ready | Upgrade darts, Rattling Gunner, special effects, marks, and duration |
| Gorgon feels too far away | Scratch tickets lack a real best-win engine | Push Green Tickets, Toad, jackpot symbols, and Abacus Frog |
| Pachinko has balls but poor tickets | Payout paths are weak | Upgrade ticket gain, buckets, peg rows, and peg XP |
| Pachinko runs out of balls | Supply is the bottleneck | Upgrade ball generation, Bubba, Poker Pirate, and Auto Drop support |
| Hivemind feels too slow | Sushi fuel or ribbon gain is weak | Improve fuel, merge higher-tier sushi, and buy ribbon upgrades |
| Gacha items seem inactive | Item type is misunderstood | Check passive versus pedestal logic |
| Executor is payable but cleanup is missing | You are at the ending gate too early | Check achievements before final escape |
Base Run vs New Game+
This walkthrough is for the first base clear. New Game+ uses the same room structure, but it is not just a tiny repeat. The key confirmed difference is the blocker target: rooms that required 1,000,000 in the base run require 10,000,000 in NG+, and upgrades become more expensive.
In NG+, rebuild the route in this order:
| NG+ restart priority | Why it matters |
|---|---|
| Rebuild Darts income first | Every later room is harder without early scaling |
| Buy Rattling Gunner and Magician Mousey again when available | Background hits and special darts matter even more |
| Use Trial Mode after board upgrades | Do not waste early attempts on a weak board |
| Unlock Room 2 automation quickly | Toad, Frog, and Auto Scratch reduce the 10M grind |
| Push later rooms only after the old engines are back | Brute-forcing late rooms too early feels slow |
For the full 51-achievement route, use the Achievements Guide.
FAQ
How do you beat Fortune Mill? +
Beat Fortune Mill by building each room until its main engine works, then paying each blocker in order: Verminous with 1,000,000 gold, Gorgon with 1,000,000 money, Rimmington with 1,000,000 tickets, Hivemind with 1,000,000 ribbons, and Executor with 1,000,000 stuffing. Do not play the route as a strict one-way line; old rooms keep mattering through automation, best wins, passive income, and cross-room bonuses.
What is the best room order in Fortune Mill? +
The best room order is Darts, Room 2 scratch tickets, Pachinko, Sushi, Gacha, and final escape. Shadow Realm is not a normal room; unlock it from the dart side, test your damage, then return whenever dart damage, Rattling Gunner speed, marks, or special dart effects improve.
Should I go back to older rooms in Fortune Mill? +
Yes. Fortune Mill is easier when you rotate back for cheap synergy upgrades. Room 1 can improve Lotto money, Room 2 best wins can power Accountant Toad, Sushi bonuses can improve ticket safety, Shadow Realm boss kills can multiply dart income, and Gacha passives can help multiple rooms.
When should I leave Room 1 in Fortune Mill? +
Leave Room 1 after your dart engine has useful scaling: Better Nuggets, Bigger Bullseye, Fancy Flights, Multi-Throw, at least one Trial Mode multiplier, Rattling Gunner, and preferably Magician Mousey or Auto Throw if you are about to spend time in Room 2.
Why am I doing no damage in Shadow Realm? +
You probably entered Shadow Realm too early. Upgrade dart count, Rattling Gunner speed, special dart effects, marks, and visit duration before trying to force boss kills.
How long does Fortune Mill take to beat? +
A first base clear usually takes about 4 to 6 hours if you are learning systems naturally. A tighter route can be faster, while 51-achievement cleanup, Lucky Spin, Pearlescent Pull, and New Game+ can take longer.
What should I check before the final escape? +
Before paying Executor, check whether you care about Boss Slain, jackpot achievements, Lucky Spin, Legendary Pull, Pearlescent Pull, helper unlocks, and New Game+ COMPLETED. Big time win needs a single scratcher payout, Lucky Spin needs Poppy's Wheel, and Gacha rarity pulls depend on pull volume rather than the Executor payment.
Does New Game+ change the walkthrough? +
Yes. The base route teaches the room order, but New Game+ raises the main blocker target to 10,000,000 per room and makes upgrades more expensive. Rebuild Darts income, helpers, Lotto automation, and later-room scaling before treating NG+ like a simple repeat.