Fortune Mill Best Upgrades
A practical Fortune Mill upgrade guide explaining what to buy first in each room, when to pay blockers, and which upgrades matter most for scaling.
Updated:
Quick Answer
The best Fortune Mill upgrades are the ones that unlock a new engine, keep working after you leave the room, or make another room stronger. In Room 1, get Better Nuggets, Bigger Bullseye, Fancy Flights, Trial Mode, Rattling Gunner, and Auto Throw before rushing Verminus. In Room 2, push Jackpot, Green Tickets, Accountant Toad, Abacus Frog, and Purple Ticket before paying Gorgon. After that, prioritize Pachinko ball flow, Sushi ribbons, Shadow Realm only when your damage is ready, and Gacha upgrades that improve stuffing, passive bonuses, and pedestal value.
Best Upgrade Rule
Fortune Mill rewards upgrades that do more than raise one number.
The best upgrades usually do at least one of these things:
- unlock a new helper;
- unlock a new room system;
- keep earning while you are in another room;
- improve best wins, best scores, or ticket EXP;
- boost another room;
- make a blocker payment easier;
- create permanent progress.
If an upgrade only gives a tiny local increase, it can wait. If it unlocks a new engine, helper, passive system, or cross-room multiplier, it is usually worth buying sooner.
Upgrade Priority Cheat Sheet
Use this as the quick answer before reading the room-by-room details.
| Stage | Best upgrade focus | Key number or blocker |
|---|---|---|
| Early Room 1 | Better Nuggets, Bigger Bullseye, Fancy Flights, Multi-Throw | Better Nuggets starts at 8 gold; Bigger Bullseye Lv. 1 costs 50 gold for 1.29x size |
| Room 1 scaling | Trial Mode, Rattling Gunner, Magician Mousie, Auto Throw | Rattling Gunner around 3,000 gold; Trial Mode around 5,000 gold; Auto Throw around 65,000 gold |
| Room 1 blocker | Buy scaling first, then pay Verminus | Verminus costs 1,000,000 gold |
| Early Room 2 | Prize value, more scratch spots, Jackpot, Green Tickets | Jackpot appears around 777 money |
| Room 2 scaling | Accountant Toad, Abacus Frog, Green Ticket value, Purple Ticket | Toad around 2,000 money; Abacus Frog 40,000 money; Purple Ticket around 12,000 money |
| Room 2 blocker | Leave with Toad, Abacus Frog, and useful best wins | Gorgon costs 1,000,000 money |
| Pachinko | Ball flow, ticket gain, peg XP, buckets, dice, Poker Pirate | Rimmington costs 1,000,000 tickets |
| Shadow Realm | Damage first, duration second | Parallel system; do not treat it as a normal room |
| Sushi | Fuel, higher-tier sushi, ribbon gain, Poppy / Ghost Janitor | Hivemind costs 1,000,000 ribbons |
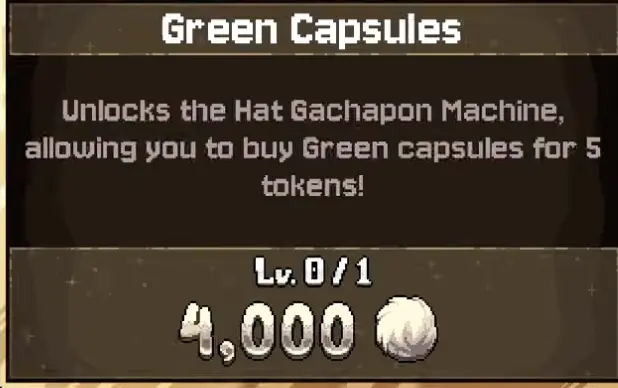
| Gacha | Capsule unlocks, stuffing value, pedestal slots, passive items, helpers | Green Capsules cost 4,000 Gacha-room currency; Executor costs 1,000,000 stuffing |
Room 1 Upgrade Priority
Room 1 is where most players waste time because the Million Nugget Bribe is visible early. Do not tunnel on the bribe. Build a dart engine first.
| Upgrade | Example cost or timing | Why it matters |
|---|---|---|
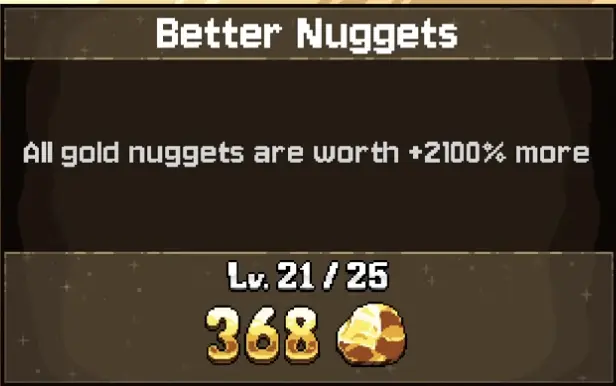
| Better Nuggets | Starts at 8 gold | Makes all gold nuggets worth more |
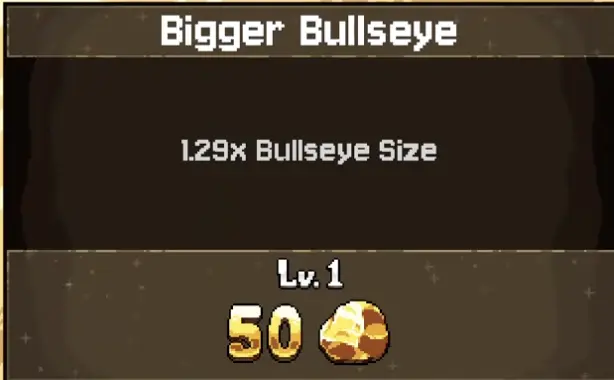
| Bigger Bullseye | Lv. 1 costs 50 gold and gives 1.29x Bullseye Size | Makes bullseyes and Trial Mode easier |
| Fancy Flights | Seen around 400 gold | Makes all darts drop 1.5x more gold |
| Multi-Throw | Early after basic value upgrades | Adds more darts and more scoring chances |
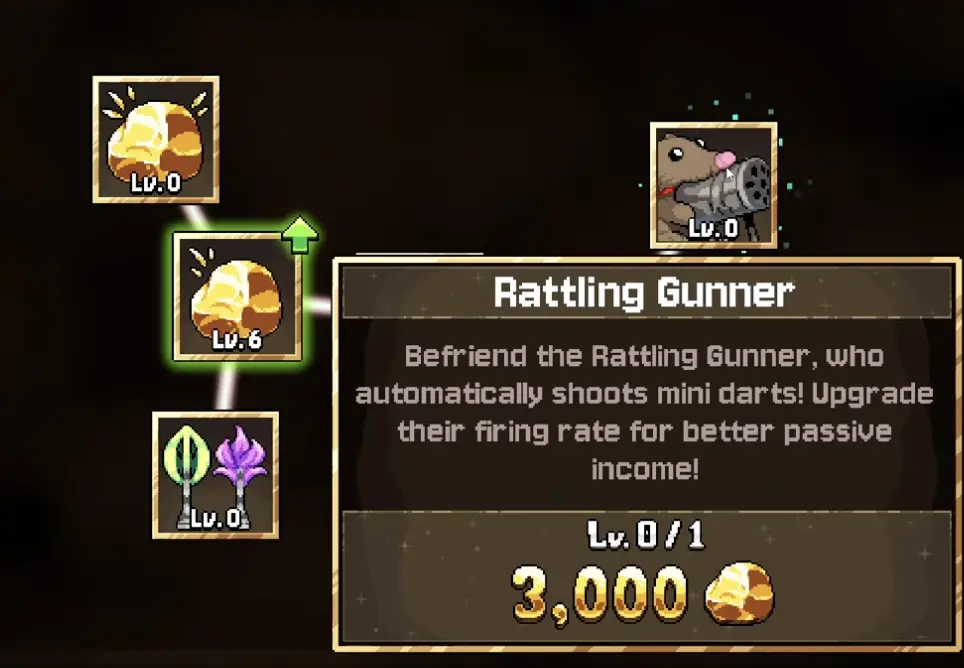
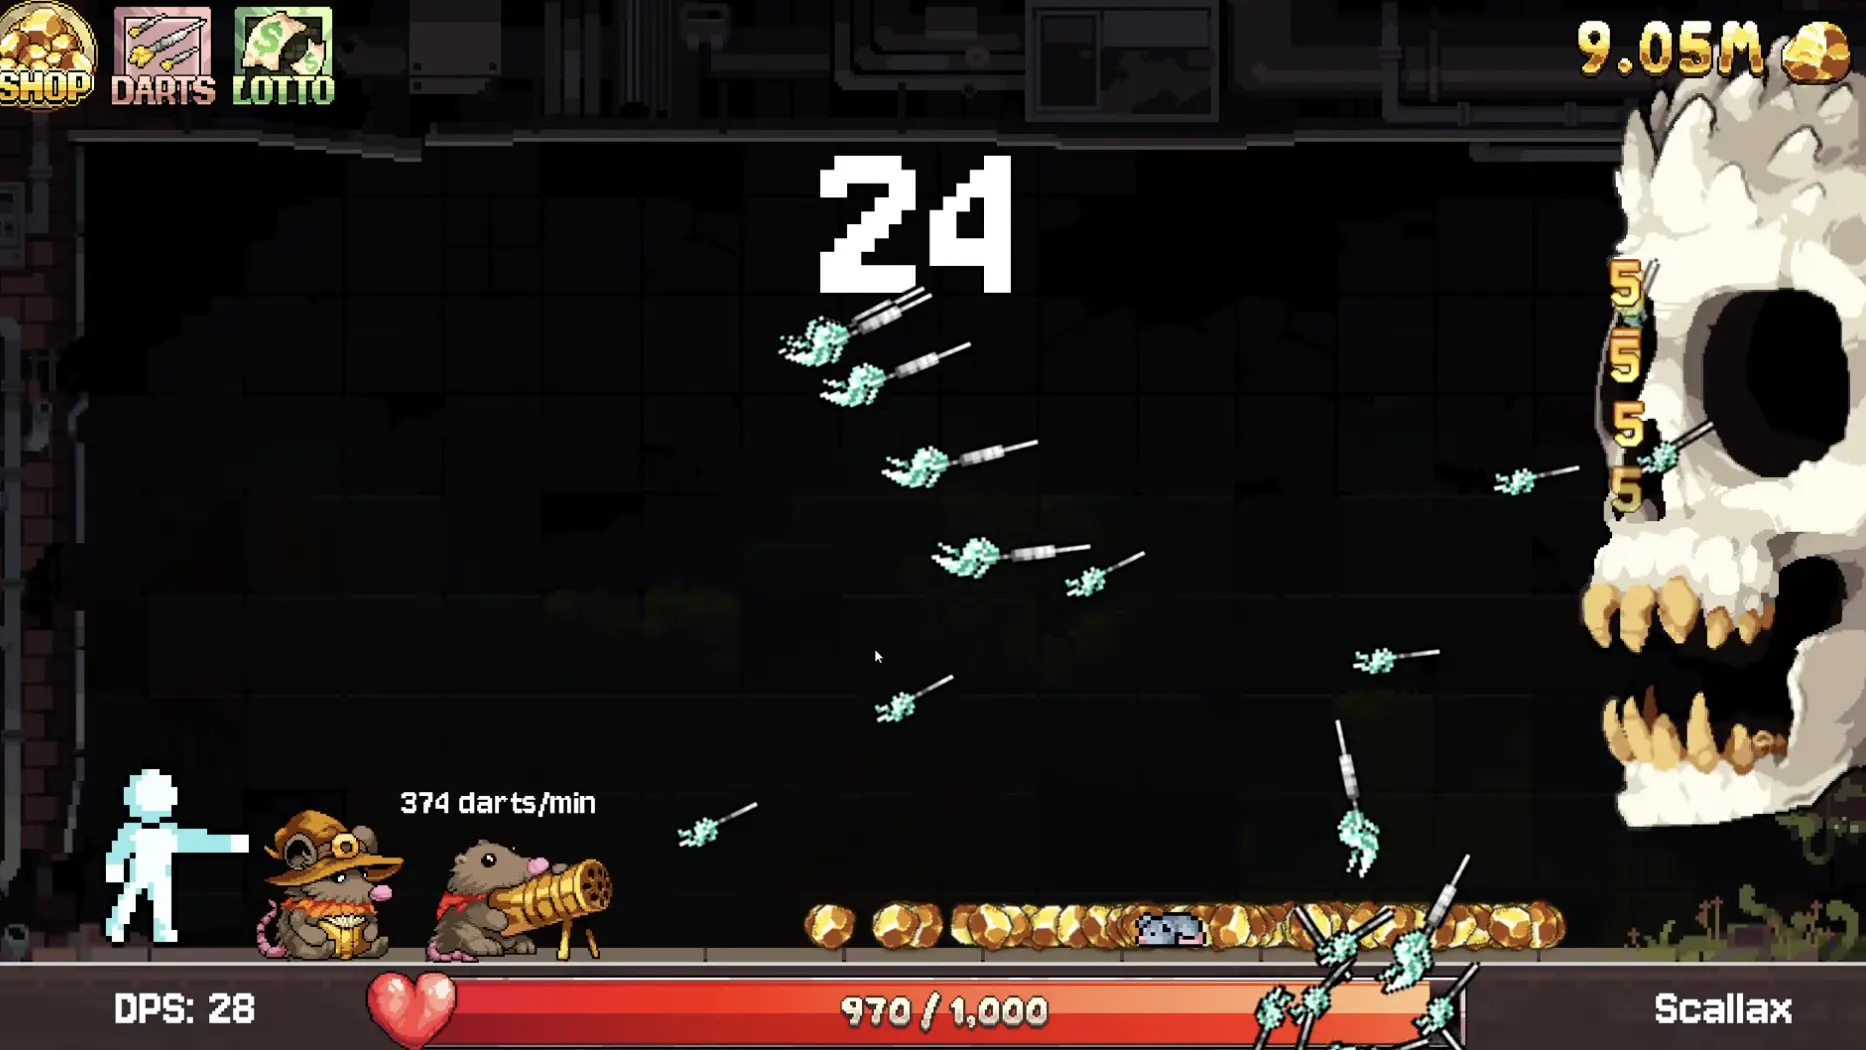
| Rattling Gunner | Seen at 3,000 gold | Automatically shoots mini darts |
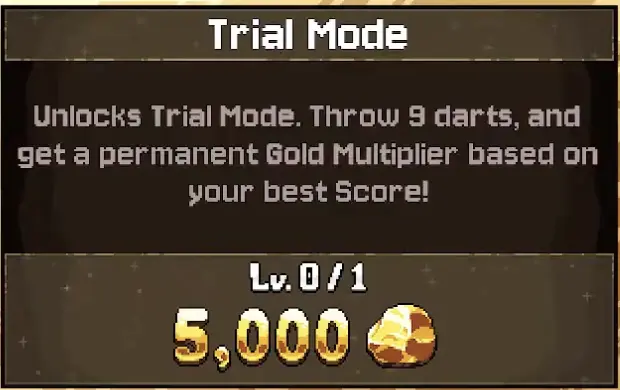
| Trial Mode | Seen around 5,000 gold | Turns your best score into a permanent multiplier |
| Magician Mousie | Mid Room 1 unlock | Opens special dart scaling |
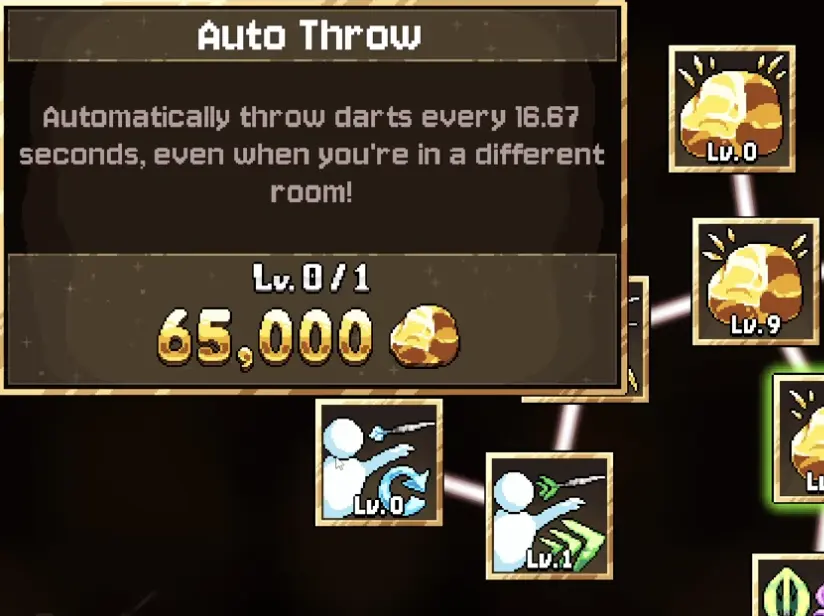
| Auto Throw | Seen at 65,000 gold | Throws every 16.67 seconds, even in another room |
Better Nuggets, Bigger Bullseye, and Fancy Flights
Your first upgrades should make every dart more useful.
Better Nuggets is the simplest early buy because it makes each gold pickup worth more. Bigger Bullseye makes strong hits more consistent. Fancy Flights is a clean multiplier because it improves all dart gold, not just one throw.A visible early Bigger Bullseye level costs 50 gold and gives 1.29x Bullseye Size, which is a strong early quality-of-life upgrade before pushing Trial Mode.

A good early rhythm is:
| If this is your problem… | Buy this |
|---|---|
| Gold income is too slow | Better Nuggets |
| You miss strong zones too often | Bigger Bullseye |
| Each hit feels too small | Fancy Flights |
| You need more scoring chances | Multi-Throw |
| You want background income | Rattling Gunner |
| You want a permanent multiplier | Trial Mode |
Trial Mode: Run It After Big Board Upgrades
Trial Mode gives a permanent gold multiplier based on your best dart score. Early on, a score around 40–50 can give roughly 1.4x–1.5x. Later, better bullseye zones, more darts, and stronger scoring upgrades can push the multiplier higher.
Run Trial Mode when:
| Timing | Why |
|---|---|
| After buying bigger bullseyes | Stronger zones are easier to hit |
| After unlocking more darts | More darts means more scoring chances |
| After unlocking new bullseye colors | Your score ceiling increases |
| After big dart value upgrades | Your normal gold engine benefits more from the multiplier |
| After a long delay with several upgrades | Your old best score is probably outdated |
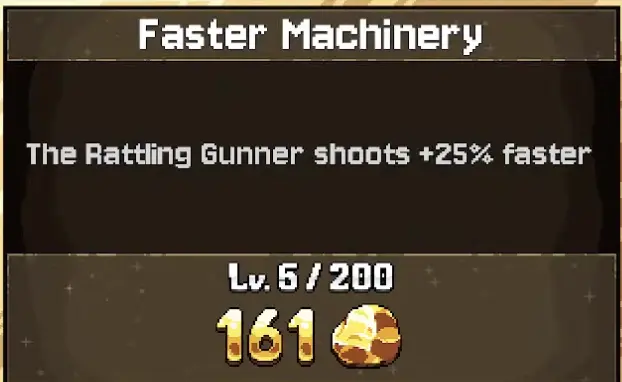
Rattling Gunner, Faster Machinery, and Auto Throw
Rattling Gunner is your first major passive helper. It automatically shoots mini darts, which means Room 1 starts earning without every shot coming from you.
After hiring Rattling Gunner, buy Faster Machinery when it is cheap. Faster Machinery makes the Gunner shoot faster, but you should not dump everything into small firing-rate upgrades if a bigger unlock is close.
Auto Throw is different. It is not strong because it is fast. It is strong because it keeps Room 1 working while you are somewhere else.
| Upgrade | Buy when… | Delay when… |
|---|---|---|
| Rattling Gunner | 3,000 gold is affordable without stalling basics | Your early gold value is still terrible |
| Faster Machinery | The next level is cheap compared with your gold income | It blocks Trial Mode, Magician Mousie, or Auto Throw |
| Auto Throw | You are close to Room 2 or spending time away from darts | Each throw is still too weak to matter |
| Magician Mousie | You can afford special dart scaling | You would have to ignore all basic economy upgrades |
When to Pay Verminus
The Million Nugget Bribe costs 1,000,000 gold and pays off Verminus.

Do not pay Verminus the instant you reach the cost if you skipped the important Room 1 engines.
Before paying Verminus, try to have:
| Upgrade or system | Recommended status |
|---|---|
| Better Nuggets | Several cheap levels bought |
| Bigger Bullseye | Comfortable enough to hit strong zones |
| Fancy Flights | Bought |
| Multi-Throw | Strongly recommended |
| Rattling Gunner | Strongly recommended |
| Trial Mode | At least one decent multiplier |
| Magician Mousie | Recommended if affordable |
| Auto Throw | Recommended before long Room 2 sessions |
Room 2 Upgrade Priority
Room 2 upgrades matter because they affect current payouts, best wins, jackpot attempts, passive money, and ticket EXP.
Focus on this path:
| Upgrade | Example cost or timing | Why it matters |
|---|---|---|
| Prize value | Early Room 2 | Makes every revealed number pay more |
| More scratch spots | Early Room 2 | Gives each ticket more chances to find value |
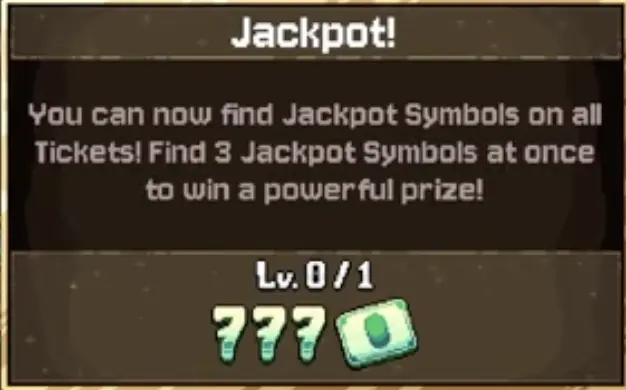
| Jackpot symbols | Seen around 777 money | Adds three-symbol jackpot prizes |
| Green Tickets | Early Room 2 unlock | Opens Money Maze Madness and stronger best-win potential |
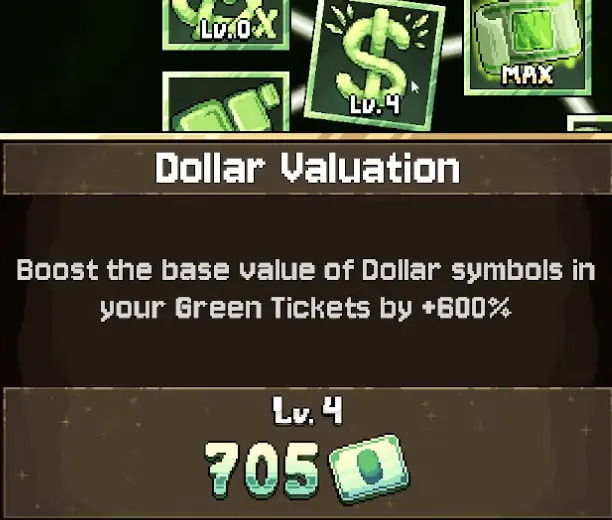
| Dollar Valuation | Seen at 705 money around Lv. 4 | Boosts dollar symbols in Green Tickets |
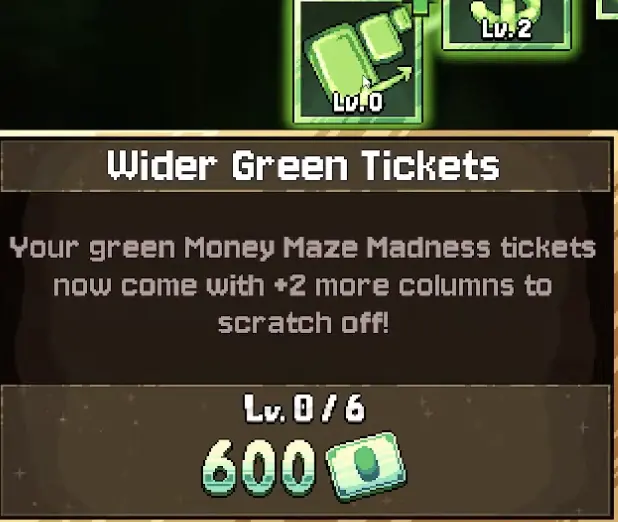
| Wider Green Tickets | Seen at 600 money at Lv. 0 | Adds +2 columns to Green Tickets |
| Extra Life | Seen at 1,000 money at Lv. 0 | Makes Green Ticket runs more forgiving |
| Accountant Toad | Seen at 2,000 money | Pays every 30 seconds based on best wins |
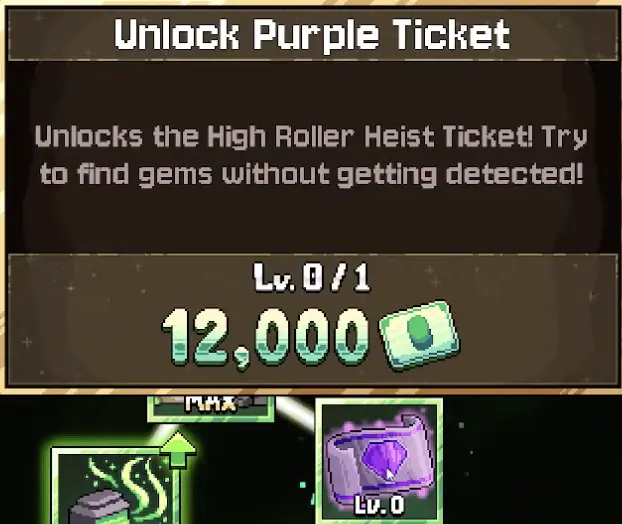
| Purple Ticket | Seen around 12,000 money | Opens High Roller Heist |
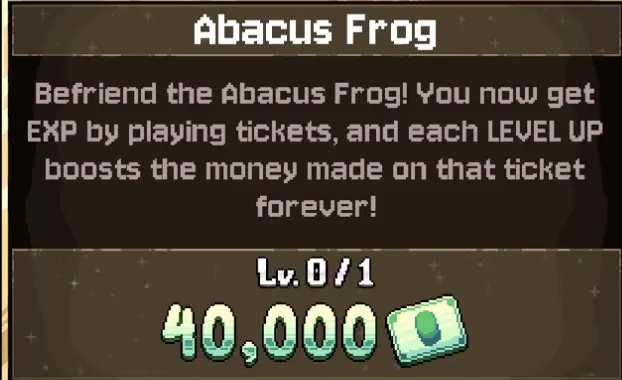
| Abacus Frog | Costs 40,000 money | Adds ticket EXP and permanent ticket-level scaling |
Green Tickets and Jackpot Scaling
Green Tickets are important because Money Maze Madness can produce much stronger best wins than early starter tickets once upgraded.
Buy Green Ticket value and size before overbuying safety. Extra Life is strong, but only when each Green Ticket run is already worth protecting.
| Green Ticket problem | Upgrade |
|---|---|
| Dollar symbols pay too little | Dollar Valuation |
| The maze feels too small | Wider Green Tickets and more rows |
| Runs end too quickly | Extra Life |
| Best wins are too low | Value, size, and safer routes |
| Toad income is weak | Push higher Green Ticket best wins |
| Big time win is missing | Use upgraded Green Tickets or jackpot spikes |
Accountant Toad and Abacus Frog
Accountant Toad and Abacus Frog are the two biggest Room 2 scaling helpers, but they solve different problems.
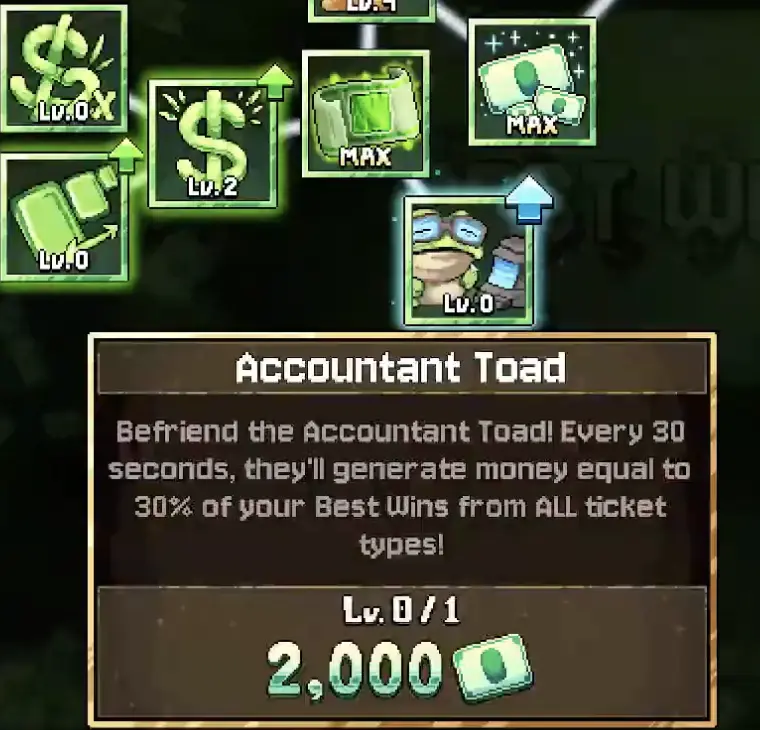
Accountant Toad rewards big best wins. After hiring Toad, each stronger ticket run can raise your passive money.
Abacus Frog rewards repeated ticket play. After hiring Abacus Frog, playing tickets gives EXP, and each ticket level-up permanently boosts the money made from that ticket.
| Helper | What it rewards | Best use |
|---|---|---|
| Accountant Toad | Higher best wins | Push strong ticket runs across multiple ticket types |
| Abacus Frog | Ticket EXP and level-ups | Keep playing upgraded ticket types so they permanently scale |
| Together | Best-win scaling plus ticket-level scaling | Rotate through ticket types instead of farming one weak ticket forever |
Purple Ticket and High Roller Heist
Purple Ticket unlocks High Roller Heist and appears around 12,000 money in Room 2 progression.
Do not rush Purple Ticket if your Green Tickets and Toad income are still weak. It is stronger when the rest of Room 2 already has support.
| Unlock Purple Ticket when… | Wait if… |
|---|---|
| Green Tickets have useful best wins | Green Tickets still barely pay |
| Accountant Toad is active | Toad is still not hired |
| Jackpot symbols are unlocked | You have no spike mechanic yet |
| Abacus Frog is close or active | You are not ready to level ticket types |
| You can afford follow-up upgrades | Unlocking it leaves you broke |
When to Pay Gorgon
Gorgon is the Room 2 blocker and costs 1,000,000 money.
Do not pay Gorgon with an empty Room 2 engine. Before leaving, try to have:
| Before paying Gorgon | Why it matters |
|---|---|
| Jackpot symbols unlocked | Adds spike potential |
| Green Tickets upgraded | Gives better best-win potential |
| Accountant Toad hired | Keeps money coming from best wins |
| Abacus Frog hired if affordable | Adds permanent ticket scaling |
| Purple Ticket considered | Useful if you can afford support |
| Enough money left for Pachinko start | Prevents the next system from feeling dead |
Pachinko Upgrade Priority
Pachinko should not be written as a strict 1–9 order because your bottleneck changes. Use timing bands instead.
| Timing | Upgrade type | Buy it when… | Why it matters |
|---|---|---|---|
| Early | Ball gain per fill bar | You are waiting too long between drops | More balls means Pachinko actually runs |
| Early | Ticket gain | Balls are dropping but rewards feel weak | Makes each drop move you closer to Rimmington |
| Early / Mid | Peg XP and leveled pegs | Balls hit pegs often but value feels flat | Turns repeated hits into scaling |
| Early / Mid | More peg rows and better buckets | Ball paths feel too simple or low-value | Adds more payout paths |
| Mid | Auto Drop | Ball generation can support steady spending | Keeps the room moving without constant manual drops |
| Mid | Bubba | You want more targeted high-value bucket hits | Helps launch balls toward better outcomes |
| Mid / Late | Dice bonus games | You want dice rewards or achievements | Adds Red, Blue, and Green Dice progress |
| Mid / Late | Poker Pirate | You need burst ball refills or poker achievements | Better five-card hands win more balls |
| Late | Cross-room boosts | Pachinko is stable and you want broader value | Helps later rooms instead of only Pachinko |
When to Pay Rimmington
Rimmington is the Pachinko blocker and costs 1,000,000 tickets.
Before paying Rimmington, check:
| Before paying Rimmington | Why it matters |
|---|---|
| Stable ball generation | Prevents Pachinko from becoming downtime |
| Useful ticket gain | Makes the 1,000,000 ticket target easier |
| Peg XP or bucket scaling | Gives the room long-term value |
| Dice bonus games progressing | Helps achievements and side rewards |
| Poker Pirate hired if available | Supports ball refills and poker cleanup |
| Enough tickets beyond the blocker | Makes Sushi start smoother |
Shadow Realm Upgrade Priority
Shadow Realm is not a normal room. It is a parallel multiplier system. You do not “move into” Shadow Realm after Pachinko or Sushi; you revisit it whenever your dart engine is stronger.
Buy Shadow Realm upgrades when they solve a real damage problem.
| Upgrade focus | Buy when… | Wait when… |
|---|---|---|
| Dart count / dart damage | You are barely hitting enough | You are already close to a kill and need time |
| Rattling Gunner speed | Passive hits matter during the visit | Gunner is too weak to affect the boss |
| Special dart effects | You need real boss damage scaling | Normal room upgrades are still more efficient |
| Marks | You can wait between attempts for stronger burst | You are entering too often for tiny damage |
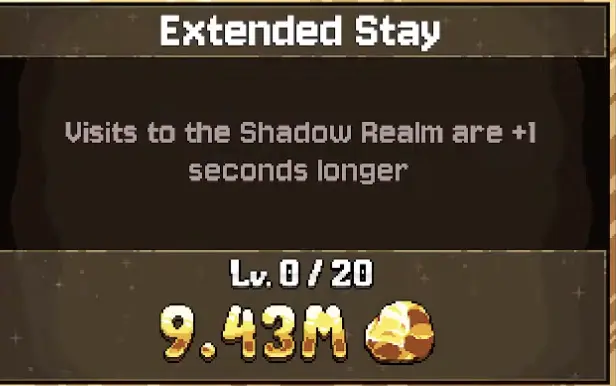
| Extended Stay | Extra seconds can secure a kill | Extra time changes nothing |
| Permanent multipliers | You can actually defeat bosses | Boss health barely moves |
Sushi Upgrade Priority
Sushi is the ribbon room. You generate sushi with fuel, merge pieces into better sushi, and push toward Hivemind’s 1,000,000 ribbon blocker.
| If the problem is… | Upgrade this |
|---|---|
| You are waiting too long for pieces | Fuel generation |
| Sushi pieces feel weak | Starting sushi value or tier value |
| Ribbons are too slow | Ribbon gain |
| The board is messy | Merge support and better planning |
| Older rooms need help | Cross-room Sushi bonuses |
| Hivemind feels far away | Fuel, higher-tier sushi, and ribbon gain |
| Achievement cleanup matters | Check Ghost Janitor and Poppy the Kangaroo |
Sushi can also create cross-room value. One useful example is a Sushi bonus giving +1 life to Money Maze Madness-style Green Ticket runs, which makes Room 2 better when you return.
Poppy, Ghost Janitor, and Hivemind
Ghost Janitor and Poppy the Kangaroo appear in the late-midgame helper path around the Sushi stage. If you care about 100%, check them before leaving Sushi behind.
Poppy matters because it leads into Poppy’s Wheel, and Lucky Spin requires the top prize from that wheel.
| Name | Why it matters |
|---|---|
| Ghost Janitor | Helper unlock and achievement target |
| Poppy the Kangaroo | Helper unlock that leads into Poppy’s Wheel |
| Poppy’s Wheel | Prize wheel; top prize is needed for Lucky Spin |
| Hivemind | Sushi blocker costing 1,000,000 ribbons |
Before paying Hivemind, try to have stable fuel, useful ribbon gain, higher-tier sushi progress, and any available helper unlocks checked.
Gacha Upgrade Priority
Gacha is the late-game item layer. Your goal is not just to pull random items; it is to build stuffing, activate useful bonuses, and finish Gacha helper or rarity goals before paying Executor.
| Gacha priority | Why it matters |
|---|---|
| Unlock capsule types | Opens new item pools and bonus paths |
| Improve stuffing value | Makes duplicates useful instead of wasted |
| Add or improve pedestal slots | Lets non-passive items actually work |
| Keep strong passive items | Passive bonuses help without slot pressure |
| Improve token or pull generation | More pulls means more rare item chances |
| Unlock Bin Goosey | Covers late Gacha helper and collection cleanup |
| Unlock Gumball Goose | Covers another late Gacha helper and permanent bonus route |
| Push Executor stuffing | Moves toward final escape |
Passive Items vs Pedestal Items
Not every Gacha item works automatically.
| Item type | How it works | What to check |
|---|---|---|
| Passive item | Works without using a pedestal slot | Keep it if the bonus applies passively |
| Pedestal item | Needs placement before it does anything | Make sure it is actually on a pedestal |
| Duplicate item | Can become stuffing or cleanup value | Do not hoard duplicates forever |
| Collection item | Helps collection progress or set bonuses | Check Bin Goosey or collection-related systems |
| Currency booster | Improves one or more room currencies | Compare it against stuffing needs |
Bin Goosey, Gumball Goose, and Executor
Bin Goosey and Gumball Goose are late Gacha helper unlocks and achievement targets. Do not rush final escape while they are still missing if you care about 100%.
Executor is the final blocker and costs 1,000,000 stuffing.
Before paying Executor, check:
| Final check | Why it matters |
|---|---|
| Bin Goosey | Late Gacha helper achievement |
| Gumball Goose | Late Gacha helper achievement |
| Rare / Epic / Legendary / Pearlescent Pulls | Gacha rarity cleanup |
| Poppy’s Wheel | Lucky Spin can take time |
| Shadow Realm bosses | Permanent multipliers can speed up final cleanup |
| Jackpot colors | One ticket color may still be missing |
| Executor payment | Final blocker requires 1,000,000 stuffing |
Upgrade Decision Checks
Use these quick checks when you are stuck and not sure what to buy.
My next blocker feels too expensive
Do not grind blindly. Check whether the room has a missing engine upgrade first: Toad or Abacus Frog for Gorgon, ball flow or ticket gain for Rimmington, fuel or ribbon gain for Hivemind, and stuffing value or capsule unlocks for Executor.
My passive income feels weak
Look for best-win, ticket EXP, helper, and cross-room upgrades. Accountant Toad needs better best wins. Abacus Frog needs ticket plays. Rattling Gunner needs firing speed and dart value. Gacha items need to be active, not just owned.
A new system feels useless after unlocking it
That usually means you unlocked the system but not its support upgrades. Green Tickets need value and size. Purple Ticket needs support. Pachinko needs ball flow. Shadow Realm needs damage. Gacha needs stuffing value, pedestal slots, and useful items.
I am not sure whether to pay the blocker
Pay when the current room has its main engine online and the next room will not start completely dead. Do not max everything, but do not leave before the room can keep contributing.
FAQ
What are the best early upgrades in Fortune Mill? +
Start with Better Nuggets, Bigger Bullseye, Fancy Flights, Multi-Throw, Trial Mode, Rattling Gunner, Magician Mousie, and Auto Throw. These make Room 1 faster and keep it useful after you unlock later rooms.
Should I pay Verminus as soon as I can afford it? +
Not instantly. Verminus costs 1,000,000 gold, but you should buy the key Room 1 scaling upgrades first, especially Rattling Gunner, Trial Mode, and Auto Throw if you plan to spend time in Room 2.
Is Rattling Gunner worth buying? +
Yes. Rattling Gunner appears early at around 3,000 gold and automatically shoots mini darts, making it one of the first major passive income upgrades.
Is Auto Throw worth buying? +
Yes, but mainly because it works while you are in another room. Auto Throw costs around 65,000 gold and throws every 16.67 seconds, so buy it after your dart value is already meaningful.
What are the best Room 2 upgrades? +
Prioritize jackpot symbols, Green Tickets, ticket value, ticket size, Accountant Toad, Abacus Frog, and Purple Ticket. Toad rewards best wins, while Abacus Frog adds ticket EXP and permanent ticket scaling.
What does Abacus Frog do? +
Abacus Frog costs 40,000 money. After hiring it, playing tickets gives EXP, and each ticket level-up permanently boosts the money made from that ticket.
Are Shadow Realm upgrades worth buying early? +
Only buy cheap setup upgrades early. Shadow Realm is a parallel multiplier system and becomes worth pushing once your dart damage, special effects, marks, and visit duration can actually defeat bosses.
Do Gacha items work automatically? +
Not always. Passive Gacha items work without using a pedestal slot, but many other items must be placed on a pedestal before their bonus becomes active.