Dragon's Dogma 2 Dark Arisen: Norgan Main Quest Walkthrough
Follow the Norgan main quests in order, from Beorcan Stronghold and Gagana's altar to Rovall's restoration, the Fallen Dragon, and Into Rancor.
Updated:
Quick Answer
After reaching Norgan, speak with the villagers and travel north to Beorcan Stronghold. Survive the first Fallen Dragon encounter, return to the Norgandian Settlement, and speak with the villagers and Polyeidus about finding the Sage. Collect the Spirit Compass before attempting the mountain route.
The Norgan campaign begins with an enemy you cannot permanently defeat and ends far beyond the confrontation that first brings you to the northern mountains. Between those encounters, you must locate a Sage, uncover Lorade Castle, restore an Arisen named Rovall, and find a way into Niflhel.
Most of the journey follows a clear sequence, but several objectives depend on something happening elsewhere first. Reaching the correct building does not always complete a quest. A researcher may need another conversation after examining records, an inaccessible gate may depend on soldiers delivering explosives, and a locked temple passage may require searching bodies rather than finding another entrance.
The walkthrough below follows the main story through Rumbles in the North, Seeking the Sage, Sage’s Wisdom, Sealed History, The Castle in the Ice, Soul Searching, Where There’s a Will, There’s a Way, Reunion, and Into Rancor. It also explains when returning to the settlement is more useful than continuing into increasingly dangerous terrain.
1. Rumbles in the North — Reach Beorcan Stronghold
The opening journey begins with Chilling Tidings in Vernworth. Once Pekdre takes you north, you arrive in Norgan and encounter hostile Beorcans. You are eventually brought to the Norgandian Settlement, the central stopping point for much of the campaign.
If you have not entered Norgan yet, complete the Chilling Tidings route before continuing.
Speak with the villagers after arriving. They explain that fighting has broken out at Beorcan Stronghold, north of the settlement, and that the disturbances may be connected to the Arisen you came to investigate.
The stronghold is your first main destination, but entering the northern mountains with damaged equipment and an exhausted party makes the trip considerably harder.
Prepare at the Norgandian Settlement
Visit the settlement’s inn and check your party before leaving.
Norgan’s early enemies can already be dangerous, especially when Beorcans attack together. If ordinary encounters are taking too long, upgrading equipment in the settlement is more productive than forcing your way toward the stronghold with the same weak weapons.
Jiera can appraise unidentified Spoils collected from enemies and treasure, revealing equipment suitable for your party. If your current weapons are falling behind, the Relics and Appraisal guide covers the appraisal costs, equipment categories, and when a replacement is worth using.
There are also useful early settlement requests. Hammer and Tongs opens Hal’s smithing services after you help him obtain Winterweed Blossom, providing another way to acquire equipment. Other villagers offer quests as the story progresses, so speaking to them again after major milestones can reveal additional options.
For the immediate stronghold journey, prioritize practical supplies:
- Curatives for encounters that exhaust your healing resources.
- Cold protection or Heatstones for mountain weather.
- A camping kit if your party may need to recover before reaching the objective.
- Enough free carrying capacity to collect useful equipment without becoming heavily encumbered.
You do not have to finish every side quest before going north. The stronghold remains the next main story destination.
Follow the Mountain Road
Leave the settlement along the northern road and continue climbing toward Beorcan Stronghold.
The terrain becomes more dangerous as you approach the mountain defenses. Beorcans can attack in groups, and the surrounding paths contain steep drops, brittle ice, and narrow sections where a poorly timed dodge or knockback can send you off the route.
There are places to rest along the way, so use a campsite if the party is already struggling before reaching the stronghold. You can leave optional side passages for a later expedition.
Survive the First Fallen Dragon Battle
The situation changes dramatically when you encounter the Fallen Dragon at the stronghold.
A mysterious warrior is already confronting it. During the battle, the dragon displays an unusual ability to recover from damage, making it different from an ordinary monster you can defeat through sustained attacks.
This is not the final battle.
Fight through the encounter until the story advances. You are not expected to kill the dragon permanently here, and repeatedly attempting to overpower its regeneration will not replace the investigation that follows.
After the confrontation, you awaken back at the Norgandian Settlement.
2. Seeking the Sage — Find a Way to Reach Her
After surviving the first Fallen Dragon encounter, return to the Norgandian Settlement and speak with Polyeidus.
He cannot explain the dragon’s extraordinary regeneration and asks you to seek the Sage of Norgan. However, her whereabouts are unknown to the commission.
You need the Spirit Compass to locate her. Dorin can help you obtain it before you leave the settlement.
Follow the Sage’s Wisdom route and riddle solutions to reach the Sage, complete her three requests, and learn what she knows about the Fallen Dragon.
The Sage explains that the dragon’s condition is connected to the separation of Body, Soul, and Will. She also reveals that its original body lies within an ancient castle beyond a frozen barrier.
Once she has answered your questions, return to Polyeidus at the Norgandian Settlement.
His investigation now turns toward Norgan’s buried historical records, beginning Sealed History.
3. Sealed History — Locate the Buried Study
Polyeidus believes the answer lies in Norgan’s history.
The region was once prosperous, and the scholar suspects that its downfall involved something more significant than the barbarian attacks and severe weather commonly blamed for its abandonment.
He needs access to the Sealed Study, which contains historical records that may identify the location connected to the Fallen Dragon.
Reach the Commission’s Excavation
Travel toward the expedition’s position near the mountain stronghold.
The soldiers have been investigating underground passages beneath the snow. Their work is part of the route into the study, so follow the expedition rather than attempting to find another entrance through distant mountain paths.
Proceed through the accessible passages, defeat enemies obstructing the group, and reach the study with Polyeidus.
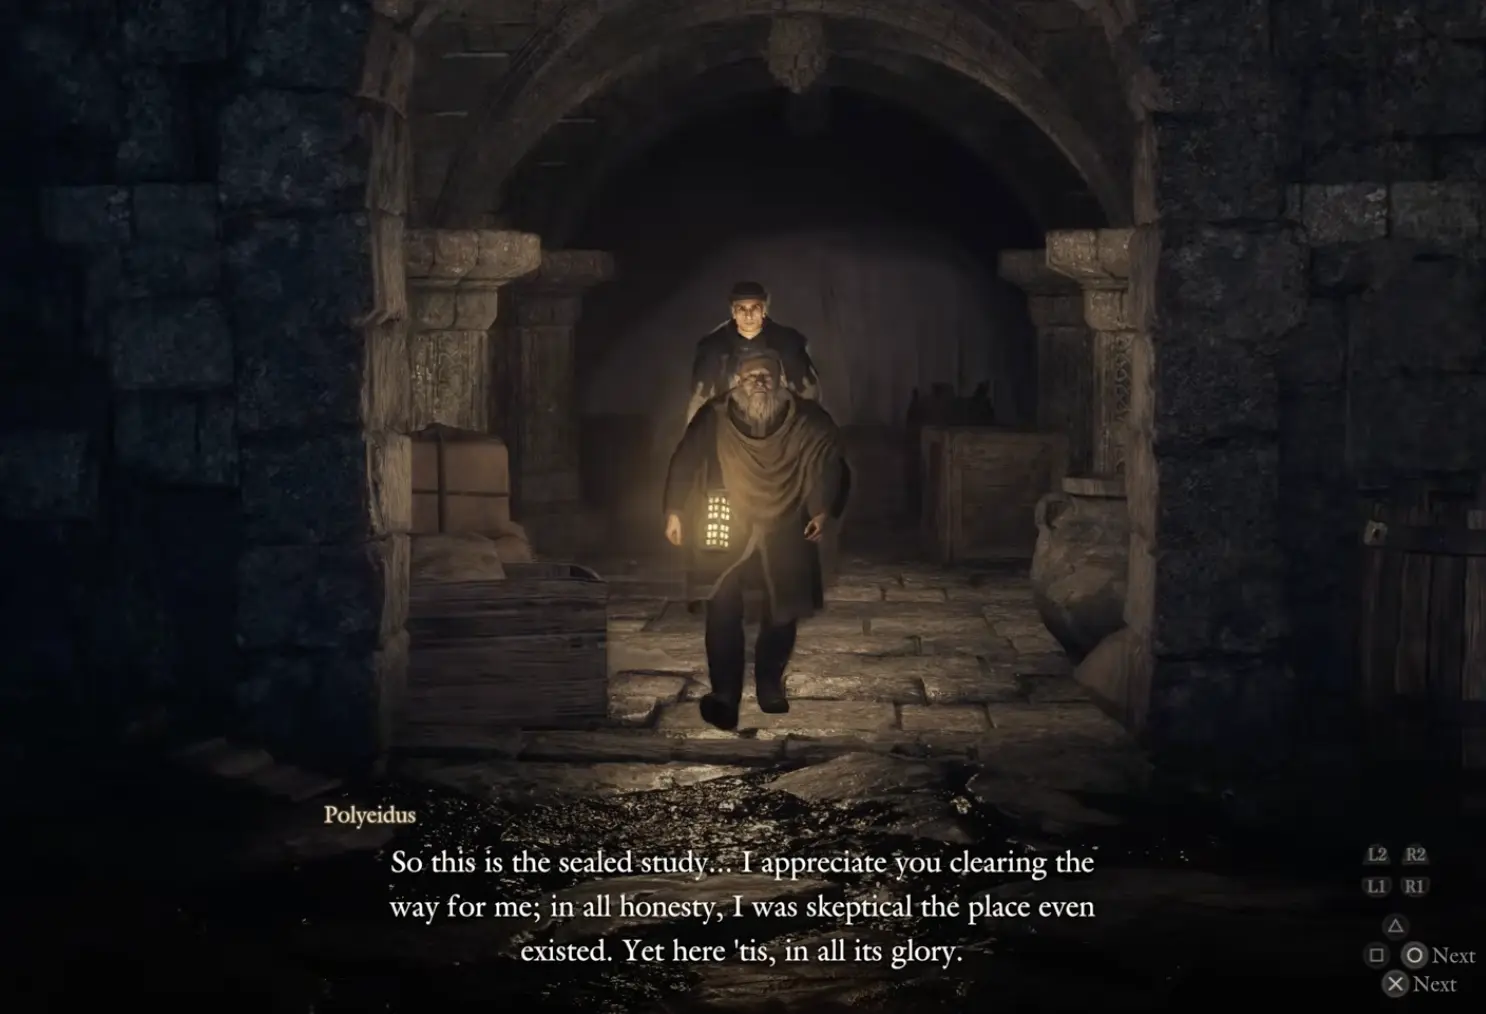
Reaching the room is only the first part of the objective.
Return After Polyeidus Finishes His Research
Polyeidus begins working through the surviving records and needs time to identify the next location.
Rest and speak with him again after his research progresses. He eventually identifies Lorade Castle, the ancient structure associated with the Fallen Dragon and Norgan’s lost history.
The castle lies beyond the mountain stronghold, but knowing its location does not mean the route is fully open.
Check the commission’s progress on the obstructed passages before setting out. Some of the work depends on the soldiers clearing rubble, not on an item you can collect independently.
If you have reached the Sealed Study and nothing seems to happen afterward, return to Polyeidus and complete his next conversation. Searching other ruins will not substitute for his findings.
4. The Castle in the Ice — Summon Gagana and Melt the Ice Wall
The route toward Lorade Castle is blocked by a massive frozen barrier.
Ordinary weapon attacks cannot remove it, and simply applying common fire magic is not enough to melt the obstruction.
During the investigation, you encounter the mysterious warrior again: Eir, who is trying to reach the castle herself.
She explains that a rare fiery creature called the Gagana may provide sufficient heat to destroy the ice. You will need the Spirit Compass and the feather associated with the creature to find its location.
Follow Eir Toward Gagana’s Grotto
Use the Compass and travel with Eir across the snowy terrain.
The journey passes through dangerous mountain paths, broken crossings, and areas where cold weather can interfere with exploration.
Keep your cold-protection supplies available. If a Whiteout begins, use the main map to check your position against the roads and terrain. The smaller minimap becomes difficult to read during these storms, but the full map remains useful for navigation.
Heatstones help manage exposure to the cold. You can obtain them by breaking suitable fire pits, and a commission request later teaches you how to craft more. That task involves collecting samples for the researchers and returning after their study is complete.
Continue toward the location indicated by the Spirit Compass.
When you arrive, Gagana is absent. Instead, you discover an altar with three large pyres and the remains of monsters nearby.
How to Summon Gagana
The altar is a summoning puzzle. Gagana does not appear just because you enter the area or interact with a single fire pit.
You need to create three burning offerings.
- Find the three pyres in the ritual area and light them.
- Defeat the Nekkon lurking around the grotto. These creatures can blend into the snowy surroundings.
- Pick up a defeated Nekkon’s body and carry it to one of the burning pyres.
- Place the corpse on the pyre so that it burns.
- Repeat until all three pyres contain burning offerings.
Two Nekkon can be encountered around the main ritual area, with another in the nearby passages. Search the adjoining caves if you have fewer than three bodies.
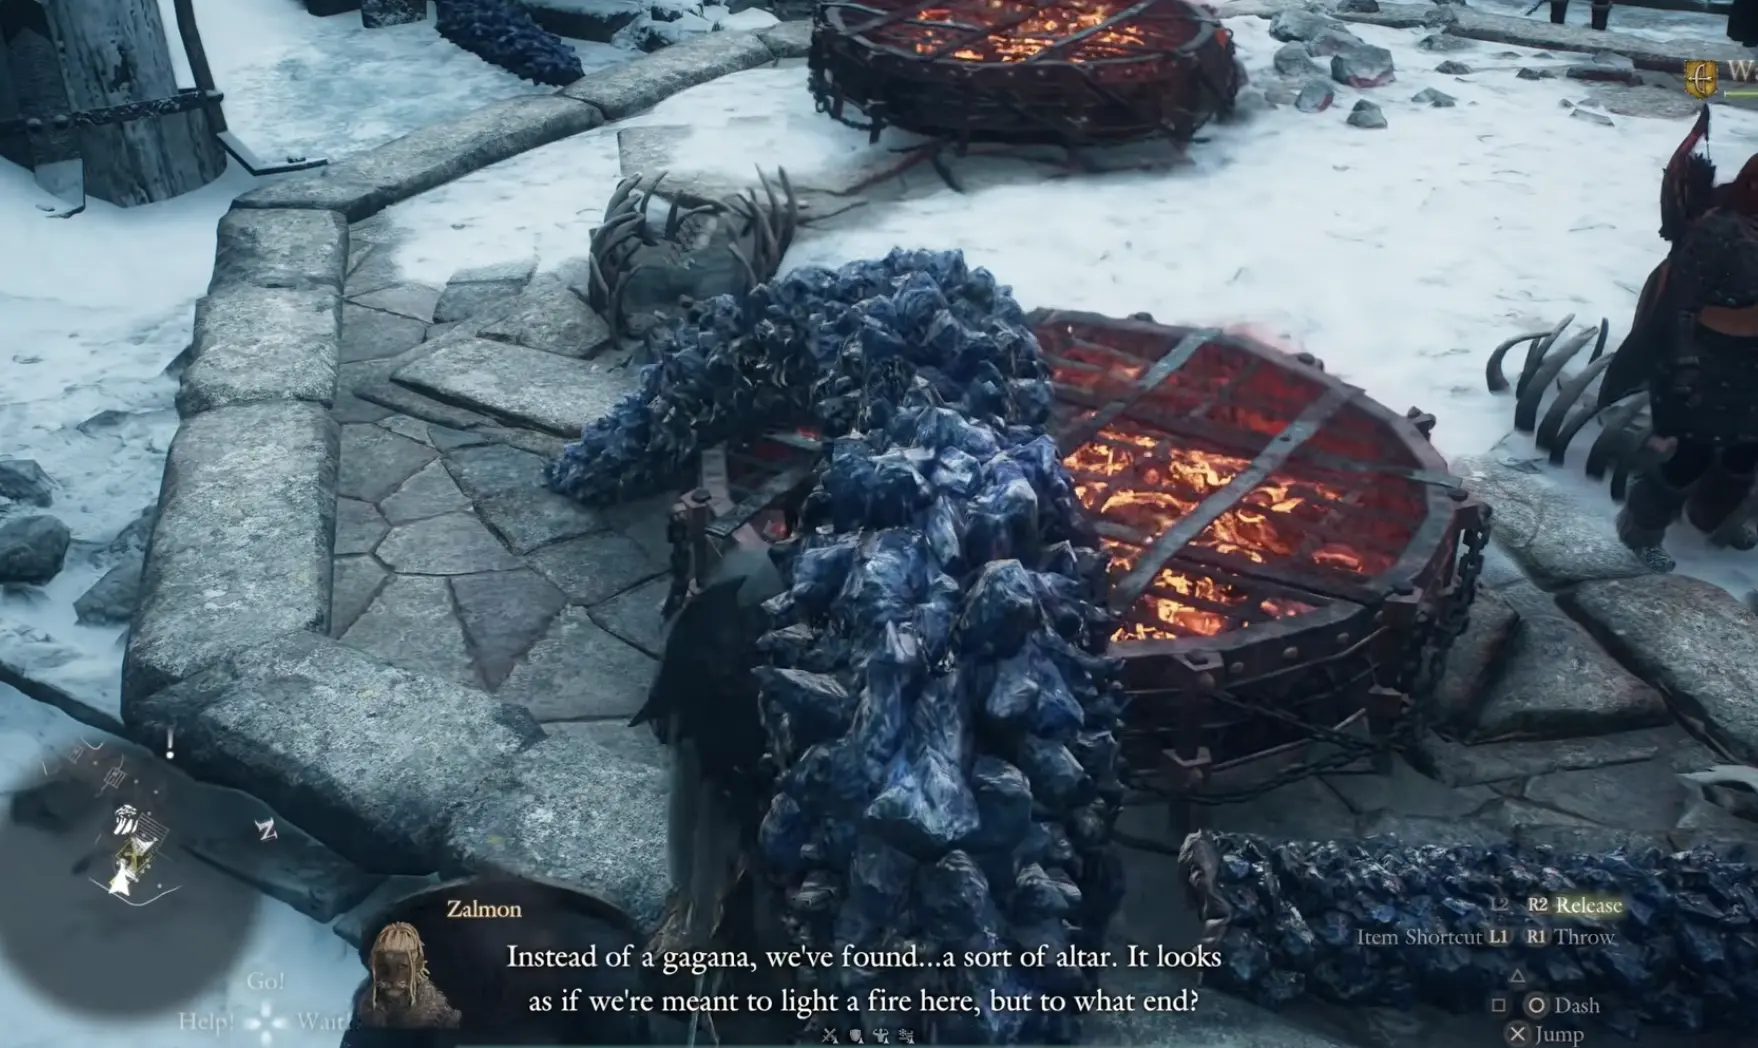
When all three offerings are burning, the ritual summons Gagana.
This is the encounter’s main puzzle. If nothing happens, inspect the pyres and confirm that a corpse has actually been placed on each one.
Defeat Gagana and Recover Its Tallow
Gagana is a fire-based flying creature. Unlike the surrounding cold-resistant enemies, it presents a considerable fire threat.
Before the fight, restore your health and make sure your Pawns have enough resources to survive repeated attacks. Its ability to move through the arena makes ranged damage particularly useful when melee characters cannot reliably reach it.
Defeat the creature and obtain the Gagana Tallow required for the frozen barrier.
The next objective is not to apply the material directly to the ice wall. Eir explains that the stronghold has a siege weapon capable of delivering the burning substance to the obstruction.
Return to the Mountain Stronghold Ballista
Travel back toward Beorcan Stronghold and reach the elevated ballista overlooking the frozen barrier.
The Tallow provides the heat needed to turn the siege weapon into an effective way of breaking through the ice.
Use the ballista against the obstruction.
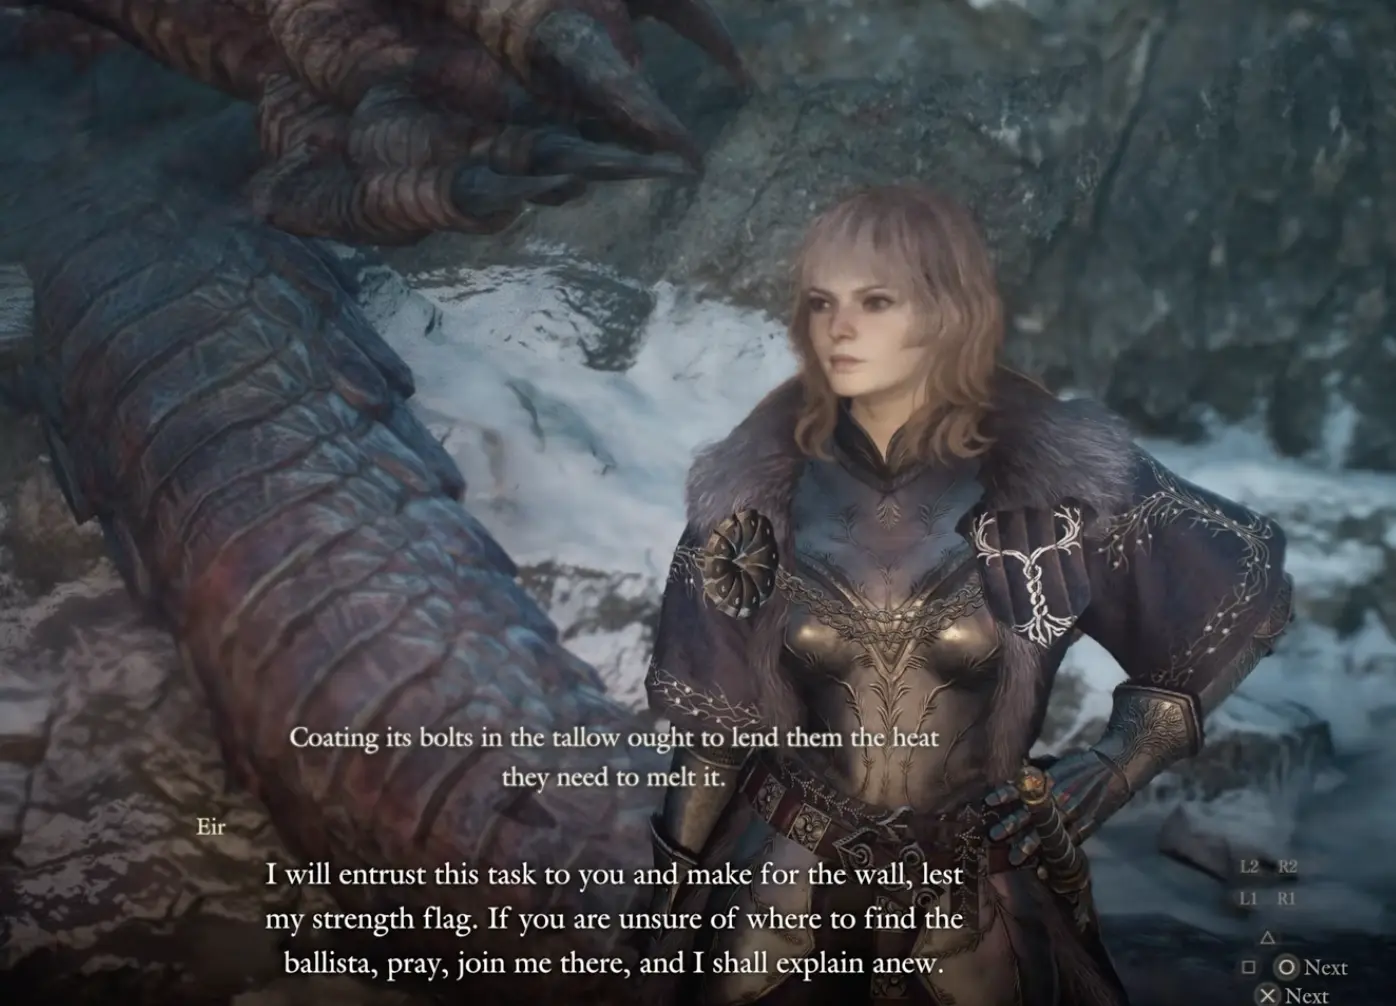
Once the frozen wall is destroyed, the passage toward Lorade Castle becomes accessible.
If you have obtained the Tallow but the castle route is still blocked, return to the siege weapon. Carrying the material by itself does not clear the ice.
5. Enter Lorade Castle and Make the Choice About Rovall
Continue through the opened route and enter Lorade Castle.
Inside, the investigation reaches its most important discovery: the remains of an ancient Arisen named Rovall, whose fate is directly connected to the Fallen Dragon.
Eir has been guarding the body because Rovall was her master.
She explains that the Fallen Dragon is Rovall himself, transformed into a draconic being after failing to overcome a corrupting power. She hopes that restoring him may still be possible.
The immediate problem is that destroying the body has been proposed as a way to end the dragon’s unnatural existence.
Eir refuses to allow that.
Choose “Agree Not to Harm the Corpse”
During the confrontation with Eir, select:
“Agree not to harm the corpse”
This allows the search for another solution to continue.
Eir asks you to consult the Sage again. She remains at Lorade Castle to protect the body while you investigate a way to restore Rovall’s life.
Return to the Sage rather than attempting to attack the Fallen Dragon again.
Learn How to Restore Body, Soul, and Will
The Sage explains the problem with the Fallen Dragon’s immortality.
The creature is separated from normal life and death. It cannot be permanently killed while remaining in that condition.
To change this, you must restore the three components of life:
- Body — Rovall’s remains, already located at Lorade Castle.
- Soul — sacrificed during the ancient attempt to seal the corrupting power.
- Will — stolen by the power that transformed Rovall into the Fallen Dragon.
The remaining objective is therefore to recover his Soul and Will.
This is different from the three Sage riddles you completed earlier. The riddles required symbolic objects; Rovall’s restoration requires recovering what was lost to the ancient calamity.
Speak with Polyeidus after learning this. He can help reconstruct the historical events that led to Rovall’s sacrifice.
6. Soul Searching — Find the Three Missing Slab Transcriptions
Return to the Sealed Study and explain the Sage’s information to Polyeidus.
He believes Norgan’s historical records may reveal where Rovall’s soul was sacrificed.
The records are incomplete.
There are three stone slabs in the study, but the scholar determines that the original set contained six.
The other three are missing, and you must recover their inscriptions before he can finish his research.
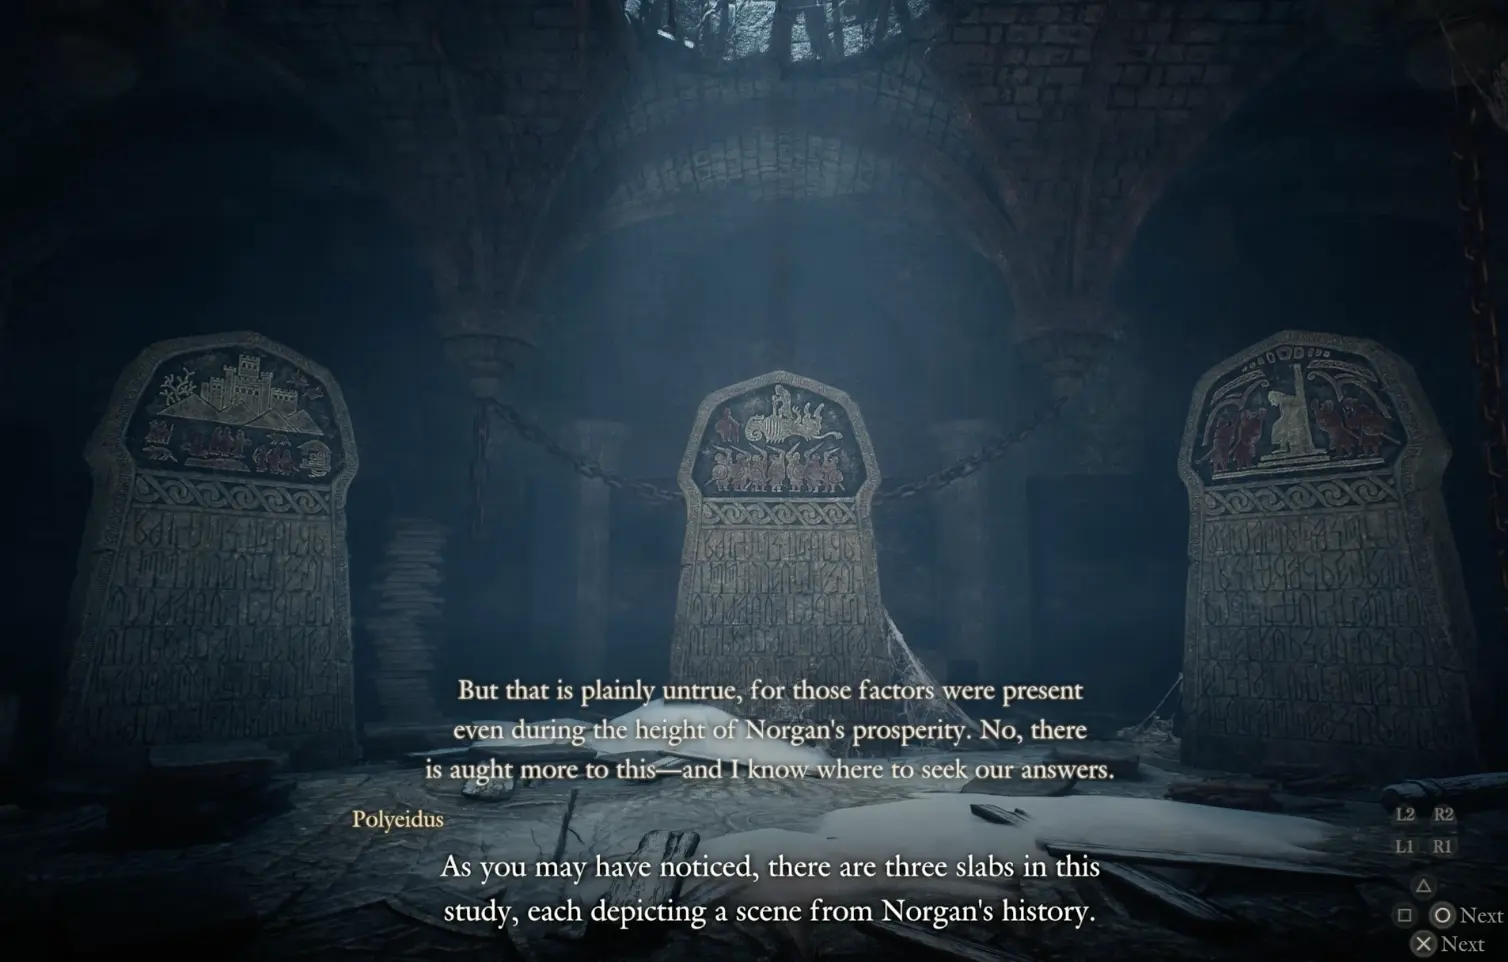
Search the Passage East of Beorcan Stronghold
Polyeidus identifies a passage beneath the snowfield east of the mountain stronghold as the original storage location.
Take the transcription tools he provides and travel toward the indicated area.
The entrance leads beneath the snow rather than to an obvious surface ruin. Once inside, follow the connected passages and search for the missing inscriptions.
You need three transcriptions, not three physical slabs to carry back.
Locate each remaining record, make the required transcription, and continue until all three have been collected.
Returning with an incomplete set does not allow Polyeidus to reconstruct the full account.
Bring All Three Transcriptions to Polyeidus
Return to the Sealed Study and hand over the transcriptions.
Polyeidus needs more time to decipher the full collection. Rest and return when his research is ready.
His findings connect Rovall’s sacrifice to a sword, a sealing ritual, and an enormous demonic abyss beneath Norgan.
The records depict a temple near the place where the ancient ritual was performed.
By comparing the slabs with surviving architectural descriptions, Polyeidus identifies the structure as Morria Temple, once situated within the inner grounds of Lorade Castle.
That gives you a destination, but the passage leading farther into the ruins remains blocked.
7. Open the Sealed Gate and Continue Toward Morria Temple
Polyeidus points out a gate beside the Sealed Study that leads toward the ruined castle town.
The commission’s soldiers have been assigned to breach it with explosive casks brought from a nearby campground.
However, the explosives have not arrived.
Find the Soldier Carrying the Explosives
Leave the study and follow the expedition’s route toward the campground.
The soldier transporting the casks has encountered monsters and cannot complete the delivery.
Help him deal with the threat, then speak with him so he can resume the task.
Return toward the sealed gate once the explosives have been delivered.
The soldiers can then complete the demolition and open the route into the ruined castle town.
Do not spend time searching for a hidden key to this gate. Its progression condition is tied to the commission’s explosives.
Follow the Ruined Castle Town Toward the Abyss
Continue through the opened passage toward the ancient structures beyond the study.
The route eventually approaches Abyss Ridge and the enormous chasm associated with Niflhel.
Reaching the abyss establishes where the ancient sealing ritual occurred, but it does not immediately give you a way across.
The gap separates you from Morria Temple, and ordinary exploration cannot provide a straightforward route through it.
You still need to recover Rovall’s Soul and Will before the final confrontation with the Fallen Dragon can begin.
8. Return to Eir and Secure Rovall’s Remains
Return to Lorade Castle and speak with Eir.
She has continued guarding Rovall’s remains and cannot abandon them while the missing Will is being sought.
She believes the Will was taken by the fiend responsible for transforming her master. It is connected to the Fallen Dragon’s missing heart, which the corrupting power possesses.
Eir knows of a protective barrier built into the castle’s defenses.
Activating it will allow her to leave Rovall’s body safely behind.
Have Your Main Pawn Guard the Body
Eir cannot personally activate the outer statues without leaving the remains exposed.
Your Main Pawn can stand guard in her place.
Make sure your Main Pawn is present when you speak with Eir. The conversation establishes that your Pawn can protect the remains while Eir accompanies you around the castle.
Once that arrangement is made, you can begin restoring the protective ward.
Activate the Two Remaining Ward Statues
Eir knows the sequence required to activate the barrier.
Follow her around the castle’s perimeter and assist her as she approaches the inactive statues.
At this stage, two statues remain inactive.
You do not need to solve a new symbolic riddle. The difficulty comes from reaching the statues while fighting through enemies and navigating the castle’s damaged structures.
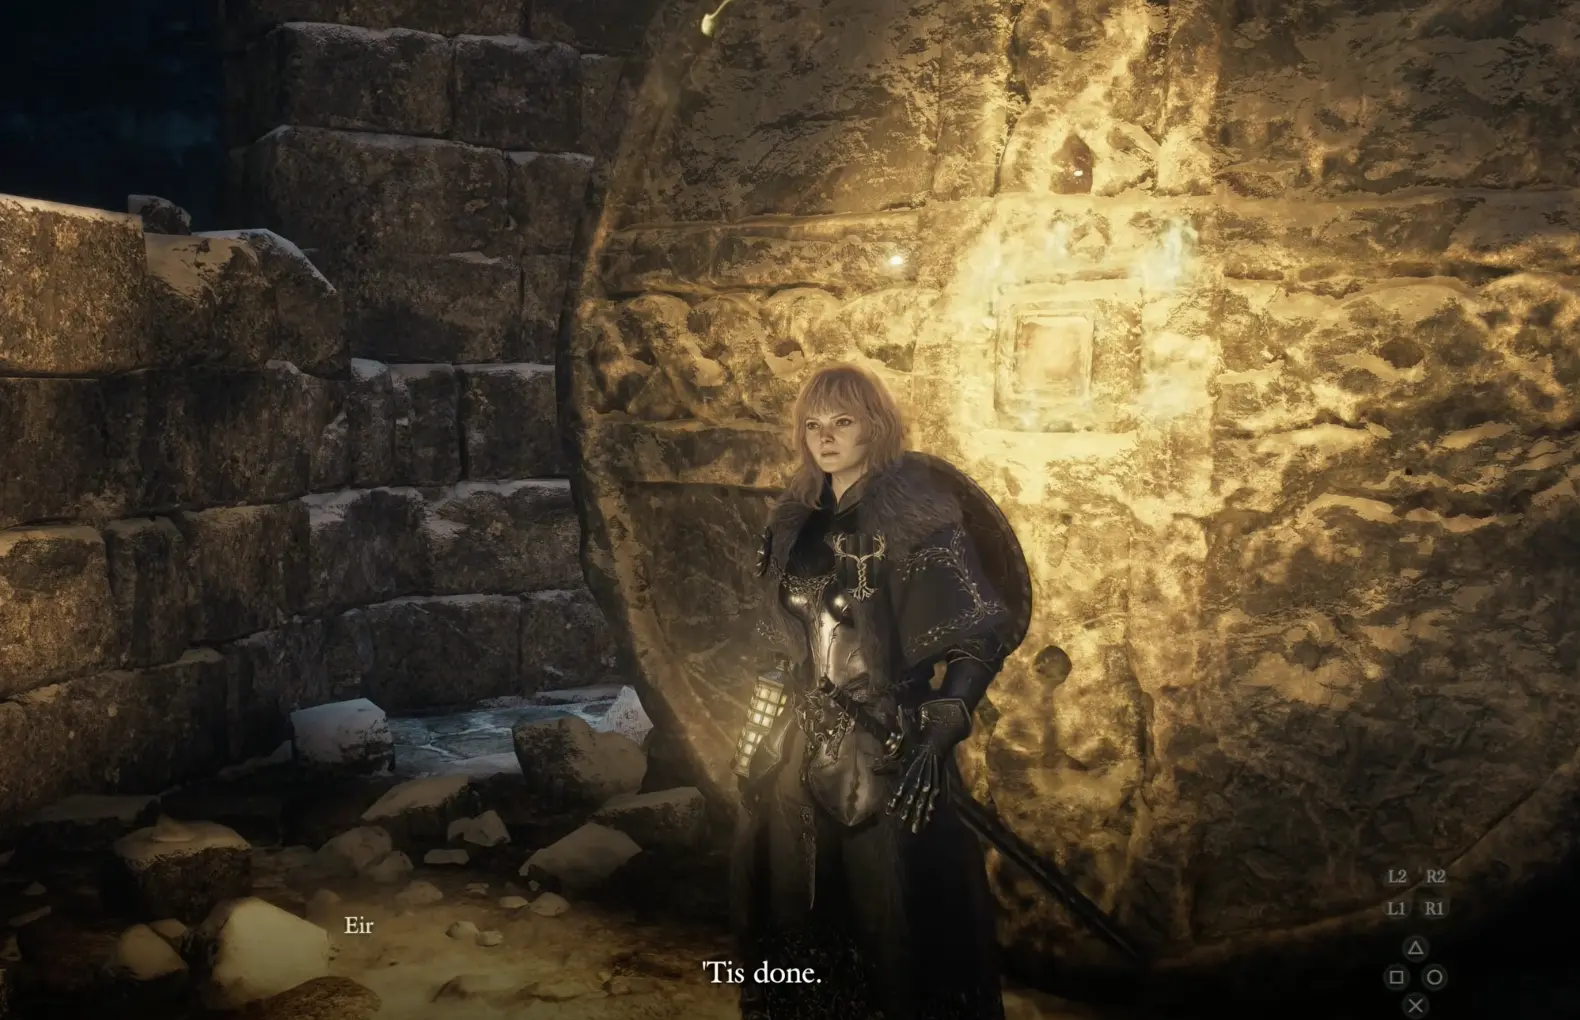
Some routes involve elevated sections, ice hazards, and blocked approaches. Stay close enough to help Eir reach the statues rather than running ahead to an unrelated part of the castle.
After the last statue is activated, the barrier protects Rovall’s body. Eir can finally leave the remains without exposing them to another attack.
Close the Fiend’s Portal Near Lorade Castle
Eir recognizes the creatures attacking the castle as servants of the fiend that transformed Rovall into the Fallen Dragon.
Their presence suggests that an entrance to the fiend’s domain must be nearby.
Agree to accompany Eir and follow her toward the suspected portal.
Defeat the enemies guarding the entrance while Eir works to seal it. Once the portal is closed, an unexpected discovery changes the investigation: the Fallen Dragon’s Heart appears, speaking with Rovall’s voice.
The voice attempts to convince Eir that her master no longer wishes to be restored.
Eir recognizes the deception. She senses that Rovall’s stolen Will remains connected to the heart and resolves to pursue the fiend responsible.
The Soul must also be recovered, and the next lead comes from what Eir remembers about Rovall’s ancient sacrifice.
Find Rovall’s Soul Blade Near the Abyss
Polyeidus’s research points toward the abyss beneath Norgan, where Rovall once sacrificed his soul to imprison the demons threatening the world.
Eir recalls that Rovall transformed his soul into a blade during the sealing ritual. The weapon remains somewhere near the abyss.
Follow the investigation toward the area overlooking Niflhel.
During the search, Eir begins to sense Rovall’s presence. The Fallen Dragon then appears, and the Soul Blade reacts to its presence by emitting a visible light.
The objective is to recover the sword, not permanently defeat the Fallen Dragon.
Eir offers to draw the creature’s attention while you move toward the light.
Reach the Glowing Sword While Eir Distracts the Dragon
The encounter takes place in dangerous terrain around the abyss, with the Fallen Dragon interfering as you try to reach Rovall’s soul.
Eir attempts to hold the dragon’s attention, giving you an opportunity to move toward the glowing location.
A nearby ballista can help repel the creature. Attack its exposed weak points when an opening appears, but remember that this is still the immortal Fallen Dragon.
If the creature retreats before you collect the sword, continue toward the remaining light. Eir warns that the glow will fade now that the dragon has withdrawn, so do not abandon the objective to explore unrelated passages.
Proceed through the connected route until you reach the blade.
Eir recognizes it as her master’s weapon.
Recover Rovall’s Soul Blade to complete this part of the search.
Only Rovall’s Will Remains
After the sword is recovered, Eir confirms that Rovall’s Soul has been found.
During the investigation, she also remembers more of her previous journeys and how the ancient sealing ritual took place.
The remaining component is Will, which is still held by the fiend associated with the Fallen Dragon’s Heart.
Eir has traced that fiend toward Morria Temple, across the abyss of Niflhel.
She can cross through the Rift, but the Arisen needs another means of reaching the far side.
9. Where There’s a Will, There’s a Way — Reach the Fiend’s Domain
With Rovall’s Soul Blade recovered, the remaining task is to reclaim his Will from the fiend hiding in Morria Temple.
Eir has traced the enemy to the far side of Niflhel. She can travel there through the Rift, but the Arisen cannot cross the enormous chasm by ordinary means.
Return to the Sage and ask whether she can help you reach Morria Temple.
Ask the Sage to Carry You Across Niflhel
Explain the situation to the Sage and ask for her help crossing Niflhel.
She agrees to help you cross the abyss, although an enemy attack interrupts the departure.
Defeat the attackers threatening her and speak with her again after the area is safe.
When prompted, climb onto her back.
She carries you across the gap toward Morria Temple, avoiding the need to find an ordinary road around the chasm.
Do Not Use the Temple Elevator Yet
Inside Morria Temple, you encounter an elevator capable of traveling upward through the structure.
It may look like the obvious route, but Eir senses Rovall’s stolen Will below your current position.
Leave the elevator for later.
Follow the descending route into the temple’s lower sections. You will encounter dangerous enemies, damaged ground, and passages that are not immediately accessible.
There are also areas with sharp environmental hazards. Watch the terrain rather than fighting without regard to where an enemy can knock you.
Find the Key on a Fallen Soldier
A locked door eventually blocks your progress.
Eir explains that soldiers once attempted to seal the temple, and one of their bodies may still hold the necessary key.
Search the remains of the fallen soldiers in the surrounding area.
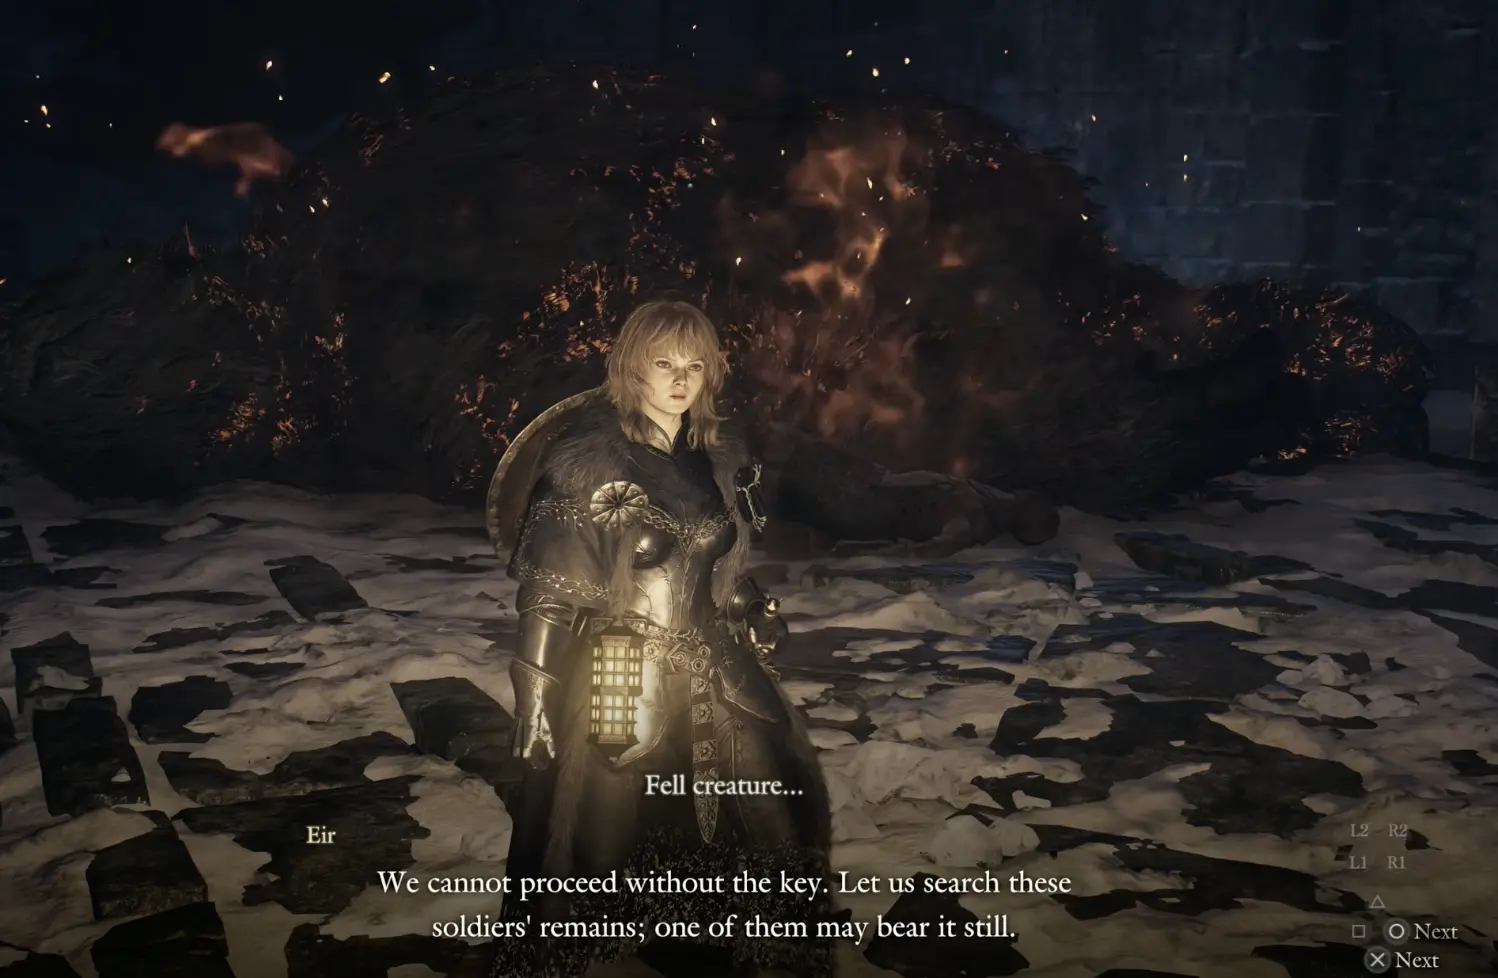
Return to the door once you have the key and open it.
If you are standing at the locked door with no apparent way forward, there is no reason to return to the settlement. The required item is associated with the nearby fallen soldiers.
Continue through the lower passages until you approach the fiend’s domain.
Enter the Portal With Eir
The realm ahead is not normally accessible to an Arisen.
Eir explains that the Godsbane offers a way through.
Speak with her when ready, then enter the portal to confront the fiend holding Rovall’s Will.
During the encounter, the fiend uses lesser demons to interfere with your attacks and attempts to replenish its strength.
Keep the supporting enemies under control while maintaining pressure on the main target. Allowing the smaller creatures to overwhelm the party can make an already difficult fight considerably longer.
Defeat the fiend and reclaim the stolen Will.
With the missing components recovered, Rovall’s life can be restored to the Fallen Dragon, allowing the creature to become mortal again.
The next step is to return to Morria Temple’s elevator for the decisive battle.
10. Reunion — Defeat the Fallen Dragon
Return to the elevator in Morria Temple.
Eir waits nearby and warns that taking it leads directly to the Fallen Dragon.
Unlike your first encounter at Beorcan Stronghold, this is a confrontation that can bring the creature down permanently.
The story has addressed the reason the dragon could not previously be slain, but that does not make the fight itself easy.
Prepare Before Taking the Elevator
You cannot freely turn back once you commit to the encounter.
Check your party before proceeding:
- Restore health and remove accumulated Loss Gauge damage where possible.
- Equip weapons that can deal meaningful damage against large enemies.
- Bring sufficient curatives for an extended encounter.
- Replace underleveled hired Pawns if they have begun falling behind your Arisen.
- Confirm that your party has appropriate defensive and support abilities.
If the temple’s ordinary enemies have repeatedly defeated your Pawns, upgrade your equipment before taking the elevator.
You do not have to unlock every vocation ability in Norgan first. However, if a new skill or permanent stat enhancement would address a weakness in your current setup, the Obelisks of Benediction locations and upgrades provide the corresponding requirements.
Fight the Dragon After Its Immortality Has Been Removed
The crucial difference between this battle and the first stronghold encounter is the dragon’s condition.
Rovall’s missing Soul and Will have been recovered, making it possible to restore life to the undying creature.
The Fallen Dragon can now be slain.
Fight cautiously, avoiding the largest attacks and using the openings after its movements to deal damage. Preserve enough stamina for defense rather than spending everything on one attack sequence.
If the battle becomes long, that does not mean the immortality problem has returned. The required story condition was resolved before you entered the arena.
Defeating the Fallen Dragon allows Rovall’s restoration to reach its conclusion.
Eir’s efforts to save her master are finally rewarded.
However, the Norgan story does not end here.
11. Ruin Night — Investigate the New Calamity
After the Fallen Dragon is defeated, an unnatural darkness spreads across Norgan.
The sky changes, and the villagers realize that a deeper threat remains.
Return to the Norgandian Settlement.
Speak With Dorin About the Darkness
Dorin approaches the Arisen and explains that the settlement is in danger again.
He formally asks you to investigate the cause of the new calamity and help defend Norgan.
The request is different from the earlier investigation into the Fallen Dragon. That enemy has already been defeated, but the force responsible for its corruption still exists.
Dorin suggests speaking with Polyeidus, whose research into Norgan’s history may provide an explanation.
Travel to the Sealed Study and ask Polyeidus about the darkness.
He recalls an account describing a night when a vast disturbance appeared in the sky and daylight ceased.
The similarities suggest a connection to Niflhel.
Polyeidus directs you toward Abyss Ridge, where you can investigate the source of the disturbance.
Travel to Abyss Ridge and Speak With the Pathfinder
Make your way to Abyss Ridge and approach the location overlooking Niflhel.
There, the Pathfinder explains that defeating the Fallen Dragon only stopped one manifestation of the deeper corruption.
The power within Niflhel remains intact.
Entering the abyss is not straightforward. Its darkness rejects the Arisen, so another means of gaining access is required.
The Pathfinder entrusts you with the Soulless Godsbane Blade.
This was once the blade that held Rovall’s soul. Its earlier purpose has ended, leaving it an empty vessel that can now collect the rancorous souls spreading through Norgan.
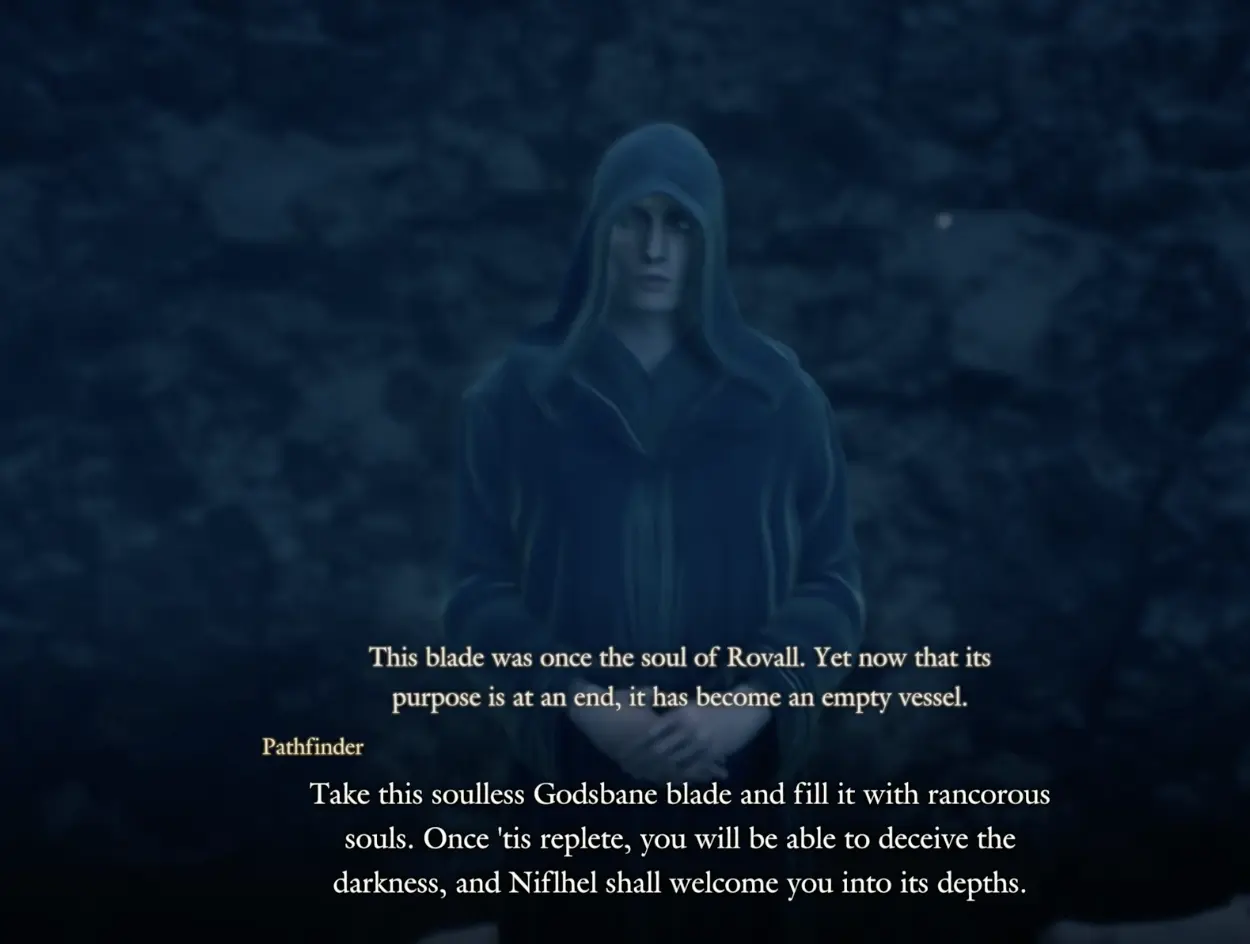
The weapon is not yet ready to open the way.
You must fill it by clearing the vortexes that have appeared across the region.
12. Into Rancor — Clear the Vortexes and Enter Niflhel
The final Norgan investigation centers on the Ruin Night vortexes.
Each vortex contains hostile forces connected to the corruption of fallen Arisen.
The Eye of the Sphinx can help identify their locations.
Use the current objective and the available location information to find the affected areas.
Clear the Vortexes to Fill the Soulless Godsbane
Approach each vortex and enter the corrupted area.
Defeat the required enemies until the disturbance is dispersed. As the vortex closes, its rancorous souls are absorbed into the Soulless Godsbane.
You may clear one location successfully without completing the overall objective.
The blade still needs enough souls before it can become the weapon required to enter Niflhel.
Continue locating and clearing the remaining vortexes rather than returning to Abyss Ridge after every individual encounter.
Eventually, the vessel becomes the Blade of Rancor.
Return to Abyss Ridge With the Blade of Rancor
Once the blade is complete, return to the location overlooking Niflhel where the Pathfinder explained the plan.
The weapon now contains the power required to pass into the darkness.
You do not need to repeat the earlier search for Rovall’s body, the historical slabs, or Morria Temple. Those objectives belong to the completed restoration of the Fallen Dragon.
Your task now is to enter the abyss itself.
Follow the final instruction at Abyss Ridge and use the completed blade to gain access to Niflhel.
The descent leads into the final confrontation.
Defeat the Thane of Darkness
Deep within Niflhel, you face the Thane of Darkness, the being associated with the corruption that transformed Rovall and threatened Norgan.
This is the final threat of the campaign, separate from the Fallen Dragon you defeated at Morria Temple.
Bring enough healing supplies for a sustained encounter and avoid committing every available resource to a single burst of damage. Maintaining stamina for movement and defense is important when the boss begins another attack sequence.
Deal damage during openings between its attacks while preventing the party from being overwhelmed.
Defeating the Thane ends the immediate threat to Norgan.
After the confrontation, the Pathfinder acknowledges that the corruption has been contained and directs the Arisen back toward their own world.
That completes Into Rancor and the Norgan main story.