How to Unlock and Beat A Triumph of Death in Warhammer 3
Complete Nagash's Long Victory requirements, hold the Ritual Site, survive the Chaos and Skaven waves, and remove Settra's Priests to win.
Updated:
Quick Answer
Finish Nagash’s Long Victory checklist before looking for the battle. Once inside, protect the artillery through the opening assault, keep enough force around the Ritual Site during the Chaos phase, and make sure Nagash survives. When Settra arrives, kill his Priests to remove his protection, then concentrate the surviving army on Settra.
Applies to Update 9.0.2.
Three things ruin most A Triumph of Death attempts: too much damage taken during the opening armies, abandoning the Ritual Site while chasing Chaos reinforcements, and throwing exhausted units into Settra while he is still protected.
The battle is long enough that the army you have after the first wave matters more than how quickly that wave dies. Artillery and durable infantry need to survive into the middle phase, mobile characters need enough health left to answer Archaon and the Skaven, and Nagash must remain alive all the way to the victory screen.
How to Unlock A Triumph of Death
A Triumph of Death is the final battle listed under Nagash’s Long Campaign Victory.
Before it appears as the final objective, the victory panel requires:
- collect 6 Books of Nagash;
- unlock 6 Mortarchs;
- empower 150 Sigils in the Black Pyramid;
- then win A Triumph of Death.
If 150 Sigils is the remaining blocker, Mortarch rewards contribute part of the total, while Ritual of Undeath devastation can activate additional Sigil rewards from eligible settlement buildings.

If Mortarch progress is the part holding the checklist back, finish those requirements through the Nagash Mortarch route rather than adding unrelated conquests.
What If A Triumph of Death Does Not Appear?
If the Long Campaign Victory panel shows 6 Books of Nagash, 6 Mortarchs, and 150 empowered Sigils complete but A Triumph of Death still does not become available, do not start collecting extra Mortarchs or Books in search of an invisible requirement.
Update 9.0.x has had progression problems involving Mortarch counting and late-campaign objectives. Reopen the Victory Conditions panel, confirm that all three visible counters remain complete, then advance a turn and check the mission again.
Mannfred’s quest state and active End Times crises have also appeared in player troubleshooting for a missing battle, but neither should be treated as a universal extra requirement. If every visible Long Campaign Victory condition remains complete and the battle still does not appear, the campaign may be stuck on progression rather than waiting for another normal objective.
Deploy for the Army You Need Ten Minutes Later
Put artillery where it has an unobstructed lane into the first approach. Keep Grave Guard or another durable infantry block close behind, with enough distance that the artillery can fire but little enough that fast attackers cannot isolate it before the infantry responds.
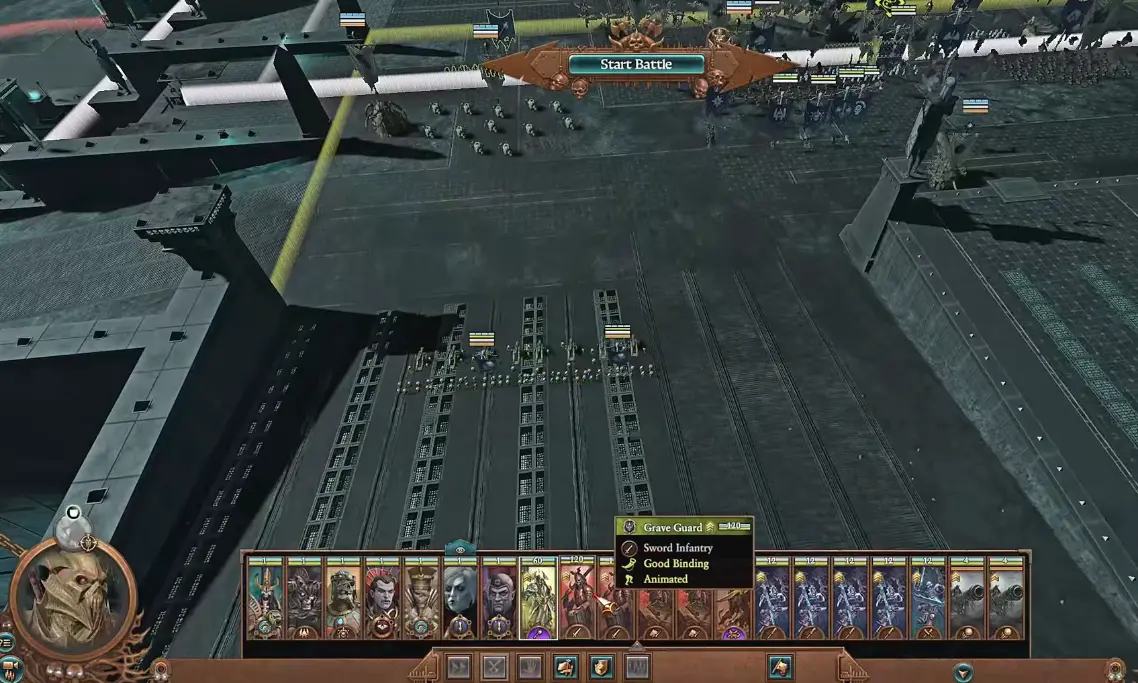
The formation does not need every strong character on the front edge. Keep at least one mobile group near the middle. A flank can look secure during the Order assault and then become irrelevant when the next enemy arrives from another direction.
Mannfred, Vlad, or another powerful Mortarch can hold a side for a long time, but leaving a Legendary Lord alone on that flank for the entire battle can cost you that character before the harder phases begin. Rotate damaged characters back toward the center whenever the pressure drops.
If the army cannot support this kind of reserve without entering half-strength or under-recruited, return to the campaign map first. A temporary income deficit is not the issue; the warning sign is a treasury that cannot fund the replacements needed for this battle. The Nagash economy guide covers that cash-flow decision.
Let the Order Assault Break Against the Formation
The first major force mixes several Order factions, including Empire, Dwarf, and Kislev units. This phase encourages overconfidence because Nagash and the Mortarchs can kill quickly, but chasing retreating units spreads the army across a battlefield that will soon receive more reinforcements.
Keep the infantry line compact enough to protect the ranged core. Fast enemy units reaching artillery deserve immediate attention; low-value infantry retreating away from your position does not.
Save part of your high-impact abilities and summons. Spending every strong cooldown on the first mass of infantry may shorten this phase, but it does not give those resources back when the Ritual Site and Chaos objectives begin.
By the time the Order assault is nearly finished, start pulling mobile characters back toward the central area instead of following the last routing units.
Hold the Ritual Site When Chaos Arrives
The middle phase changes the objectives.
The battle UI requires you to:
Control the Ritual Site
and
Defeat the Warriors of Chaos
Holding the area allows the ritual to continue, while killing the Chaos Sorcerers helps banish the Daemons.
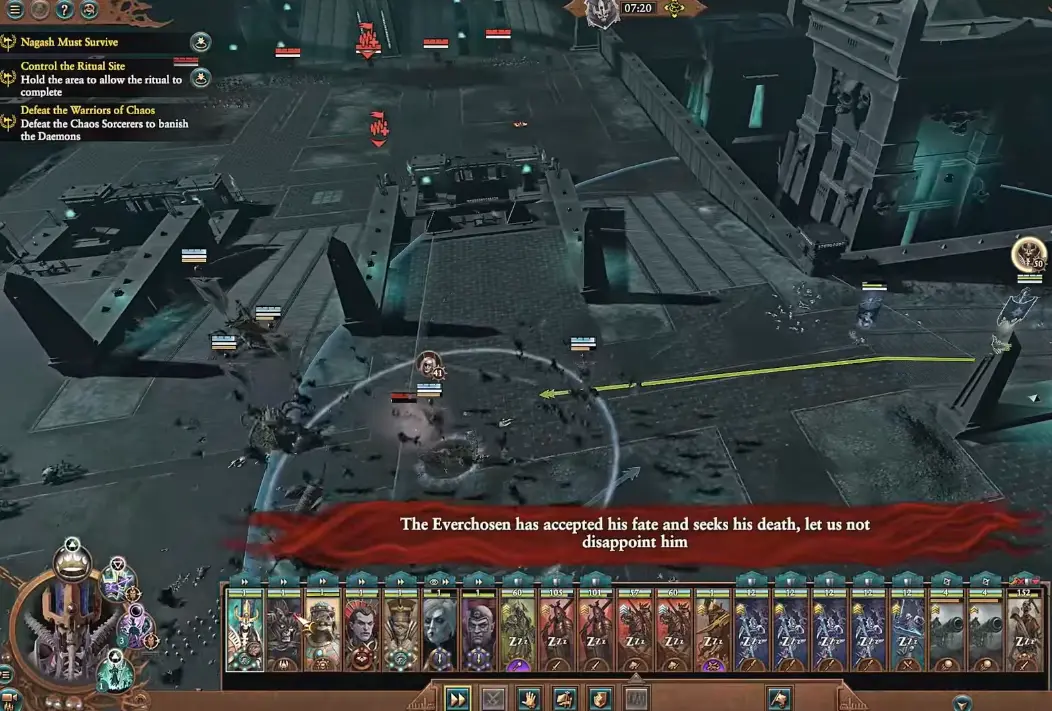
This changes how far it is safe to chase.
Sending the whole army after a routing Chaos unit can pull too much force away from the objective. Keep the slower infantry and enough supporting units around the Ritual Site, then let Nagash and the most mobile characters respond to threats outside it.
Archaon enters during this phase, and the Skaven intervention follows while earlier fighting may still be unresolved. The battlefield can become crowded very quickly, so target selection matters more than trying to kill every nearby unit equally.
Once Archaon can be isolated, concentrate enough damage to remove him instead of letting him grind through the formation. High-value Skaven characters such as Snikch should follow. Ordinary Skaven infantry becomes much easier to contain after the characters creating the real pressure are gone.
Do not empty the Ritual Site just because Archaon moves away from it.
Reform Before the Tomb Kings Arrive
There is a short period where surviving units can be pulled back together before the final phase fully develops.
Use it.
Bring damaged Mortarchs closer to Nagash, move artillery and ranged units behind something that can still hold, and stop wounded characters from sitting alone on an abandoned flank. The Tomb Kings phase adds fresh ranged pressure, and a scattered army can lose several damaged units before Settra himself becomes vulnerable.
The Casket of Souls deserves particular attention. A depleted formation packed tightly after the previous waves gives it ideal targets. When mobile units are available, use them to pressure the Casket and exposed ranged units rather than leaving damaged Grave Guard under repeated shots.
Settra’s Priests Make Him Invulnerable
The final objective is explicit:
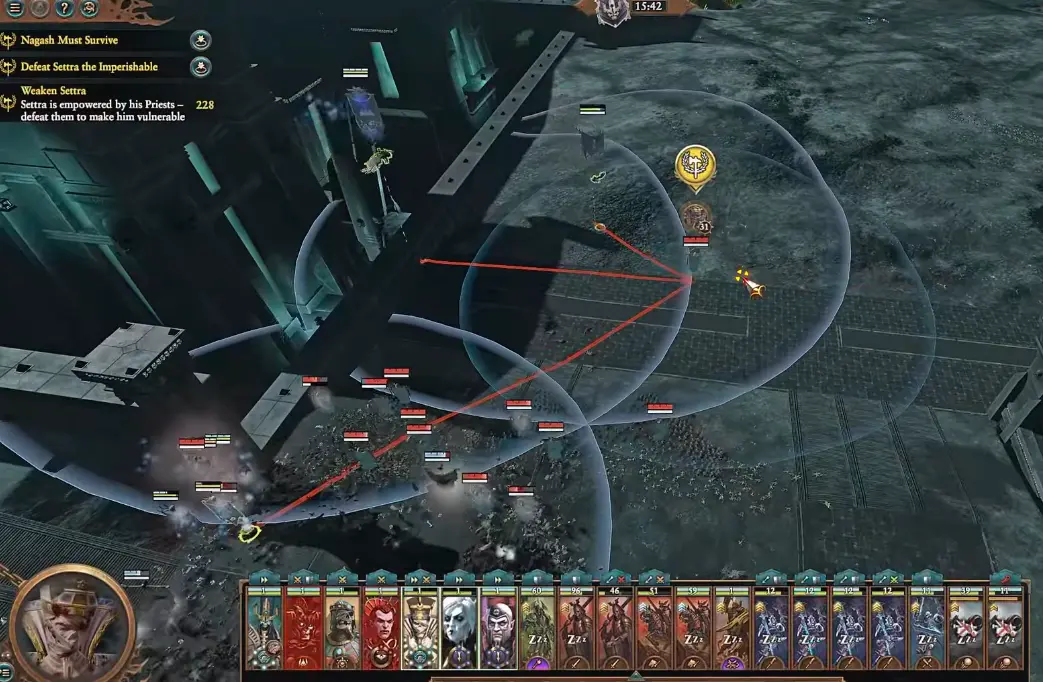
Defeat Settra the Imperishable
but Settra initially enters empowered by his Priests.
The battle UI tells you to defeat those Priests to make him vulnerable.
This is the point where wasting damage hurts most. Sending every character straight onto Settra while the protection is active accomplishes very little and leaves the rest of the Tomb Kings force free to attack your army.
The protection phase shows a 120-second window. How aggressively to hunt the Priests depends on what the battlefield looks like when Settra arrives.
When the Priests are exposed, send mobile units after them while the infantry holds the main force. If reaching them means forcing damaged units through a fresh block of Tomb Kings infantry, spend that time killing the supporting army, Casket, and ranged threats instead. There is no reason to lose several units merely to save part of the countdown.
Once the Priests are gone and Settra becomes vulnerable, the battle changes immediately.
Stop Chasing Skeletons Once Settra Is Vulnerable
At that point, Settra is the priority.
Bring Nagash and the surviving characters onto him together. Infantry only needs to hold the remaining Tomb Kings units long enough for the damage dealers to finish the objective.
A nearly dead skeleton unit running away from Settra does not deserve three elite units chasing it across the map. Keep those units in the fight that actually ends the battle.
One condition remains active throughout all of this:
Nagash Must Survive.
Losing large parts of the army does not automatically mean the attempt has failed, but losing Nagash does.
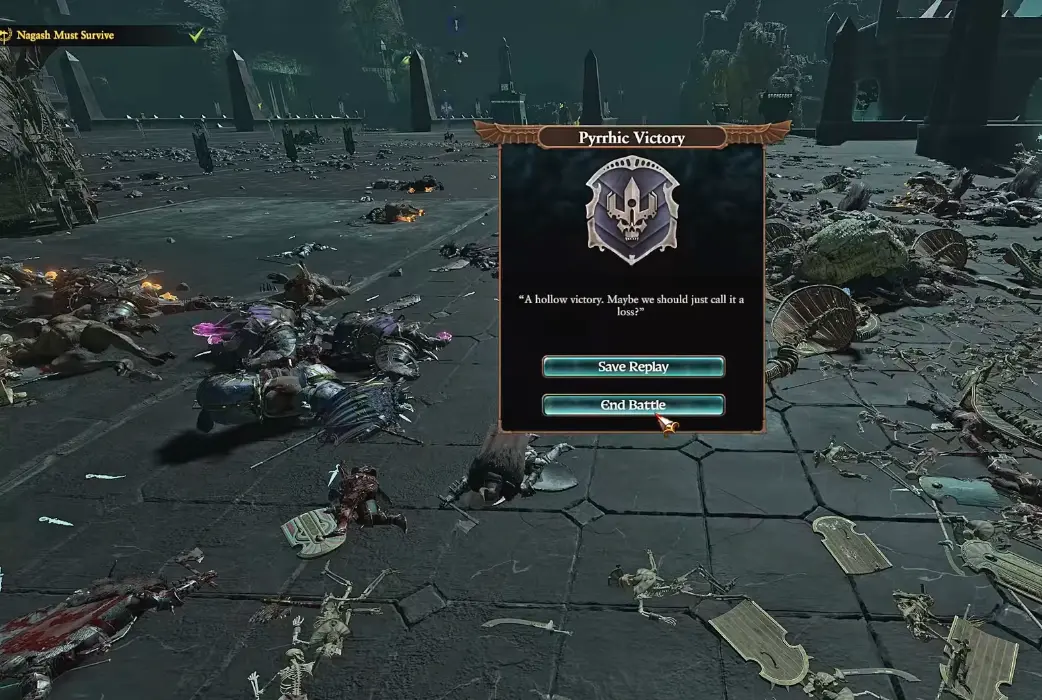
The successful result can still be a Pyrrhic Victory. Do not restart an otherwise winning attempt merely because several units are gone or the army will need rebuilding afterward.
If the Final Phase Keeps Beating You
Change what reaches Settra rather than trying to burst Settra harder.
- Artillery is already gone: protect it more closely during the Order wave and stop chasing with its infantry screen.
- The army is scattered when Chaos ends: keep a central reserve and return damaged characters toward the Ritual Site before the final transition.
- Settra’s phase collapses immediately: remove the Priests and Casket while the main line holds; do not spend the first part of the phase attacking protected Settra.
A Triumph of Death rewards conservation. Every unit that reaches the last phase with enough health to keep fighting gives Nagash more time to remove the Priests, survive the Tomb Kings army, and finish Settra.