Serpent's Gaze Best Builds
A practical Serpent's Gaze best builds guide for beginner builds, Aspect of the Bold, solo, co-op, Trickster fire, rapier bleed, Plague Rot, and boss damage.
Updated:
Quick Answer
The best Serpent’s Gaze build for most players is a boss-safe build: pick a weapon with clear scaling, take Primordial Crown if it appears early, then build around one reliable damage plan such as fire, bleed, Rot, or Blight. If you want a riskier build, Aspect of the Bold can reward health-loss play, but it needs recovery, Toughness, and careful timing to avoid becoming a self-kill setup.
Best Builds at a Glance
Serpent’s Gaze builds work best when your weapon, stats, Blessings, Seeds, Relics, and Callings all support the same idea. A focused build with one clear plan usually beats a messy build with five half-finished status effects.
| Build | Best for | Try when… | Core idea | Main risk |
|---|---|---|---|---|
| Beginner Boss Build | First clears | You are still learning nectar, stats, and boss prep | Primordial Crown, safe weapon scaling, simple damage | Plain, but reliable |
| Trickster Fire Build | Safe burst | You want safer damage without long melee trades | Fireball pressure, burn, fire conversion, relic support | Weak if you waste relic charges |
| Rapier Bleed Build | Fast punish windows | You like quick attacks and can manage stamina | Oathbound Rapier, Dexterity, bleed, crit, quick hits | Needs spacing and stamina control |
| Plague Rot Build | High-health enemies | You want damage that keeps working while you dodge | Rot, Blight damage, debuff duration, repeated hits | Weak without status uptime |
| Solo Survival Build | Learning bosses alone | You keep losing nectar before bosses or dying to bad rooms | Toughness, barrier, safe damage, recovery planning | Lower burst if overbuilt defensively |
| Aspect of the Bold Build | High-risk damage | You already understand recovery and health-risk play | Turn health loss and self-risk into damage pressure | Can collapse if you mismanage recovery |
| Heavy Strength Build | Big punish hits | You like slow weapons and can wait for openings | Mace or Warhammer, Strength, Toughness, patience | Slow swings are punished |
| Co-op Role Build | Playing with friends | You are building for a 2-player or 4-player team | Split boss damage, support, summons, status, and healing | Bad if everyone builds the same role |
Best Beginner Build
The best beginner build is the Beginner Boss Build.
It is not flashy, but it fixes the most common early problem: players reach a boss with weak damage, no healing, and upgrades that do not work together.
Beginner Boss Build Setup
| Slot | Pick |
|---|---|
| Weapon | Balanced sword, fast Dexterity weapon, or any weapon with timing you understand |
| Main stat | The stat your weapon scales with |
| Core Blessing | Primordial Crown if available |
| Defense patch | Toughness, barrier, or Stamina if rooms drain you |
| Damage plan | One simple plan: fire, bleed, Rot, Blight, or boss damage |
| Playstyle | Reach bosses with enough resources instead of clearing every room greedily |
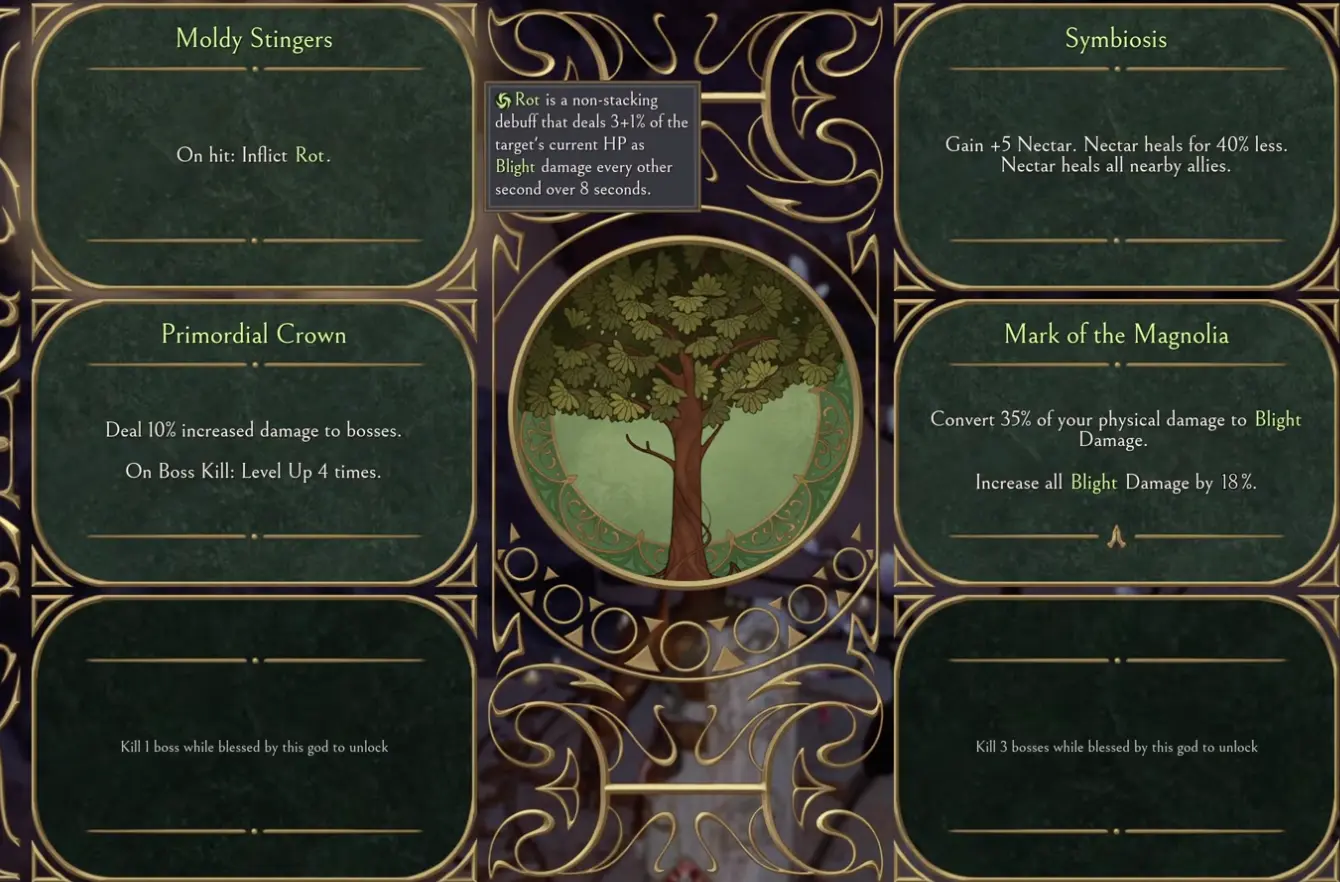
Why Primordial Crown Works
Primordial Crown is one of the cleanest early picks because it gives 10% increased boss damage and rewards a boss kill with four level-ups. That helps both halves of the run: the boss dies faster, then your next area starts stronger.
Aspect of the Bold Build
Aspect of the Bold is the most important build gap to cover because it is not just another generic damage option. It is a high-risk, high-reward direction built around taking or spending health to gain more damage.
This is not the build I would recommend for a first run, but it is exactly the kind of build players will search for once they understand the basics.
How the Bold Build Plays
The Bold plan is simple:
- Use the Aspect’s health-loss damage identity.
- Increase your maximum health or survivability.
- Add slow or steady recovery so your risk does not become suicide.
- Use relics or tools that can spend health for control, such as stunning enemies.
- Take boss damage or safe burst so you are not forced to trade forever.
| Bold build piece | Why it matters |
|---|---|
| High max health | Gives you more room to benefit from health-loss effects without dying instantly. |
| Slow recovery / healing over time | Lets you keep playing near danger without spending every nectar charge. |
| Toughness | Makes self-risk less likely to become a sudden death. |
| Barrier | Helps when enemy attacks track or punish dodges. |
| Health-cost relics | Good if they give control, stun, burst, or a safe opening. |
| Boss damage | Keeps the fight short enough that the risk pays off. |
When to Use Aspect of the Bold
Use Bold if:
- you already understand enemy openings;
- you can manage health without panic-healing;
- you like high-risk damage;
- you are comfortable playing below full HP;
- you have recovery or barrier support;
- you want a build that rewards aggressive play.
Avoid Bold if:
- you are still learning bosses;
- you spend all nectar in normal rooms;
- you panic when health drops;
- you do not know when enemies are actually punishable;
- you are pushing a bad Curse or high Awareness run without survival.
Trickster Fire Build
Trickster fire is one of the easiest offensive builds to understand because fireball-style damage gives safe burst and works well in both rooms and boss fights.
This build wants:
- Trickster or fire-friendly setup;
- extra relic charges;
- burn effects;
- fire conversion;
- fire resistance reduction;
- enough movement to avoid long trades.
| Build piece | What to look for |
|---|---|
| Relic charges | More fireball casts before downtime becomes a problem |
| Burn effects | Adds damage while you reposition |
| Fire conversion | Makes more of your kit support the same plan |
| Fire resistance reduction | Improves damage against tougher enemies |
| Fast or balanced weapon | Lets you fight while fire tools recharge |
Rapier Bleed Build
The Oathbound Rapier is one of the best fast-weapon directions because it supports Dexterity, short punish windows, and bleed-style play.
This build wants:
- Oathbound Rapier or another fast weapon;
- Dexterity investment;
- bleed Calling or bleed upgrade support;
- crit or attack speed bonuses;
- Stamina for repeated pokes;
- careful spacing.
| Rapier build piece | Why it helps |
|---|---|
| Dexterity scaling | Gives the build a clear stat plan. |
| Bleed | Adds pressure through repeated hits. |
| Crit chance / crit damage | Rewards quick punish windows. |
| Attack speed | Helps apply status faster. |
| Stamina | Prevents the build from running out of energy mid-fight. |
Plague Rot Build
The Plague / Rot direction is good when you want damage that keeps working while you dodge, reposition, or focus on survival.
Rot is valuable because it deals Blight damage based on the target’s current HP. That makes it better against tougher enemies when you can apply it reliably.
| Plague / Rot priority | Why it matters |
|---|---|
| Reliable Rot application | The build needs uptime, not occasional procs. |
| Blight support | Rot deals Blight damage, so Blight bonuses and conversion matter. |
| Debuff duration | Longer debuffs make the build more consistent. |
| Hit frequency | Fast weapons apply status more safely. |
| Boss damage backup | Status alone can feel slow if the boss window is short. |
Good Plague / Rot choices include:
- Rot on hit;
- Blight conversion;
- debuff duration;
- Callings that push Rot;
- fast weapons that can apply status safely;
- survival tools that let damage over time work.
Dreamwalking Debuff Build
Dream-style upgrades are good when you want flexible damage and stronger debuffs instead of one simple boss-damage button.

Visible early examples include:
| Upgrade | What it does | Best use |
|---|---|---|
| Daydreams | 15% chance on hit to gain healing over time that restores 10% max HP | Good for chip damage and Bold-style recovery planning |
| Mirra’s Many Arms | More relic charges | Strong for fireball, summon, burst, or utility relics |
| Shared Visions | Increases debuff duration | Good for burn, bleed, Rot, exposed, or other status plans |
| Dreamwalking | Converts part of physical weapon damage to a random element | Better when your stats and Calling can support mixed damage |
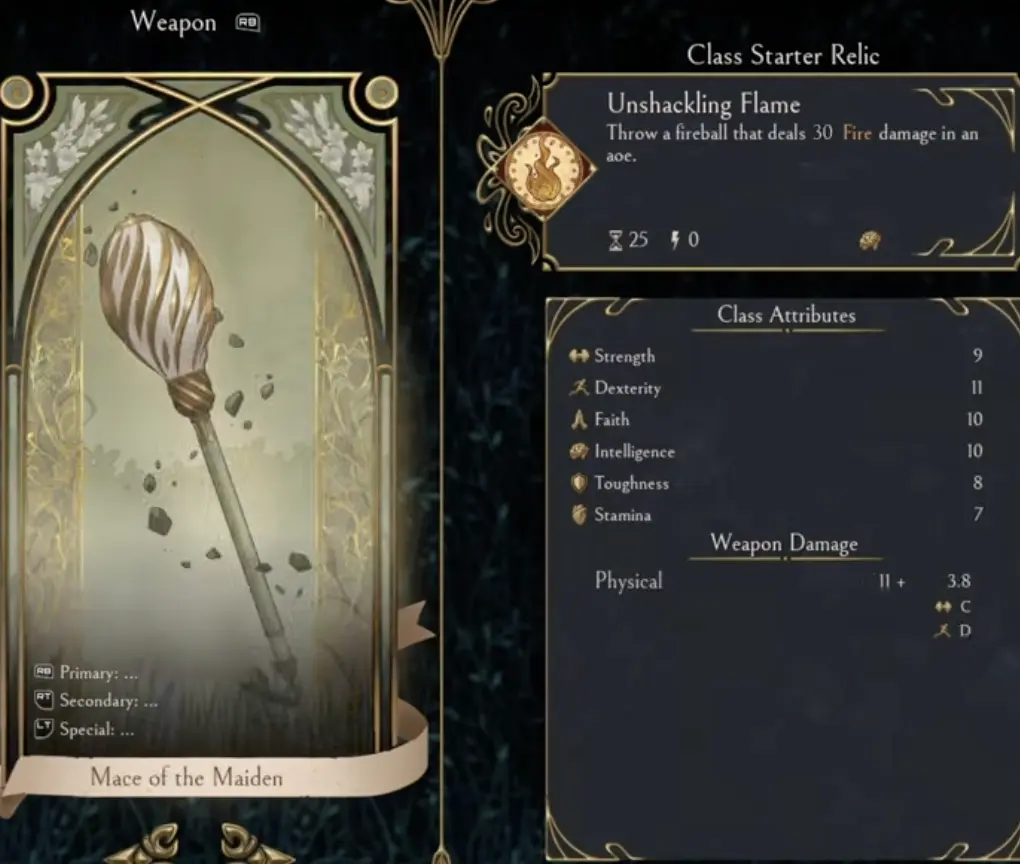
Heavy Strength Build
Heavy weapons are good if you like slower, harder hits and simple stat planning. The Mace of the Maiden is a good heavy direction, and other Strength weapons can fit the same role.
This build wants:
- Strength investment;
- Toughness for missed timing;
- Stamina to swing and still dodge;
- boss damage;
- barrier or healing support;
- patience against fast bosses.
| Heavy build strength | Heavy build weakness |
|---|---|
| Simple stat planning | Slow attacks can be punished |
| Strong individual hits | Bad into fast bosses if you panic |
| Good with Toughness | Needs better spacing |
| Great punish damage | Poor if you swing before openings |
Solo Survival Build
The solo survival build is where nectar, recovery, Toughness, and barrier matter most.
This is the build to use if you are learning bosses, pushing a new domain, or dealing with Curse pressure.
Why Pure Dodging Is Not Enough
Some enemy attacks can feel like they correct toward you even when you dodge at what seems like the right time. That makes a pure “I will just roll everything” plan risky, especially while learning.
A survival build helps because it gives you backup layers:
| Survival layer | Why it matters |
|---|---|
| Toughness | Stops one mistake from ending the run. |
| Barrier | Reduces physical damage when dodging is not enough. |
| Healing over time | Helps recover from chip damage. |
| Nectar discipline | Keeps boss and recovery resources available. |
| Safe burst | Lets you kill priority enemies without long trades. |
| Stamina | Lets you attack and still move afterward. |
High Awareness Build Adjustments
Awareness makes successful progression lead into harder future runs. That means the build that worked at low Awareness may need more safety later.

At higher Awareness, adjust like this:
| Low Awareness habit | High Awareness adjustment |
|---|---|
| Greedy damage first | Add Toughness, barrier, or recovery earlier. |
| Long melee trades | Use faster punish windows or safer relic damage. |
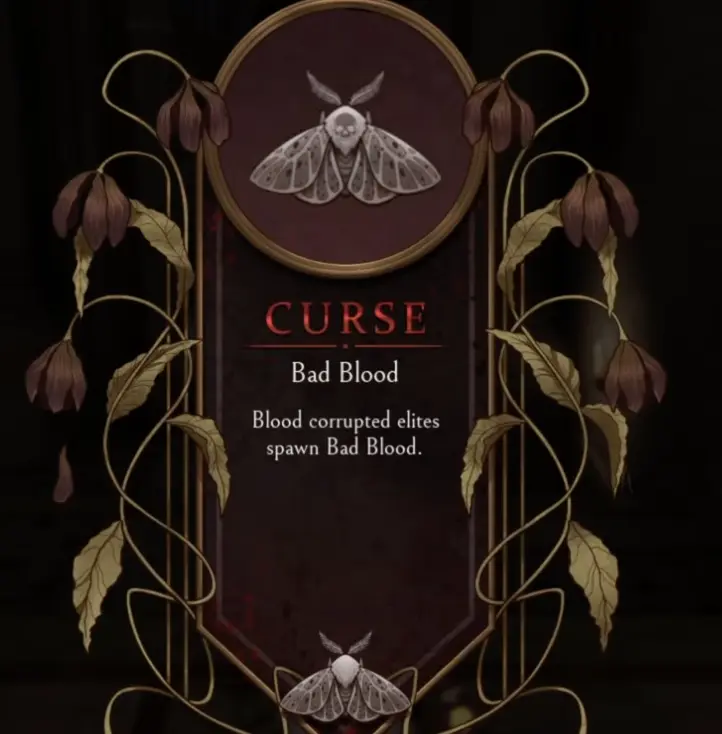
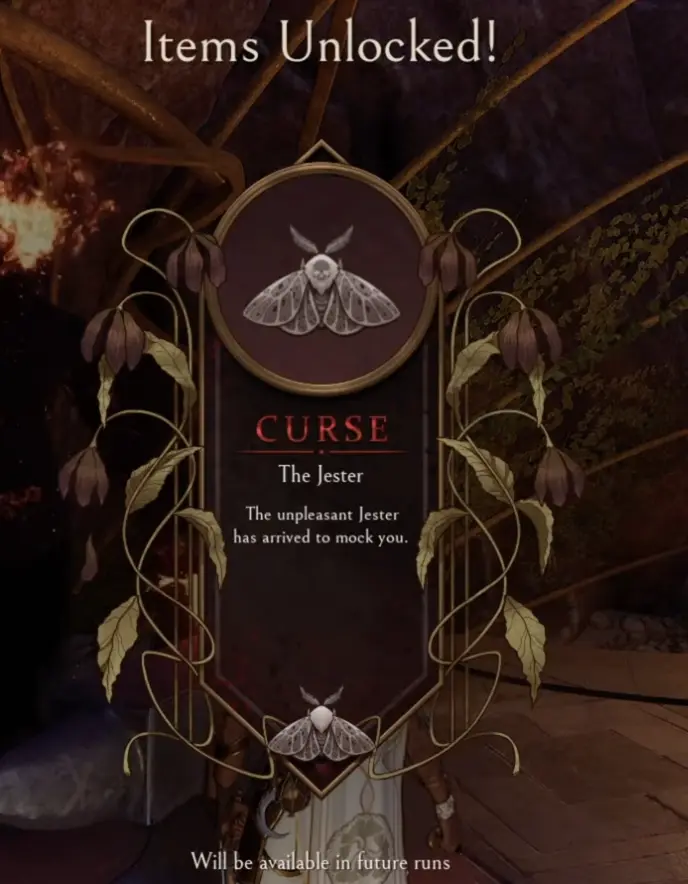
| Ignoring priority enemies | Build burst for Jester, Plane Shifter, corrupted elites, or ranged threats. |
| Skipping nectar buys | Restore nectar before boss routes more often. |
| Glass-cannon Bold play | Add recovery and health before chasing higher damage. |
| Room-clear-only upgrades | Take boss damage and survival tools sooner. |
If You Come From Elden Ring Nightreign
If you are coming from Elden Ring Nightreign, do not expect the same build rhythm.
Serpent’s Gaze is more compact, more run-based, and more dependent on mid-run choices. Your build is not just your weapon. It is the combination of Aspect, weapon, Blessings, Seeds, relics, Callings, Curse pressure, and nectar management.
| If you expect… | Adjust to Serpent’s Gaze like this |
|---|---|
| A fixed character plan | Your run can shift based on upgrades and relics. |
| Dodging as the full defense plan | Add Toughness, barrier, recovery, or safe burst. |
| Weapon identity only | Treat weapon + Aspect + relic + Calling as the real build. |
| Co-op aggro abuse | Bosses and enemies can still create target-switching pressure. |
| Long-term power carryover | Focus on current-run choices and unlock options. |
Best Two-Player Co-op Builds
Two-player co-op needs flexibility. You do not have enough players for every role, so each build should solve more than one problem.

Best 2-Player Pairings
| Pairing | Player 1 | Player 2 | Why it works |
|---|---|---|---|
| Safe clear pair | Beginner Boss Build | Support / summon build | One player kills bosses, the other adds safety and pressure. |
| Fast boss pair | Rapier Bleed | Trickster Fire | One applies constant pressure, the other adds safe burst. |
| High-risk pair | Aspect of the Bold | Support / recovery build | Bold gets damage, support helps prevent self-risk from ending the run. |
| Status pair | Plague Rot | Fire or bleed | Multiple damage-over-time sources help against high-health enemies. |
| Heavy carry pair | Heavy Strength | Support / barrier | Heavy weapon gets openings while support reduces mistakes. |
Best Four-Player Co-op Builds
Four-player co-op can specialize more. This is where role builds become much stronger.
Best 4-Player Team Example
| Role | Recommended build | Job |
|---|---|---|
| Boss damage | Primordial Crown / Rapier / Fire | Punish bosses during safe windows |
| Status pressure | Plague Rot or Bleed | Keep damage ticking on high-health targets |
| Support | Magnolia / healing / barrier / ally buff | Keep the team alive and boost damage |
| Control / summon | Summoner or relic-heavy build | Split attention and create safe openings |
A good four-player team does not need everyone to chase the same weapon. It needs the group to cover damage, recovery, pressure, and safety.
Callings: Burn, Rot, and Bleed Direction
Callings are one of the biggest reasons you should not treat Serpent’s Gaze builds like a fixed tier list. A Calling can push your run toward burn, Rot, bleed, roll changes, or other passive effects.
| Calling direction | Best pairing |
|---|---|
| Burn | Trickster fire, relic charges, fire damage, fire resistance reduction |
| Bleed | Oathbound Rapier, fast hits, attack speed, crit, sanguine support |
| Rot | Plague, Blight support, debuff duration, safe repeated hits |
| Roll change | Builds that can handle longer recovery or energy tradeoffs |
| Damage conversion | Builds with stats that support the converted damage type |
Build Mistakes to Avoid
Mistake 1: Mixing every status
Fire, bleed, Rot, and Blight are all useful, but not all at once. Pick one main direction and one support direction.
Mistake 2: Building around Aspect of the Bold too early
Bold is powerful, but it asks you to manage health as a resource. Use it after you understand recovery and enemy openings.
Mistake 3: Taking risky upgrades without the trigger
Debuff duration, element conversion, and relic upgrades are weak if your weapon or relic barely triggers them.
Mistake 4: Assuming dodging solves everything
Tracking or homing-style pressure makes pure rolling risky. Add Toughness, barrier, or safe burst when enemies keep catching you.
Mistake 5: Building only for rooms
Room-clear power feels good until the boss starts dodging, rushing, or changing phase. Always ask whether your build can beat a boss.
Mistake 6: Ignoring Awareness
Higher Awareness makes familiar domains feel less safe. Adapt with survival and priority-target damage instead of forcing the same greedy setup.
FAQ
What is the best beginner build in Serpent's Gaze? +
Use a boss-safe build with clear weapon scaling, Primordial Crown if available, enough survival, and one simple damage plan like fire, bleed, Rot, or Blight.
Is Aspect of the Bold good? +
Aspect of the Bold is good for high-risk players who can manage health loss, self-damage tools, and recovery. It is not the safest first-run build.
Is Primordial Crown worth taking? +
Yes. Primordial Crown gives boss damage and extra level-ups after boss kills, making it one of the strongest early boss-focused choices.
What is the best solo build in Serpent's Gaze? +
For solo, use a consistent survival build with safe damage, enough Toughness or barrier, good stamina control, and enough nectar for boss mistakes.
What is the best co-op build in Serpent's Gaze? +
In co-op, strong builds include boss damage, support, summoner, fire, bleed, Rot, and Blight roles. Two-player teams need flexible builds; four-player teams can specialize more.
Is Oathbound Rapier good? +
Yes. Oathbound Rapier is a strong Dexterity weapon direction for fast punishes, bleed, crit, attack speed, and boss windows.
Is Trickster fire good? +
Yes. Trickster fire is strong because fireball-style damage gives safe burst, elite control, and boss pressure without forcing long melee trades.
How should builds change at higher Awareness? +
At higher Awareness, choose safer builds with more survival, better priority-target damage, stronger boss tools, and less reliance on perfect dodging.