MGS4 Master Collection Walkthrough: How I Get Through All 5 Acts
My route through all five MGS4 Acts, including Naomi's footprints, the resistance tail, Shadow Moses password 48273, Vamp, Mantis, and Outer Haven.
Updated:
Quick Answer
MGS4 has five Acts, and I clear them in this order:
Liquid Sun → Solid Sun → Third Sun → Twin Suns → Old Sun.
Most of the places where I lose time are not difficult firefights. They are moments when the game quietly changes what it expects me to do.
In Act 1, I get the Mark II, meet Drebin, reach Rat Patrol, then follow the northern route toward Liquid.
In Act 2, I use the rebel push to reach Naomi’s mansion, enter through the roof skylight when the door is sealed, defeat Laughing Octopus, then track Naomi with the Solid Eye.
In Act 3, I equip the Signal Interceptor, locate the resistance member and follow him to Big Mama rather than searching the city myself.
In Act 4, I enter Shadow Moses through the hangar, restore the old security system through Otacon’s office with 48273, then continue toward REX.
In Act 5, I board Outer Haven, defeat Screaming Mantis, survive the microwave corridor and finish the Liquid Ocelot fight.
I treat my first trip through Metal Gear Solid 4 as a campaign I want to keep moving forward.
There are plenty of weapons, hidden items and side opportunities along the way, but trying to clean every room on the first visit makes the five-Act story much slower than it needs to be. The sections that actually stop me are usually much more specific: a trail I have to read, one NPC I have to follow, an old security system I need to reactivate, or a boss that ignores the normal combat rules.
When I also care about useful first-run pickups, Dolls and preparation for later playthroughs, I keep the first-playthrough checklist alongside this walkthrough instead of turning every story area into a collectible sweep.
What I Buy From Drebin During the Story
Once Drebin opens his shop, it is easy to start treating every new weapon as something I should immediately buy and customize.
I rarely need to.
Weapons picked up from the battlefield already give me plenty to work with, while duplicates continue feeding Drebin Points back into the system. I usually spend only when I can name the problem the purchase is solving: I need a better long-range option, I am short on a particular type of ammunition, or the next encounter benefits from something my current loadout does not cover well.
That keeps Drebin useful without turning every visit into a shopping break.
For the free weapons, first-run pickups and purchases that are worth planning around, I use the first-playthrough checklist.
Act 1: Liquid Sun
Act 1 drops me into the Middle East while the militia and PMC forces are already fighting each other.
The first important lesson is that this war is happening around Snake; it is not a signal that I need to eliminate everyone on the street.
I let both sides occupy each other, use buildings and broken streets to cross exposed ground, and keep checking where the actual objective is taking me.
Get the Mark II First
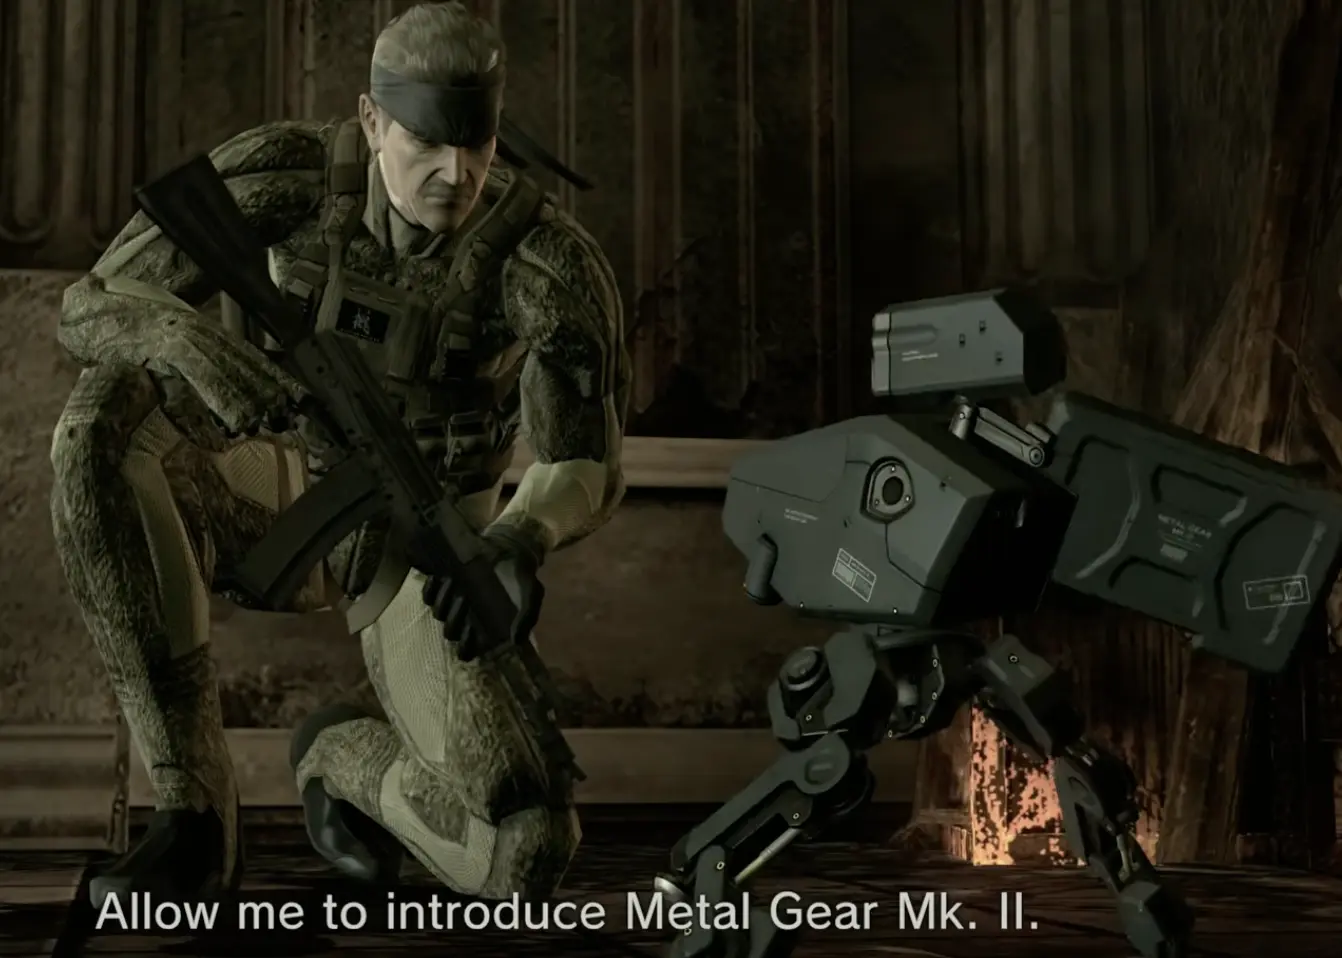
Once Snake reaches the city, Otacon tells him that the Mark II is waiting ahead.
I go straight for it because it gives me the map and battlefield information that make the rest of the opening area much easier to read.
If I have spent several minutes clearing soldiers without knowing where the route continues, that is usually a sign that I have stopped following the objective and started fighting the scenery.
The Solid Eye also becomes much more useful from here. I use it to read nearby threats and terrain, but I still move according to the objective marker rather than every contact that appears around me.
Meet Drebin and Continue to Rat Patrol
The next major stop is Drebin.
His introduction explains why so many weapons on the battlefield are ID locked and opens the laundering and shop system that stays relevant for the rest of the game.
I take what the story gives me, make any immediately useful adjustments, then keep moving toward Rat Patrol Team 01.
There is a damaged-building section where the street ahead no longer works as a direct route. I go through the structure rather than repeatedly circling the outside looking for another road.
Once I emerge, the radar gives me the next clean line toward the rendezvous.
After Rat Patrol, Follow the Route North
Meeting Rat Patrol changes the immediate objective.
Liquid’s position is to the north, and I start treating that direction as the important part of the battlefield rather than the firefights taking place on either side.
A road packed with PMC troops does not automatically mean I have to clear it. The ruined interiors and side passages often let me keep moving without burning ammunition on waves of reinforcements.
Reaching Liquid’s operation and letting the SOP sequence play out closes Liquid Sun.
There is no optional task I need to finish before Act 2 begins.
Act 2: Solid Sun
Solid Sun moves the story to South America.
For most of the first half, the objective is easy to understand: keep pushing toward the facility where Naomi is being held.
The part that deserves more attention comes after I reach her.
Let the Rebels Break Open the Route to Naomi
The mountain approach is another active battlefield, but I do not need to clear every PMC position myself.
The rebels are pushing toward the same compound where Naomi is being held, so helping them at the fights directly blocking their advance can make my own route easier.
The useful turning point comes when the rebels get an armored dozer moving toward the mansion. I give it enough support to keep the assault alive and use the opening it creates to reach the compound instead of trying to force a completely separate infiltration route.
Once the rebels have opened the way, I leave the larger battlefield behind and concentrate on getting inside.
If I reach the mansion and the obvious door is sealed, I do not keep fighting around the entrance. I get onto the roof and use the skylight to drop into the other side of the building.
That is the progression chain I remember here:
support the rebel push → follow the armored dozer to the mansion → reach the roof → enter through the skylight → continue toward Naomi’s research facility.
Reach Naomi and Fight Laughing Octopus
Dropping through the mansion route eventually gets me into Naomi’s research facility, where Laughing Octopus becomes the next major obstacle.
The fight becomes messy when I start firing at anything in the room that looks suspicious.
I have much better results by slowing down after she disappears, checking the room carefully and confirming where she is hiding before committing ammunition. Her camouflage is the mechanic I am solving; raw damage is secondary.
After the encounter and the story sequence that follows, the game stops giving me the kind of route marker I have been relying on.
Now I have to track Naomi.
How I Follow Naomi’s Footprints
This is one of the easiest places in MGS4 to start walking in circles because several trails can cross or split in the same area.
I switch the Solid Eye to infrared mode as soon as I start tracking.
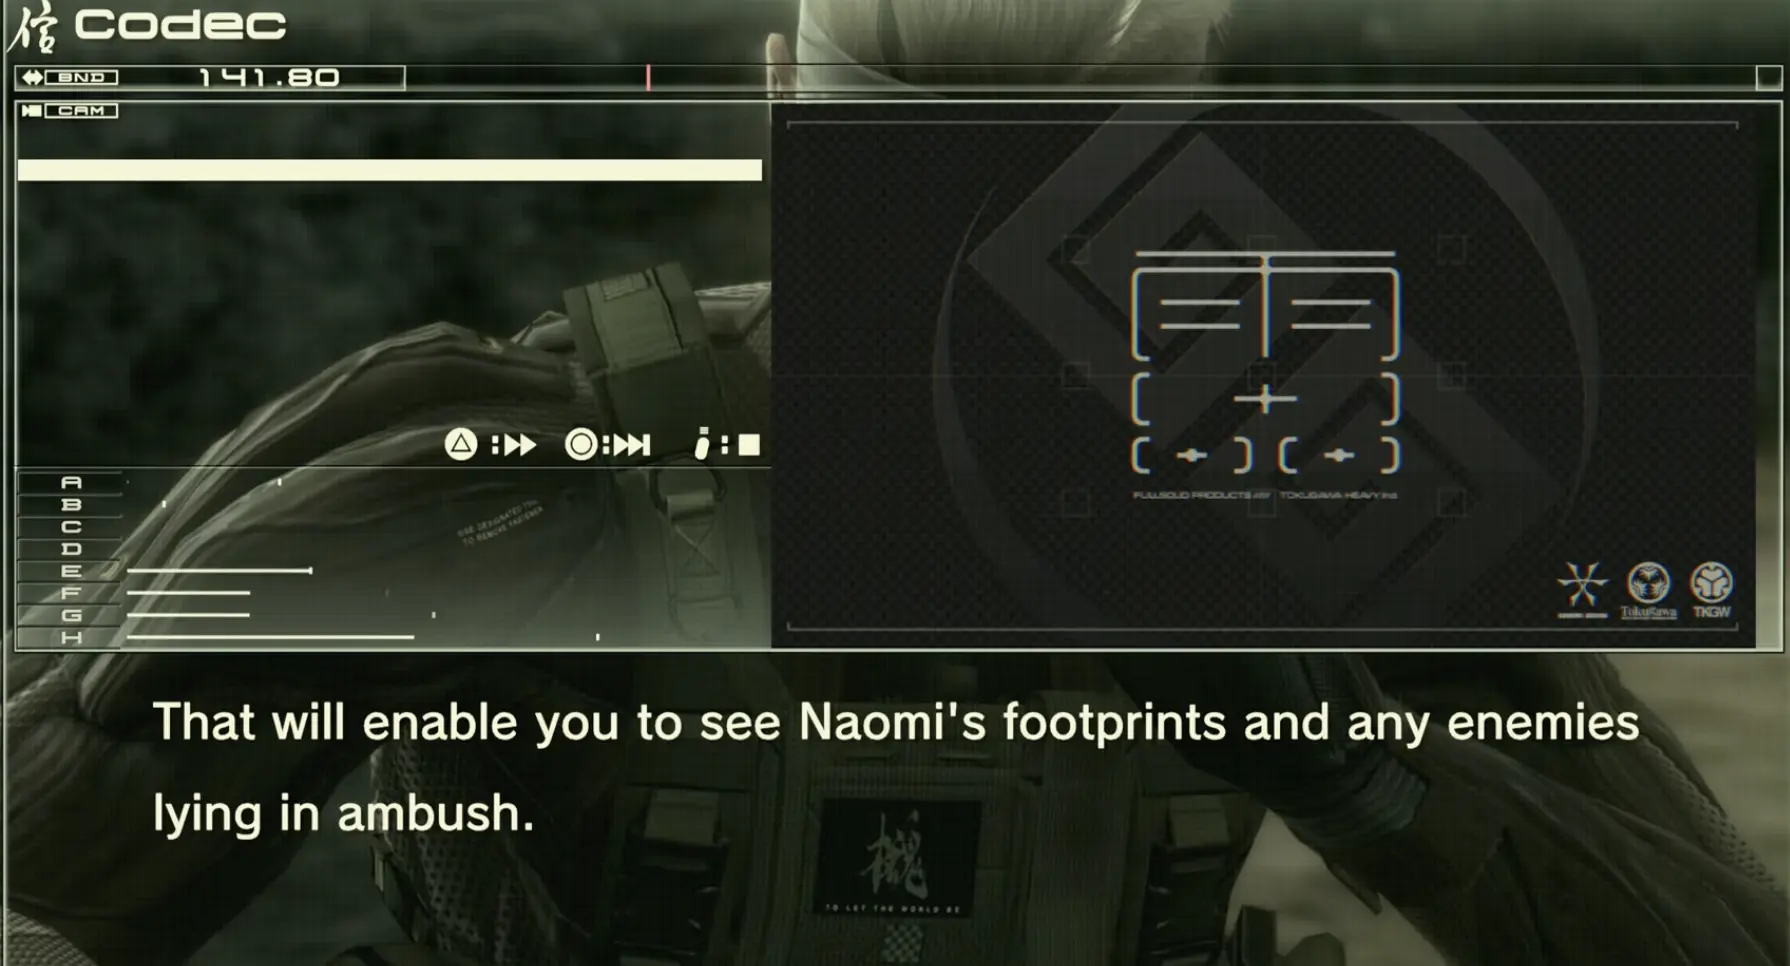
Infrared shows both footprints and enemies hiding along the route, but I do not leave it active every second. The Solid Eye makes a faint sound that nearby trained PMC scouts can notice, so I use it to reacquire the trail, move, then switch it off when I am approaching enemies.
The footprints themselves also carry more information than their basic shape.
Naomi is lighter than the soldiers around her, so her normal prints are shallower. When her own footprints suddenly disappear, I do not assume the trail has ended. That can mean somebody is carrying her, in which case the person carrying the extra weight leaves deeper, darker prints.
At other junctions I compare direction, stride and how the prints continue after the fork rather than choosing based on one footprint.
The game deliberately gives me false or competing trails. Taking a few seconds to inspect the split is faster than following the wrong branch far enough that the whole area stops looking familiar.
When the Trail Gets Dangerous
Enemies begin appearing close to the footprints as I get nearer to Naomi.
I avoid fighting unless someone is directly blocking the trail. Combat makes this section harder to read because bodies, alert states and repositioning can pull me away from the route I was trying to follow.
If I lose track of where I came from, I return to the last footprint split I was confident about instead of continuing deeper into an uncertain branch.
Eventually the security becomes noticeably heavier and the trail converges on Naomi’s position.
Escape Through the Market
The final part of Act 2 changes the pacing again.
Once the route opens toward the market and extraction, I stop treating the Gekkos as targets I am expected to defeat one by one.
They are there to make the escape dangerous.
I move toward the extraction point, use cover when the pressure gets too high, and only fight long enough to create space to continue.
Reaching the end of that escape closes Solid Sun.
Act 3: Third Sun
Third Sun moves to Eastern Europe and replaces the normal route-following structure with a surveillance section.
The goal is not to search every street for Big Mama.
I need to locate one resistance member, then let him show me the way.
Find the Resistance Member With the Signal Interceptor
Before wandering the city, I equip the Signal Interceptor from the item menu.
The PMC network is sharing information about resistance activity. When the interceptor catches the relevant communication, I check the map and use the reported location to narrow down where the resistance member is moving.
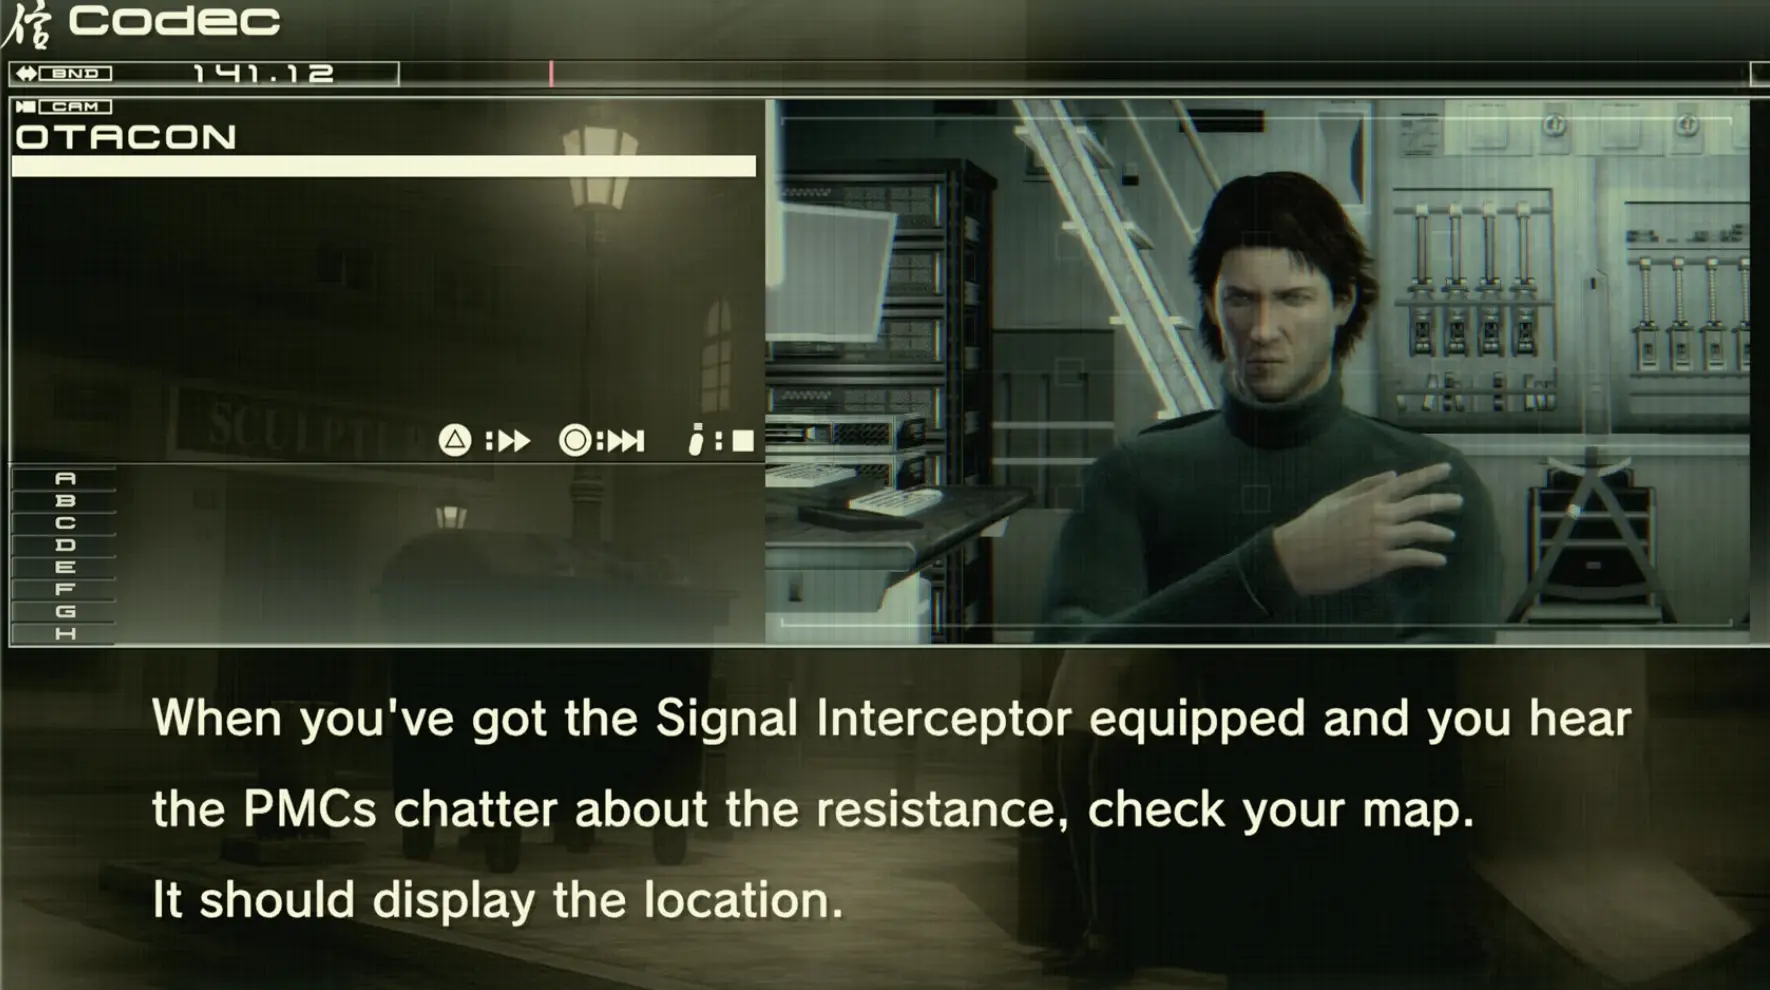
Once I actually identify him, the map has done its job.
From that point on, I am following the person, not chasing a permanent marker.
Tail Him Without Becoming Part of His Route
I stay far enough back that he can move naturally through the city while remaining close enough to see which street he takes.
When he stops, I stop.
When a PMC patrol crosses his route, I give him room to respond instead of pushing past and changing what is happening in front of him.
The disguise helps, but I do not depend on clothing alone to identify him later in the sequence. He eventually blends in much better, and his whistling becomes one of the easiest ways to confirm that I am still following the correct person.
If I lose sight of him around a corner, I listen before sprinting after the nearest soldier-shaped figure.
Following him successfully eventually brings me to Big Mama’s hideout.
Once that meeting begins, the difficult navigation portion of Third Sun is finished.
Big Mama, the Bike Escape and Raging Raven
After the long story sequence, the Act becomes much more aggressive.
During the bike escape, I stop conserving ammunition as carefully as I do during normal stealth. Enemies attacking from the front and sides can pile up quickly, so I deal with whatever is actively threatening the escape rather than trying to preserve every round for later.
The point of the sequence is to keep Big Boss’s body moving.
After the chase separates, the next major fight is Raging Raven.
I use the tower as cover and take clear shots when Raven exposes herself instead of standing outside trying to track every flying target at once.
Once Raven is down, the remaining route continues toward the river and closes Third Sun.
Act 4: Twin Suns
Twin Suns returns to Shadow Moses.
Because so much of the environment resembles the first Metal Gear Solid, it is tempting to explore every familiar room as though the old route is still the correct route.
I follow what the current objective is asking me to do instead.
Enter Shadow Moses Through the Hangar
From the opening area I head west toward the heliport.
The base looks empty, but unmanned sentries are still active, so I do not treat the outdoor area as completely safe.
The useful entrance is the partly open front hangar door.
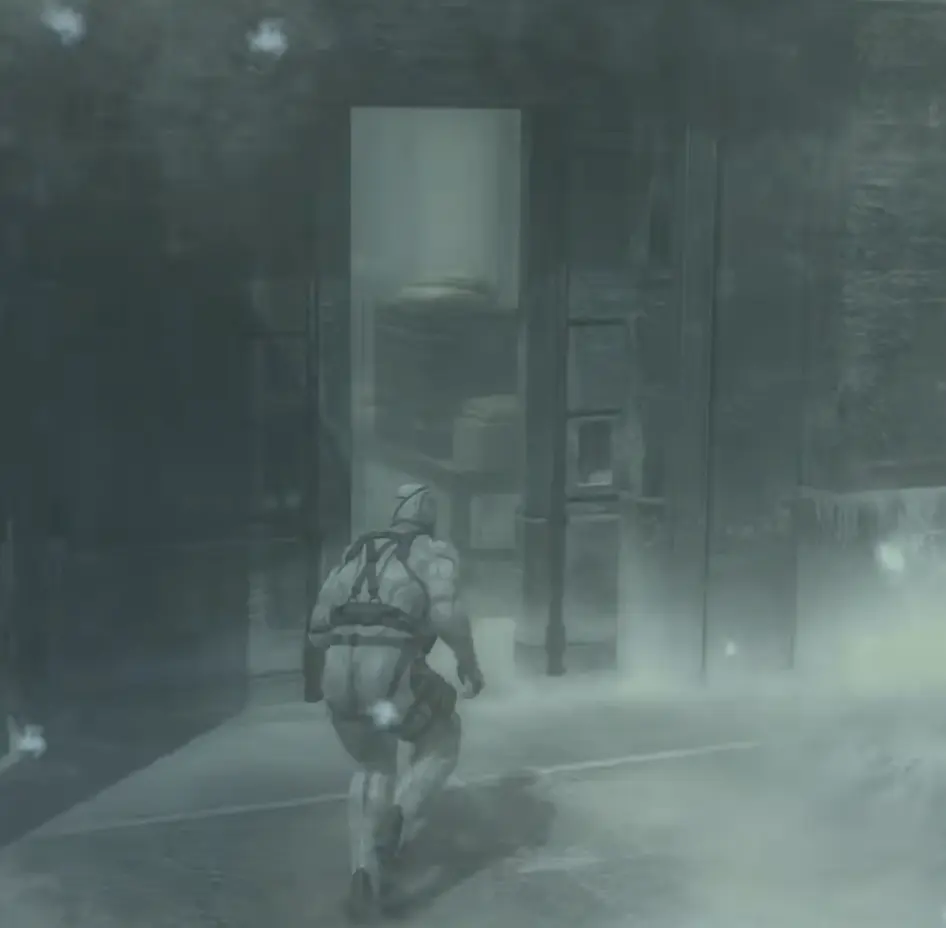
Once inside, I continue toward the rear of the facility.
Eventually the old security system becomes the real obstruction. Repeatedly checking the locked door does not help because the base needs power and system access restored first.
Restore Shadow Moses Security and Use Password 48273
The first real obstruction inside Shadow Moses is not a missing key card. The old base systems are simply not working properly.
I restore enough power to bring the facility back online, then work through the old security route toward Otacon’s office.
The password I need is:
48273
Once the old system accepts it and security access comes back, I can continue through doors that were previously useless to keep checking.
I think of this section as a system-recovery sequence rather than a key hunt:
restore power → reach Otacon’s old system → enter 48273 → restore access → continue north.
Keep Mark III Safe While It Opens the Next Door
A little later, Mark III has to handle another locked door for me.
This time I am not looking for another password.
Mark III needs enough time to work while Gekkos are nearby, so I keep their attention away from the robot and avoid letting the door-opening sequence get interrupted.
I do not need to turn the room into a complete Gekko clear. The important result is simply getting Mark III through its job and moving through the newly opened route.
Once the door opens, I leave rather than spending more time fighting machines that no longer block progression.
Crying Wolf and the Underground Route to REX
The snowfield leads into Crying Wolf.
Visibility is the main problem. I use the Solid Eye to locate movement and confirm where Wolf is before firing, then reposition rather than continuing to shoot from the same exposed place.
After the fight, I continue deeper into Shadow Moses.
Another door near the route toward REX refuses to open, but this time returning to Otacon’s office is not the answer.
I head toward the northwest side, take the service elevator down through the old facility, then follow the lower route and drainage areas toward the underground hangar.
When I reach the final lift, REX is above me.
Vamp: Dropping His Health Is Only the First Step
The Vamp fight looks like a normal health-bar encounter until he gets back up.
Shooting him down is necessary, but it is not what ends the fight.
I reduce his health, wait for the moment when he is recovering, move behind him and get the CQC grab. From there I use the syringe.
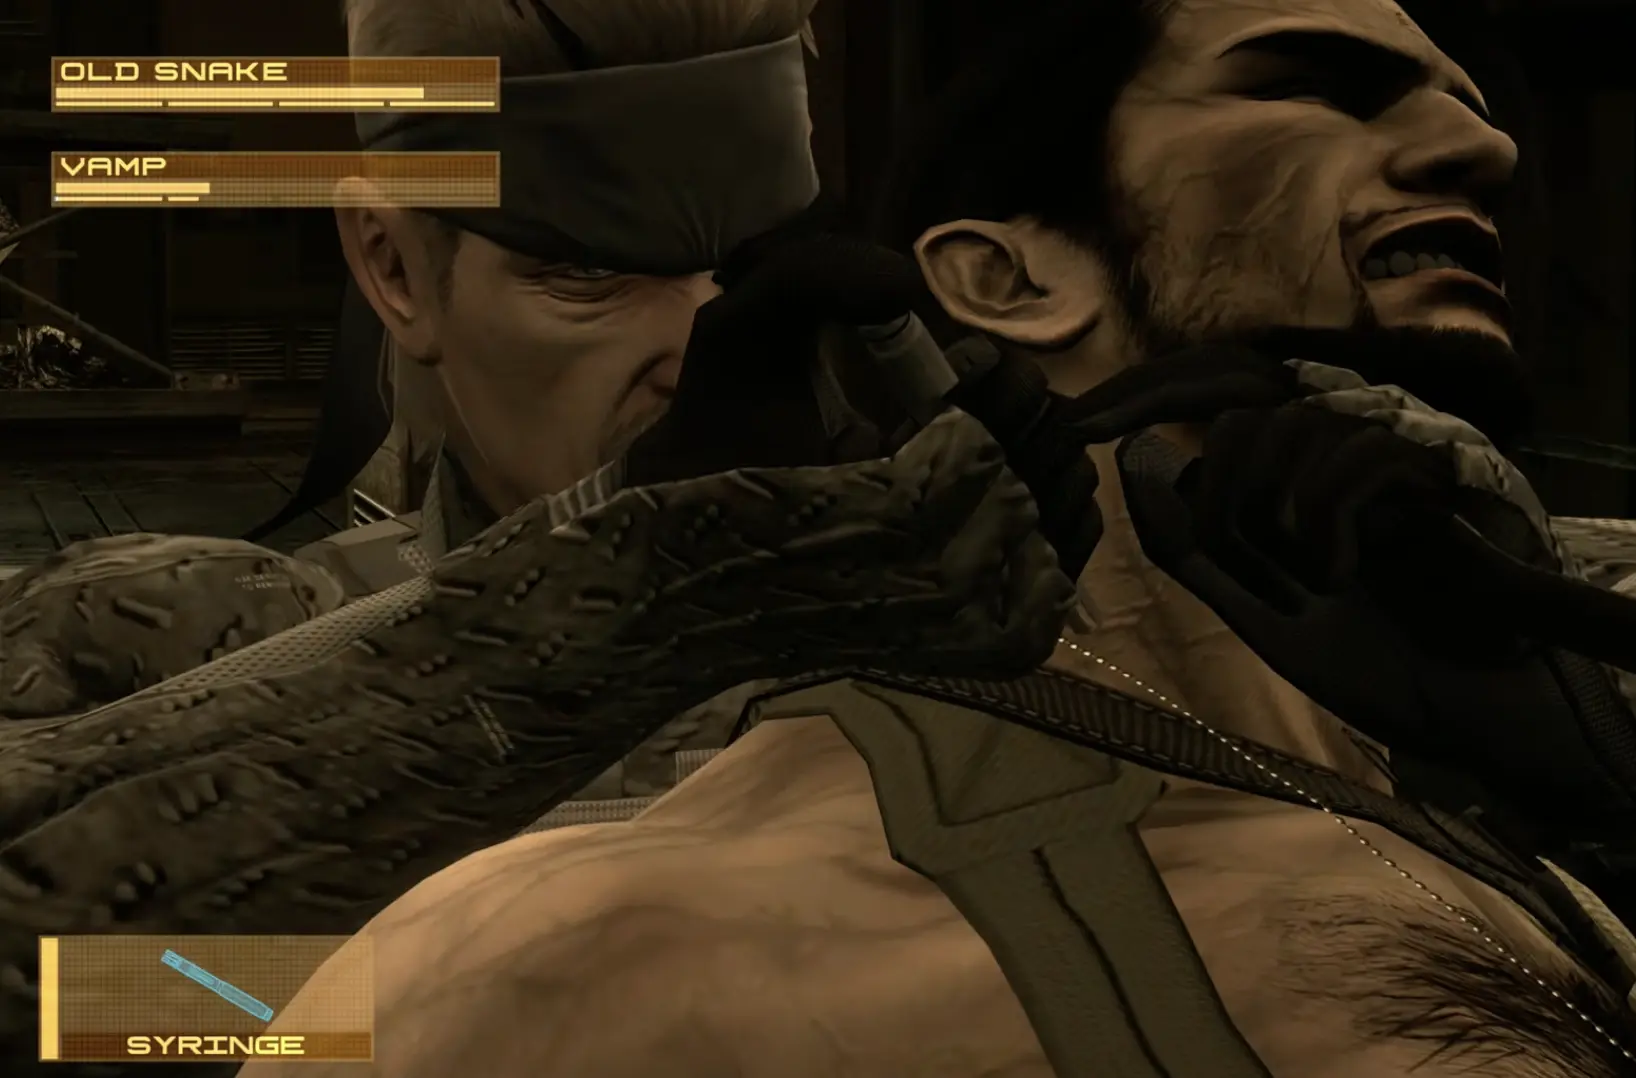
The syringe removes the nanomachine advantage that keeps bringing him back.
After that, the story can move past the fight.
I then keep the suicide Gekkos away long enough for the next sequence to complete.
Escape in REX and Fight Metal Gear RAY
Once Metal Gear REX is operational, Twin Suns stops being a navigation puzzle.
I use REX to force my way out of Shadow Moses and keep pushing through the Gekkos toward the exit.
The Act ends with Metal Gear RAY.
I get better openings when RAY commits to an attack and has to recover than when I simply throw damage at it while it is moving freely at range.
I evade the larger attacks, answer during the recovery and keep the pressure on until the fight ends.
That closes Twin Suns.
Act 5: Old Sun
Old Sun takes place aboard Outer Haven.
It is shorter than the middle Acts, but the final stretch packs several unusual encounters together, so I stop worrying as much about preserving every last round and healing item.
Anything I have been saving for the end of the game has reached the part of the game it was being saved for.
Push Through Outer Haven
The early ship sections are much more direct than Shadow Moses.
I advance through the exterior and interior combat areas until the route closes in around the watertight door.
When Meryl’s group comes under pressure, I deal with the enemies creating the immediate problem rather than trying to clear every corner of the area.
The next major stop is Screaming Mantis.
Screaming Mantis: Do Not Treat Meryl as the Boss
Screaming Mantis does not reward a normal damage-race approach.
When Meryl is being controlled, I avoid dealing lethal damage to her. If she becomes dangerous enough that I need her out of the fight for a moment, I incapacitate her.
The important target is Mantis’s puppet setup.
During the encounter she can drop the puppet she is using. I grab the Mantis Doll, equip it and use its control ability against her.
The Sorrow Doll is separate, so seeing its acquisition screen does not mean I already have the puppet I need to finish the boss.
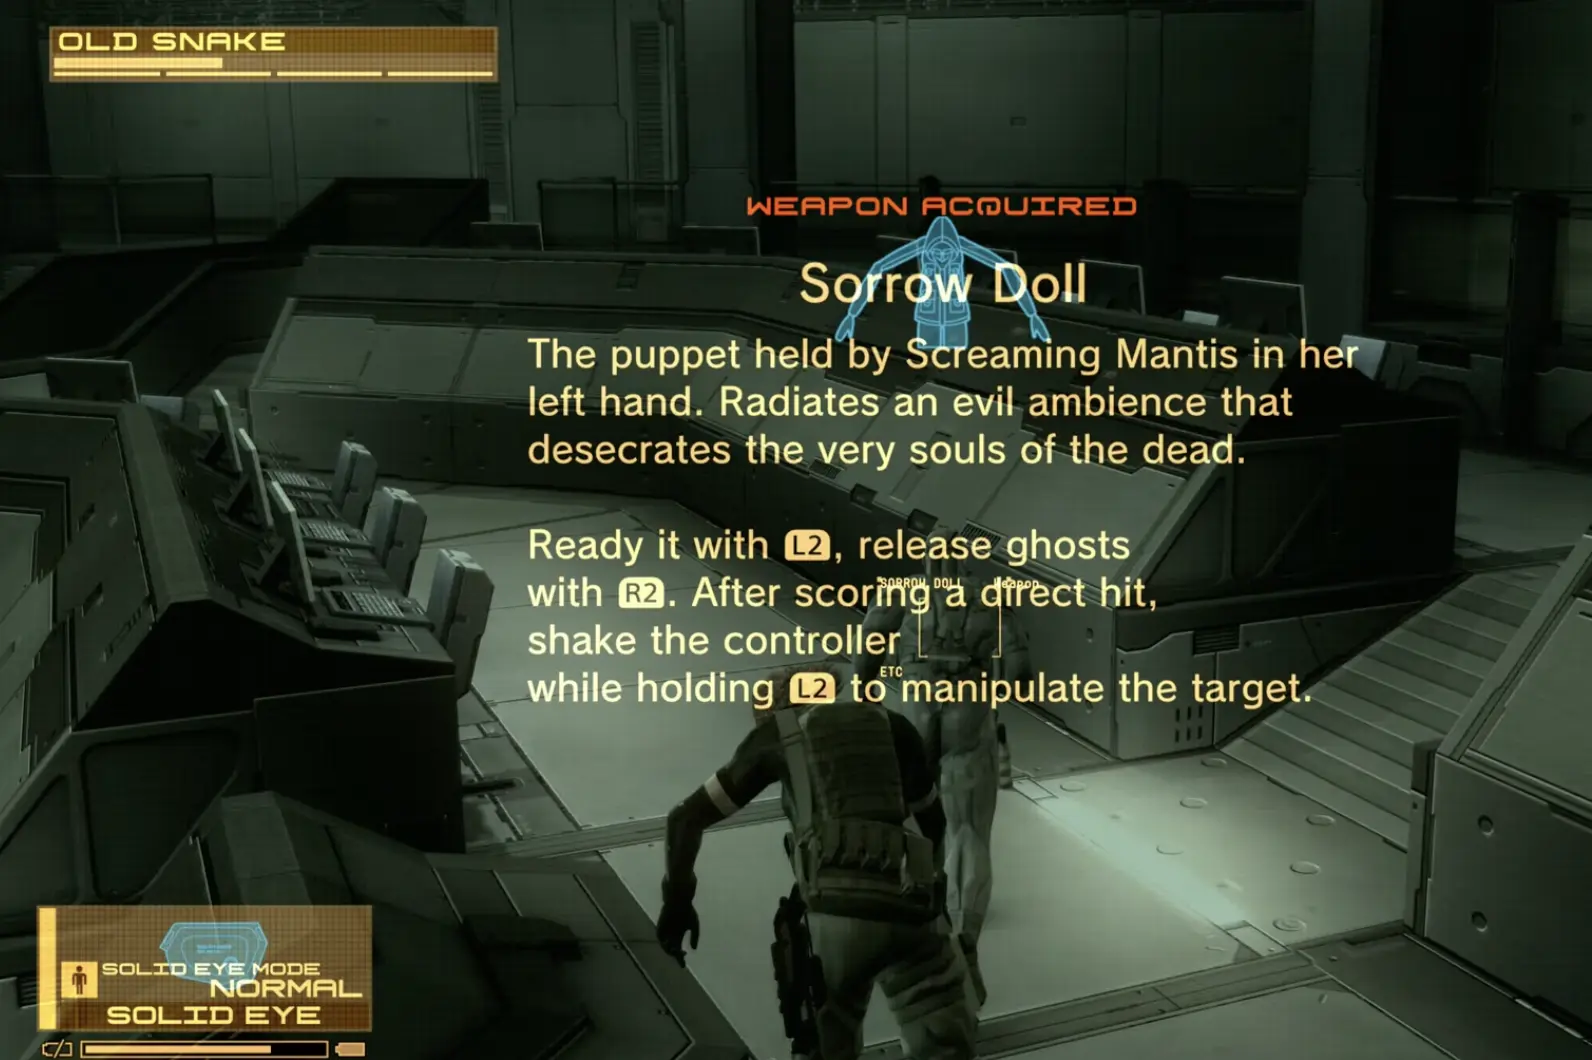
Once the Mantis Doll mechanic works, the encounter can be finished normally.
The Psycho Mantis callback that follows also reflects the newer hardware context: the sequence acknowledges the absence of the old memory-card setup and continues through the controller gag instead of requiring me to reproduce the original PS1 trick.
Survive the Microwave Corridor
The route toward GW eventually reaches the microwave corridor.
I treat this as an endurance sequence, not another room to explore.
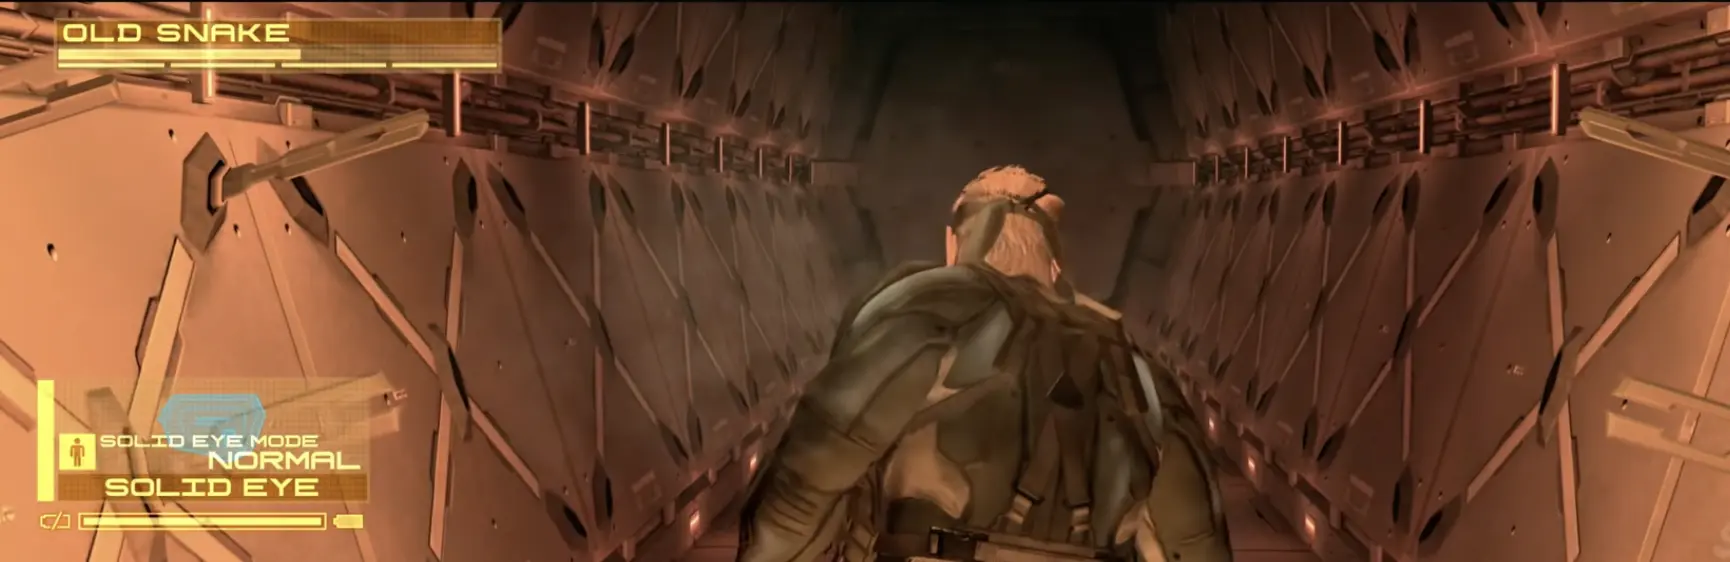
Snake takes increasing punishment as he moves through it, so I keep advancing and follow the on-screen actions rather than stopping for anything around me.
There is no detour inside the corridor that matters more than reaching the other end.
The sequence eventually brings me to GW’s server room and the final operation.
Final Liquid Ocelot Fight
After the server sequence, the remaining challenge is no longer about finding the right route.
The final playable fight is Liquid Ocelot at close range.
I stop thinking like I am in one of the game’s gunfights.
Trying to mash attacks through his defense usually leaves me trading badly. I stay close, defend, wait for a clean opening and answer when he commits.
The presentation changes as the fight progresses, but that rhythm continues to work:
defend → recognize the opening → punish → reset.
Once Liquid finally goes down, the active campaign is essentially complete.
I let the ending continue rather than treating the first post-fight cut as the end of the save.
What I Do After the Five Acts
I keep the completed save.
If I left behind Dolls, iPod Tracks, Flashbacks, FaceCamos or other missables, I move into the MGS4 collectibles and missables guide instead of trying to reconstruct everything from the walkthrough.
If the next goal is the Big Boss Emblem, I prepare before beginning The Boss Extreme. The Big Boss Emblem requirements and preparation guide covers the run restrictions and the equipment I want ready before committing to it.
The first playthrough does not need to be the collectible run, the emblem run and the fastest possible story run at the same time. I get through the five Acts cleanly, keep the save, then use the next playthrough for the goal that actually needs it.