MGS4 Big Boss Emblem Requirements & How I Prepare
How I prepare and run the MGS4 Big Boss Emblem on The Boss Extreme, with safer NG+ gear, frequent saves, zero-kill checks and Act-by-Act risk control.
Updated:
Quick Answer
The Big Boss Emblem requires me to finish MGS4 on The Boss Extreme in under 5 hours with 0 Alerts, 0 Kills, 0 Continues and 0 Recovery Items used, without relying on Bandana or Stealth Camouflage.
I prefer doing the serious attempt from a prepared NG+ save with the Solar Gun, Middle Eastern Disguise, a Beauty FaceCamo, Twin Barrel with V-ring ammunition, Smoke, Stun and Chaff Grenades already available.
I also save aggressively. Big Boss does not require a no-save run, so I would rather reload one bad area than let an Alert, accidental kill or death survive into the next Act.
The five-hour limit sounds like the part that should make this run intimidating.
It is not the restriction that worries me most.
A few extra minutes rarely destroy my attempt. One careless human kill during a chaotic escape can.
That changes how I play The Boss Extreme. I am willing to take a longer path, wait for a guard to turn, or land a safe body shot instead of gambling on a difficult headshot. The run does not need to look like a speedrun. It needs to reach the ending with every required counter intact.
The Boss Extreme itself is unavailable on a fresh save, so I already have at least one completed playthrough before I can make the attempt.
That first clear also gives me a much better way to approach the challenge: build the completed save deliberately, then bring the useful gear forward instead of trying to improvise everything on the hardest difficulty.
MGS4 Big Boss Emblem Requirements
The run I am protecting has to finish with:
- The Boss Extreme difficulty;
- under 5 hours of completion time;
- 0 Alerts;
- 0 Kills;
- 0 Continues;
- 0 Recovery Items used;
- no Bandana;
- no Stealth Camouflage.
The time requirement does not make me rush every room.
Once I skip the story scenes I already know, there is enough room to play many dangerous areas conservatively. Saving 15 seconds is worthless if the shortcut creates an Alert and sends me back several minutes.
The counters are much less forgiving.
If an Alert registers, I reload.
If I am not confident that a human survived a chaotic sequence, I stop before carrying that uncertainty farther into the run.
If Snake dies, I load the save instead of accepting a Continue.
That distinction shapes the entire attempt.
Big Boss Is Not a No-Save Run
I save far more often here than I do on a normal playthrough.
There is no tiny save allowance I need to preserve for the ending. I can make saves throughout the run without invalidating Big Boss, so I use them to isolate the sections where enemy behavior, difficult sightlines or forced combat can turn a clean attempt into a restart.
My safest pattern is simple:
enter a risky new area → make a save → solve it cleanly → move on.
I am especially careful around:
- dense Act 1 patrols;
- the FROG encounters;
- the Act 2 escape;
- the Act 3 resistance tail;
- the bike chase;
- Crying Wolf;
- Shadow Moses Gekko sections;
- the final stretch of Outer Haven.
I also keep Recovery Items out of the active slot when I do not need them there. Accidentally consuming a Ration out of habit is one of the least interesting ways to ruin a long attempt.
I Treat NG+ as the Safer Route, Not a Requirement
Big Boss itself does not require me to turn the attempt into a fresh-save challenge.
That is why I prefer NG+.
The earlier playthrough lets me carry useful weapons, disguises and ammunition into a run where every extra option reduces the number of things that can go wrong.
I am not trying to bring the largest possible arsenal.
I want the items that solve specific Big Boss problems before those problems happen.
The core of that preparation is:
- Solar Gun
- Middle Eastern Disguise
- at least one useful B&B Beauty FaceCamo
- Twin Barrel Shotgun
- a strong supply of V-ring ammunition
- tranquilizer ammunition
- Smoke Grenades
- Stun Grenades
- Chaff Grenades
- Grenade Launcher
- a few useful weapons for machines and forced boss sequences
That is more valuable to me than buying every expensive weapon just because the completed save can carry it.
The Solar Gun Is the Unlock I Want Most
The Solar Gun comes from completing the five-Doll chain:
FROG Soldier → Laughing Octopus → Raging Raven → Crying Wolf → Screaming Mantis
The FROG encounter needs to be completed without kills, while the four B&B Beast fights need their non-lethal Doll conditions handled before I can finish the chain.
If one is still missing, I finish it through the collectibles and missables guide before making Big Boss my next target.
The Solar Gun is useful because it gives me strong reusable non-lethal control without asking me to spend tranquilizer ammunition every time a section becomes messy.
It is not mandatory.
The Mk. 2 and V-ring weapons can still carry a run.
But when I already have the Solar Gun on the completed save, leaving it behind only makes the challenge less forgiving.
Twin Barrel and V-Ring Give Me Another Safe Answer
The Twin Barrel Shotgun is the other weapon I want ready early.
Its Big Boss value comes from V-ring ammunition, not lethal shells.
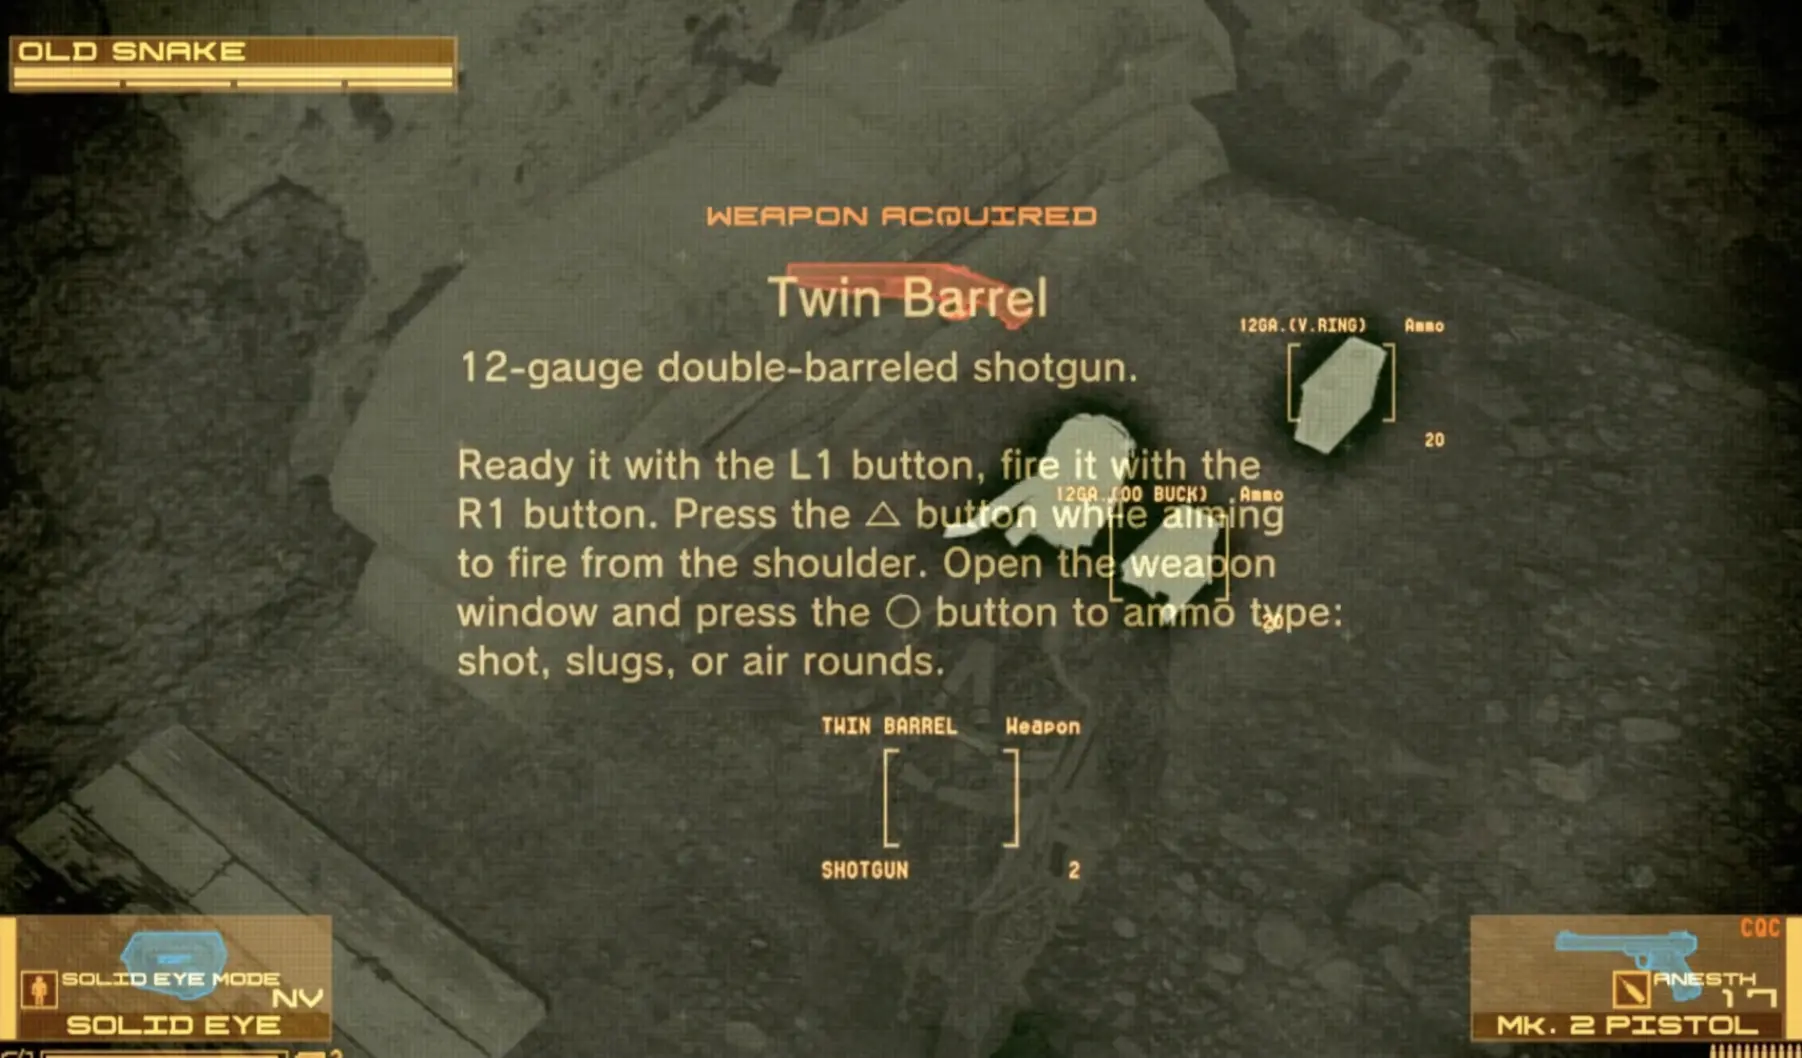
I prefer entering the run with 50+ V-ring rounds available.
That gives me room for forced encounters and difficult targets without turning every bullet into a resource emergency.
There is also a small accuracy lesson here that matters more on Big Boss than on a normal run.
I do not force headshots from poor angles.
A missed headshot can create immediate detection. A body hit with the Mk. 2 may take a few seconds longer to put somebody down, but those few seconds are often cheaper than reloading an Alert.
When the shot is awkward, I take the reliable hit.
The Inventory I Build Before The Boss Extreme
Before I close out the preparation playthrough, I like having roughly:
- 50 tranquilizer rounds
- 50+ V-ring rounds
- 10 Sleep Gas Satchels
- 10 Stun Grenades
- a useful supply of Smoke Grenades
- at least 4–6 Chaff Grenades
- Grenade Launcher
- Solar Gun
- Twin Barrel
- Middle Eastern Disguise
- a B&B Beauty FaceCamo
I do not treat those numbers as a requirement for earning the Emblem.
They are the inventory level where I stop worrying about whether one ugly section will empty the tool I planned to use later.
Chaff is the item I am least willing to waste casually because Act 4 gives it a much clearer job.
I Finish Expensive Shopping Before the Challenge
On the preparation playthrough, I carry Drebin Points forward when I can instead of spending them immediately.
Act 5 gives me the 50% Drebin Shop discount, so that is where I fill expensive gaps before finishing the save I intend to carry into The Boss Extreme.
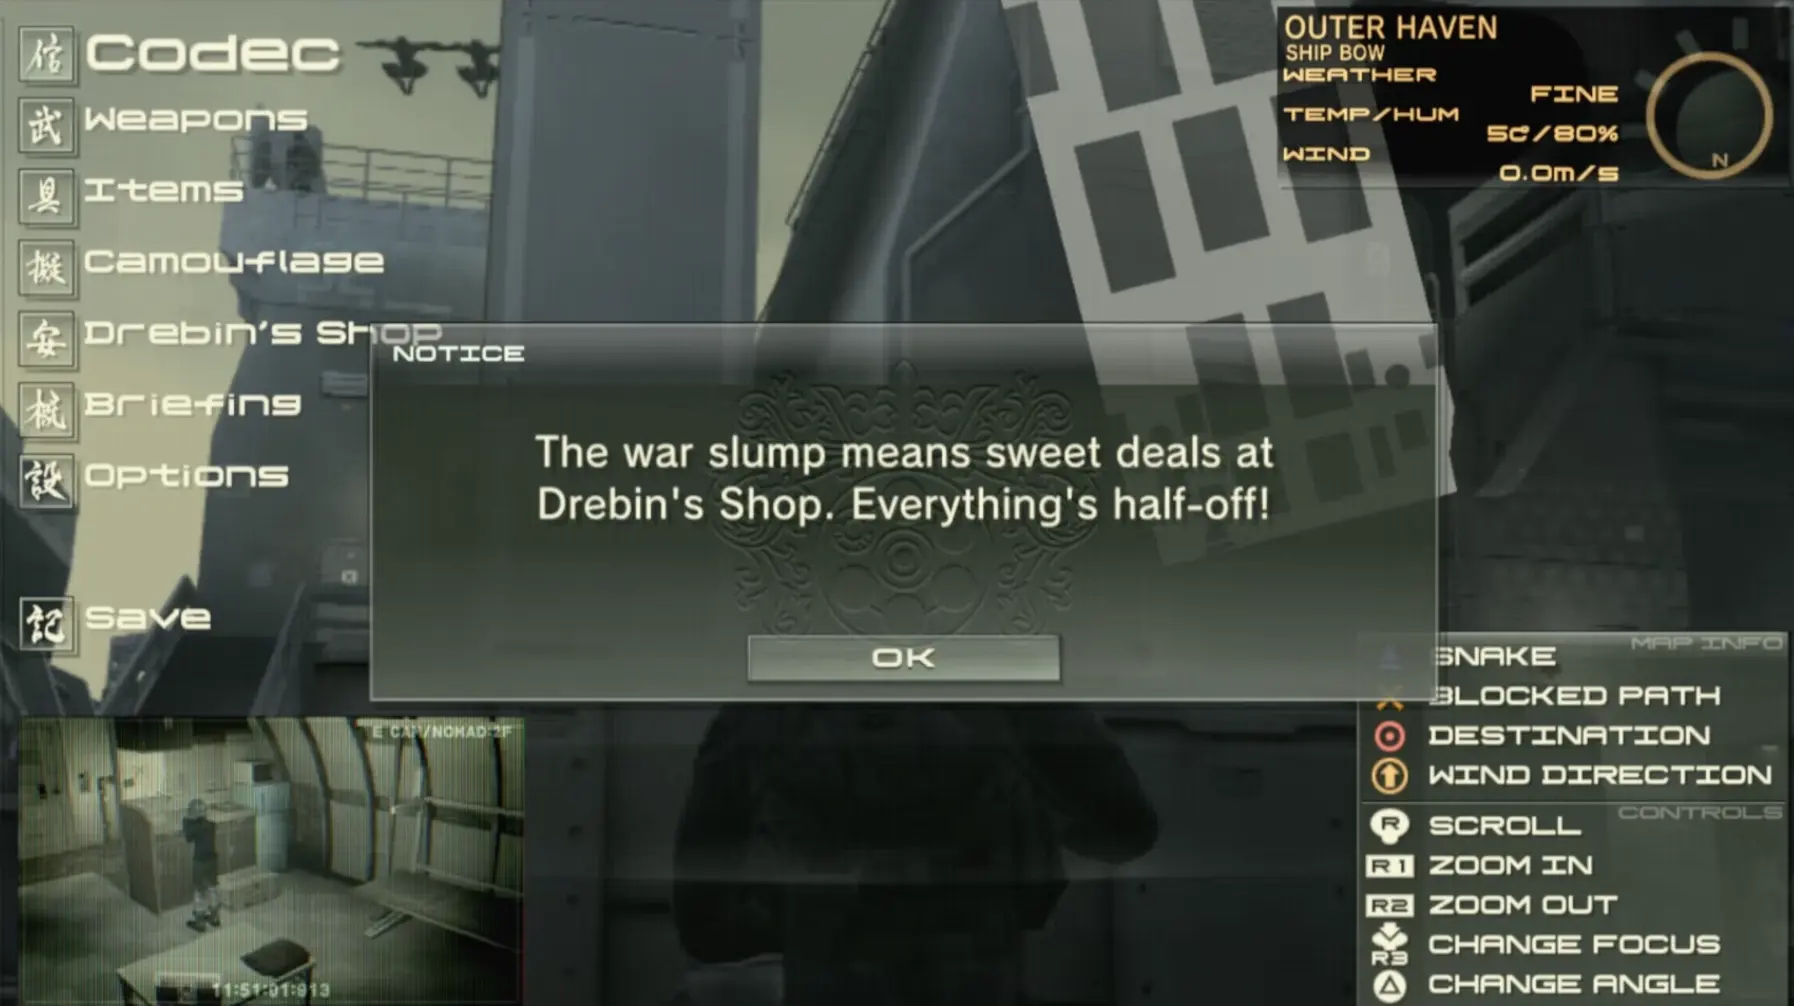
If I am still missing important first-run equipment or the Act 4 Drebin Point bonus, I go back through the first-playthrough checklist before committing the save.
Once The Boss Extreme begins, shopping stops being the project.
The run becomes the project.
Act 1: I Make the Opening as Boring as Possible
Act 1 is where I settle into the mindset I want for the remaining four Acts.
The Middle Eastern Disguise removes a lot of unnecessary militia friction once I have access to it.
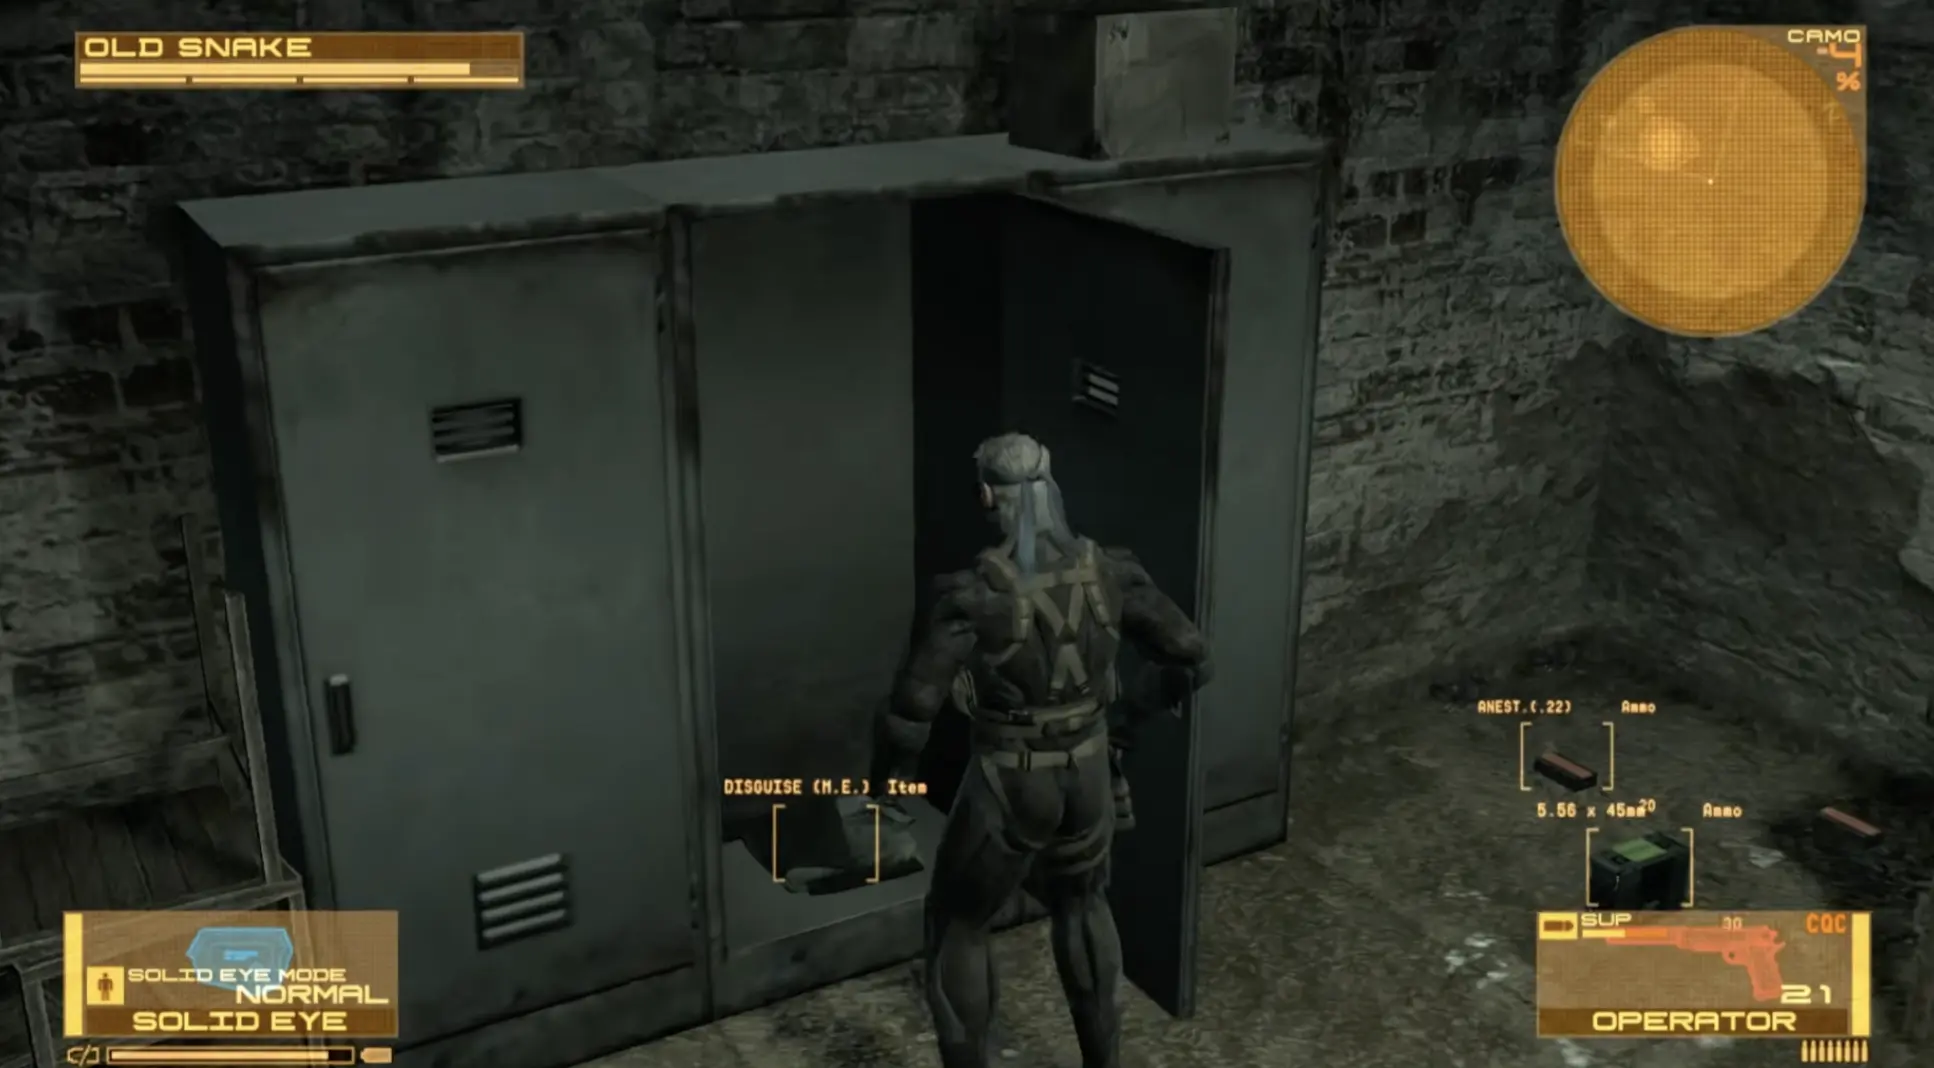
It does not make the battlefield safe.
PMC troops still matter, and contested spaces still need normal stealth.
What changes is the number of people I have to treat as immediate detection problems.
I save before the denser patrol areas rather than trying to string the entire Act together perfectly.
When a guard gives me a poor headshot angle, I use a body shot and wait.
When waiting five seconds lets two enemies move away from each other, I wait.
This is where I stop caring whether the route looks fast.
The FROG Sequence Is Worth Its Own Save
The FROG encounter can become chaotic quickly, especially when several enemies enter at once.
I want Sleep Gas, Stun or another reliable non-lethal option ready before it starts.
If the spawn pattern becomes ugly, I do not force a fast setup just because it worked on another attempt. Surviving the encounter with the Big Boss conditions intact matters more than saving a few seconds.
Once it is over, I save again.
The rest of the game becomes much easier when I stop making one save responsible for twenty minutes of execution.
Act 2: I Take the Longer Route When It Removes a Gamble
Act 2 exposes the difference between a speed route and the route I actually want for Big Boss.
Sometimes the shortest line crosses an enemy angle I do not trust.
I would rather go around.
Low ammunition is another reason I change the route instead of stubbornly repeating a setup that assumes perfect headshots. The safe path that avoids a patrol completely can be better than spending my final Mk. 2 rounds trying to copy a faster strategy.
The normal progression is still the same route covered in the full walkthrough: use the rebel advance to reach Vista Mansion, get through the research facility, defeat Laughing Octopus, track Naomi and escape through the market.
The difference is what I refuse to risk along the way.
Laughing Octopus Gives Me Several Non-Lethal Options
For Laughing Octopus, I like having V-ring ammunition ready.
The Twin Barrel can strip stamina quickly when I already brought it through NG+.
The Solar Gun gives me another strong option, particularly once the fight moves into the phase where I want decisive non-lethal damage instead of a long exchange.
I do not need one mandatory boss trick.
The value of the prepared save is that I can use whichever of those options feels cleanest on the attempt I am actually playing.
Naomi’s Trail Is Not Where I Try to Save Time
I already know the footprint route before making Big Boss my serious run.
If the trail splits, I slow down and confirm it.
If I need the Solid Eye, I use it only long enough to solve the trail or identify the enemy position.
There is no reason to turn a section I already understand into a detection risk just to move through the forest slightly faster.
The walkthrough covers the full Naomi footprint logic if I need to relearn it first.
The Act 2 Escape Is Where I Stop Trusting My Memory
The market escape is the first section where I become extremely suspicious of accidental kills.
There are PMC soldiers, powered suits, mounted weapons and moving targets mixed into a sequence that encourages me to fire quickly.
Before it starts, I save.
For human targets, I keep V-ring ammunition equipped whenever the weapon allows it.
If I cannot clearly tell whether firing into an area might register a human kill, I would rather stop shooting than discover several minutes later that the run is already dead.
Once the final Gekko pressure begins, I leave.
Those machines are there to force the escape forward. I do not stand around burning ammunition on enemies I can simply run past.
Act 2 is finished when I get out cleanly, not when everything behind me is dead.
Act 3: Beauty FaceCamo Lets Me Watch the Resistance Member
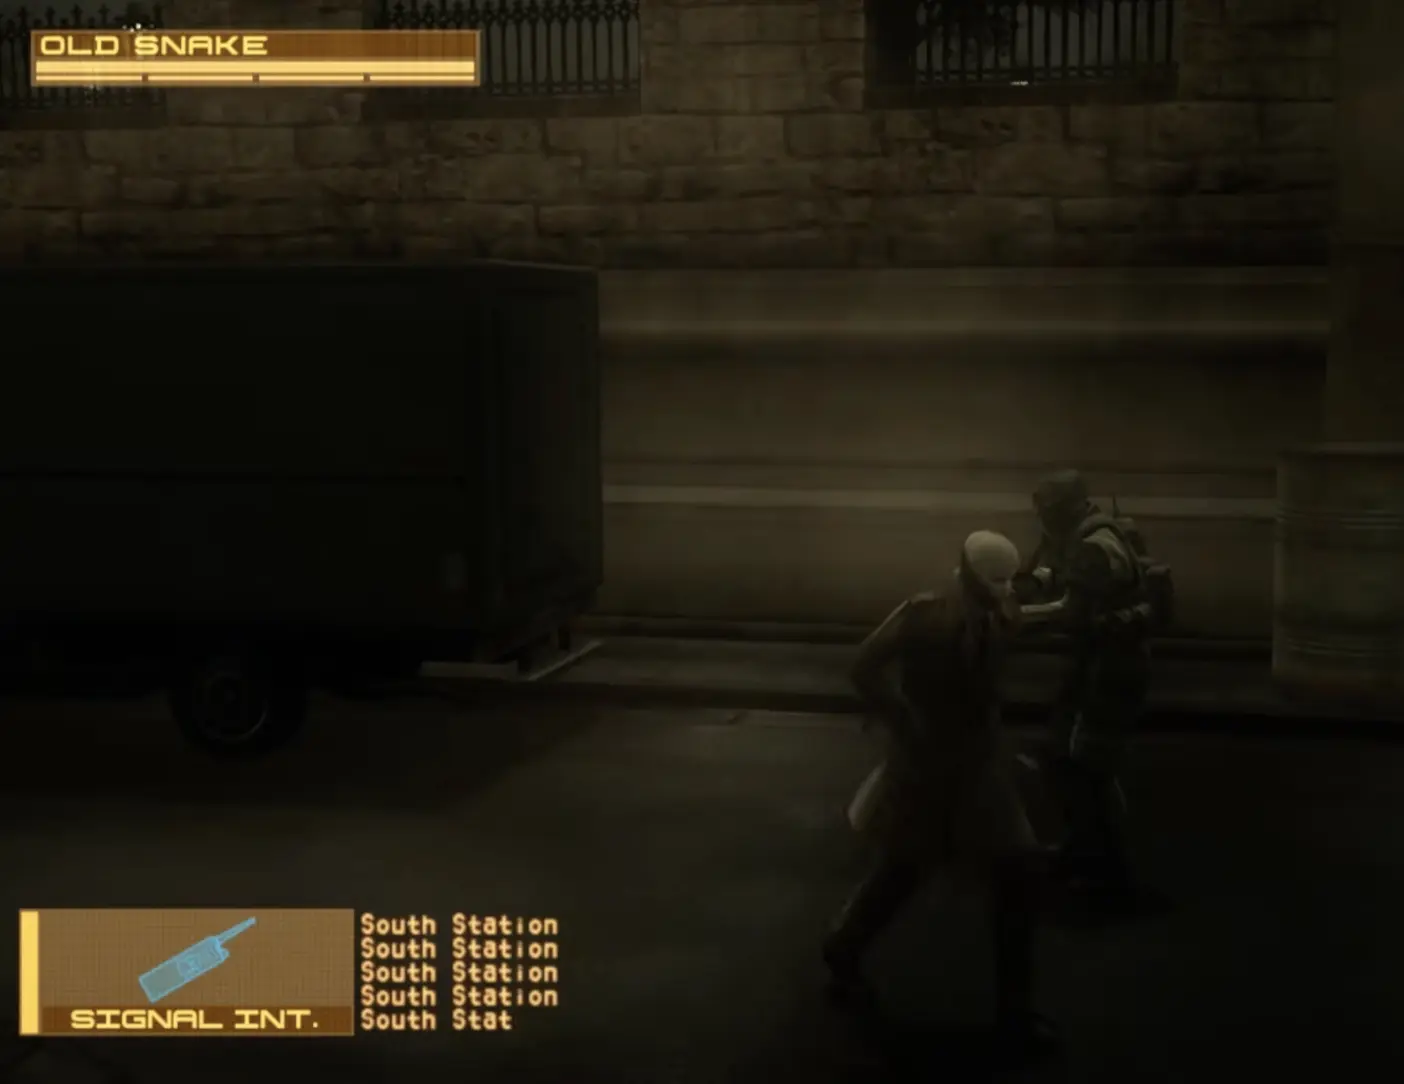
The resistance tail is much more comfortable when I bring one of the B&B Beauty FaceCamos.
I still avoid suspicious behavior.
I do not walk around with a weapon displayed, attack PMC troops beside them or sprint through checkpoints expecting the face alone to solve everything.
Its strength is subtler than that.
The disguise lets nearby PMC soldiers treat me as less interesting while I concentrate on the NPC I actually need to follow.
I also avoid crowding the resistance member. If I get too close, his movement becomes harder to read and I create problems that did not need to exist.
When he changes appearance and disappears into a less obvious route, I use the same cues from the normal walkthrough rather than rushing ahead and hoping I picked the right person.
The Bike Escape Is the Section I Respect Most
If I had to choose one segment that deserves its own clean save, it is the Act 3 bike escape.
This is where damage, moving enemies, explosive scenery and forced shooting all happen at once.
It is also exactly the kind of sequence where a technically possible speed strategy is less useful to me than a repeatable one.
Before the chase begins, I want:
- Smoke Grenades
- Stun Grenades
- the non-lethal ammunition I plan to shoot
- a fresh save
- my equipment already arranged so I am not searching through menus under pressure
If I have a useful defensive camo available from an earlier run, I equip it before the sequence rather than discovering after the chase starts that I wanted it.
I also stop shooting explosive barrels casually.
A barrel may look like free damage, but it adds another uncontrolled explosion around enemies and can hurt Snake badly enough to force a reload. Big Boss gives me no reward for making this sequence more dramatic.
Smoke and Stun are much easier to trust.
I do not assume old timing by feel will always save me on the modern version. If something behaves differently than I remember, I adjust to what is happening on screen instead of forcing an old rhythm.
After the chase, I verify the run is still clean before moving into the next major section.
Act 4: This Is Why I Saved the Chaff
Shadow Moses is where Chaff Grenades stop being emergency inventory and become part of the route.
They can remove electronic pressure long enough for me to move rather than fighting through every machine.
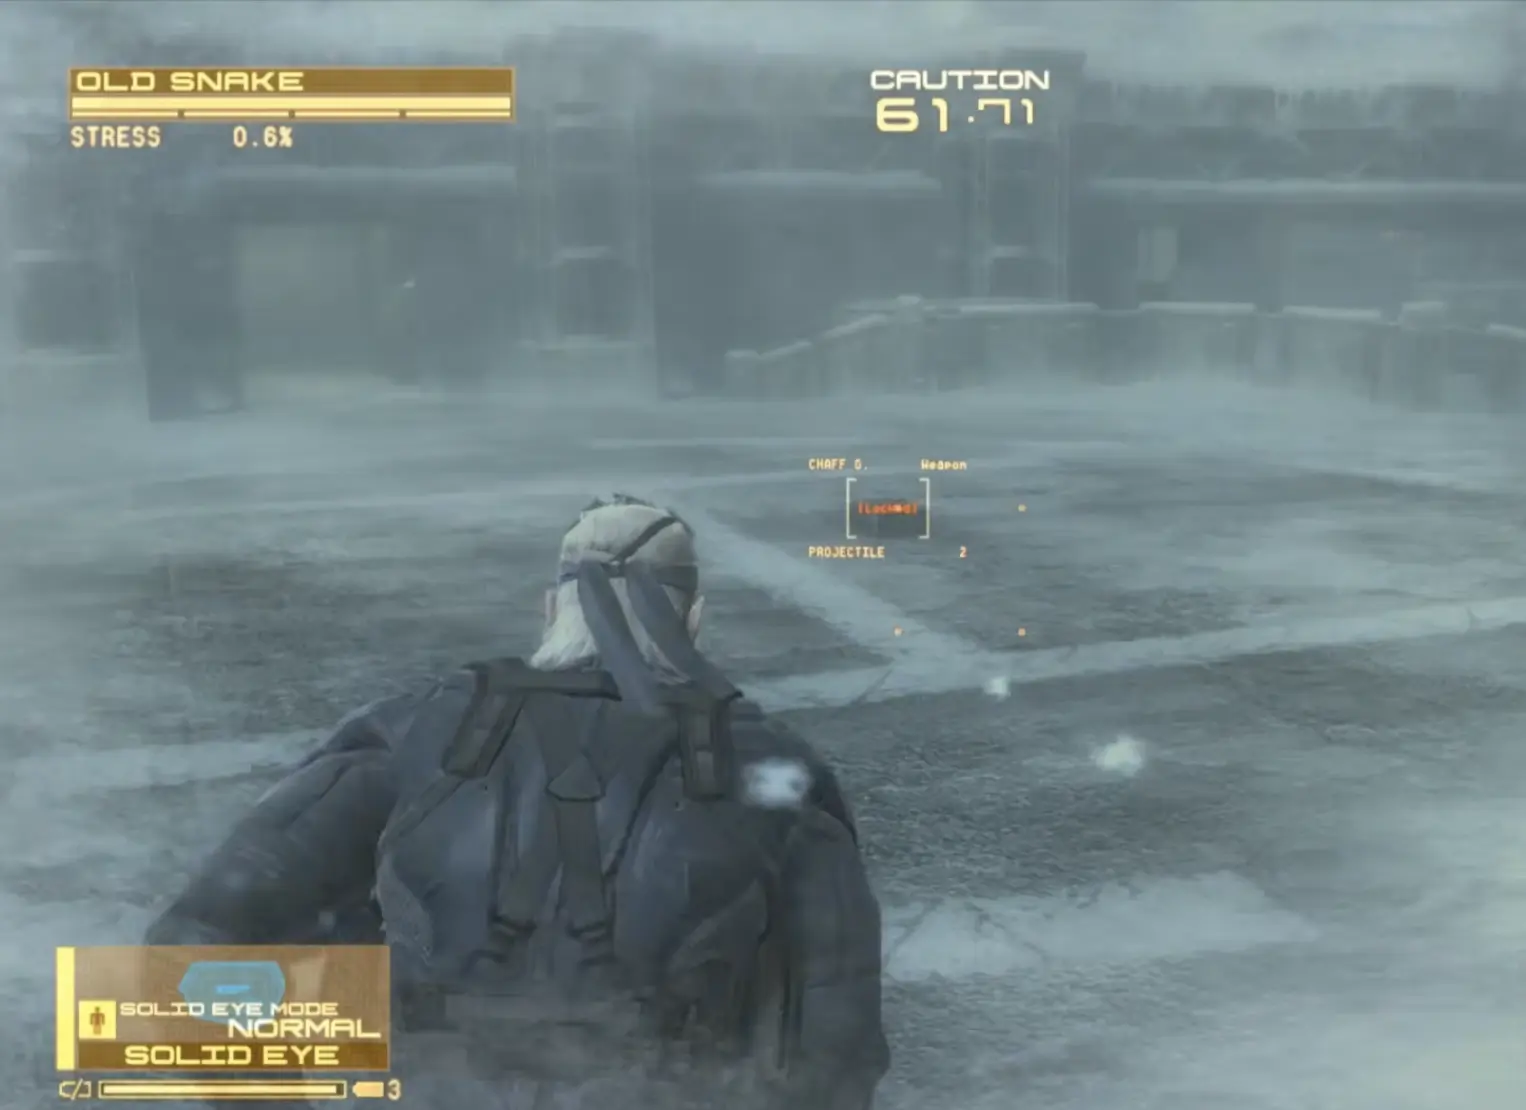
For my normal preparation, 4–6 already gives me room to use them where they matter.
If the completed save has more, even better.
I do not spend half the run hoarding Chaff for some imaginary later emergency. Act 4 is the reason I brought it.
The old security route still needs the normal APU and door progression, and Mark III eventually has to work on a door while Gekkos are nearby.
This is exactly the kind of area where temporarily shutting down the electronic pressure can be more useful than trying to destroy everything around me.
Crying Wolf Gets a Setup Instead of a Long Fight
Crying Wolf is one boss where I like knowing my opening before I enter the snowfield.
I bring:
- Smoke Grenades
- Grenade Launcher
- Stun Grenades
The sequence I am looking for is:
find Wolf → reach the setup without a FROG spotting me → use Smoke to create the coughing opening → punish that window with Stun Grenades.
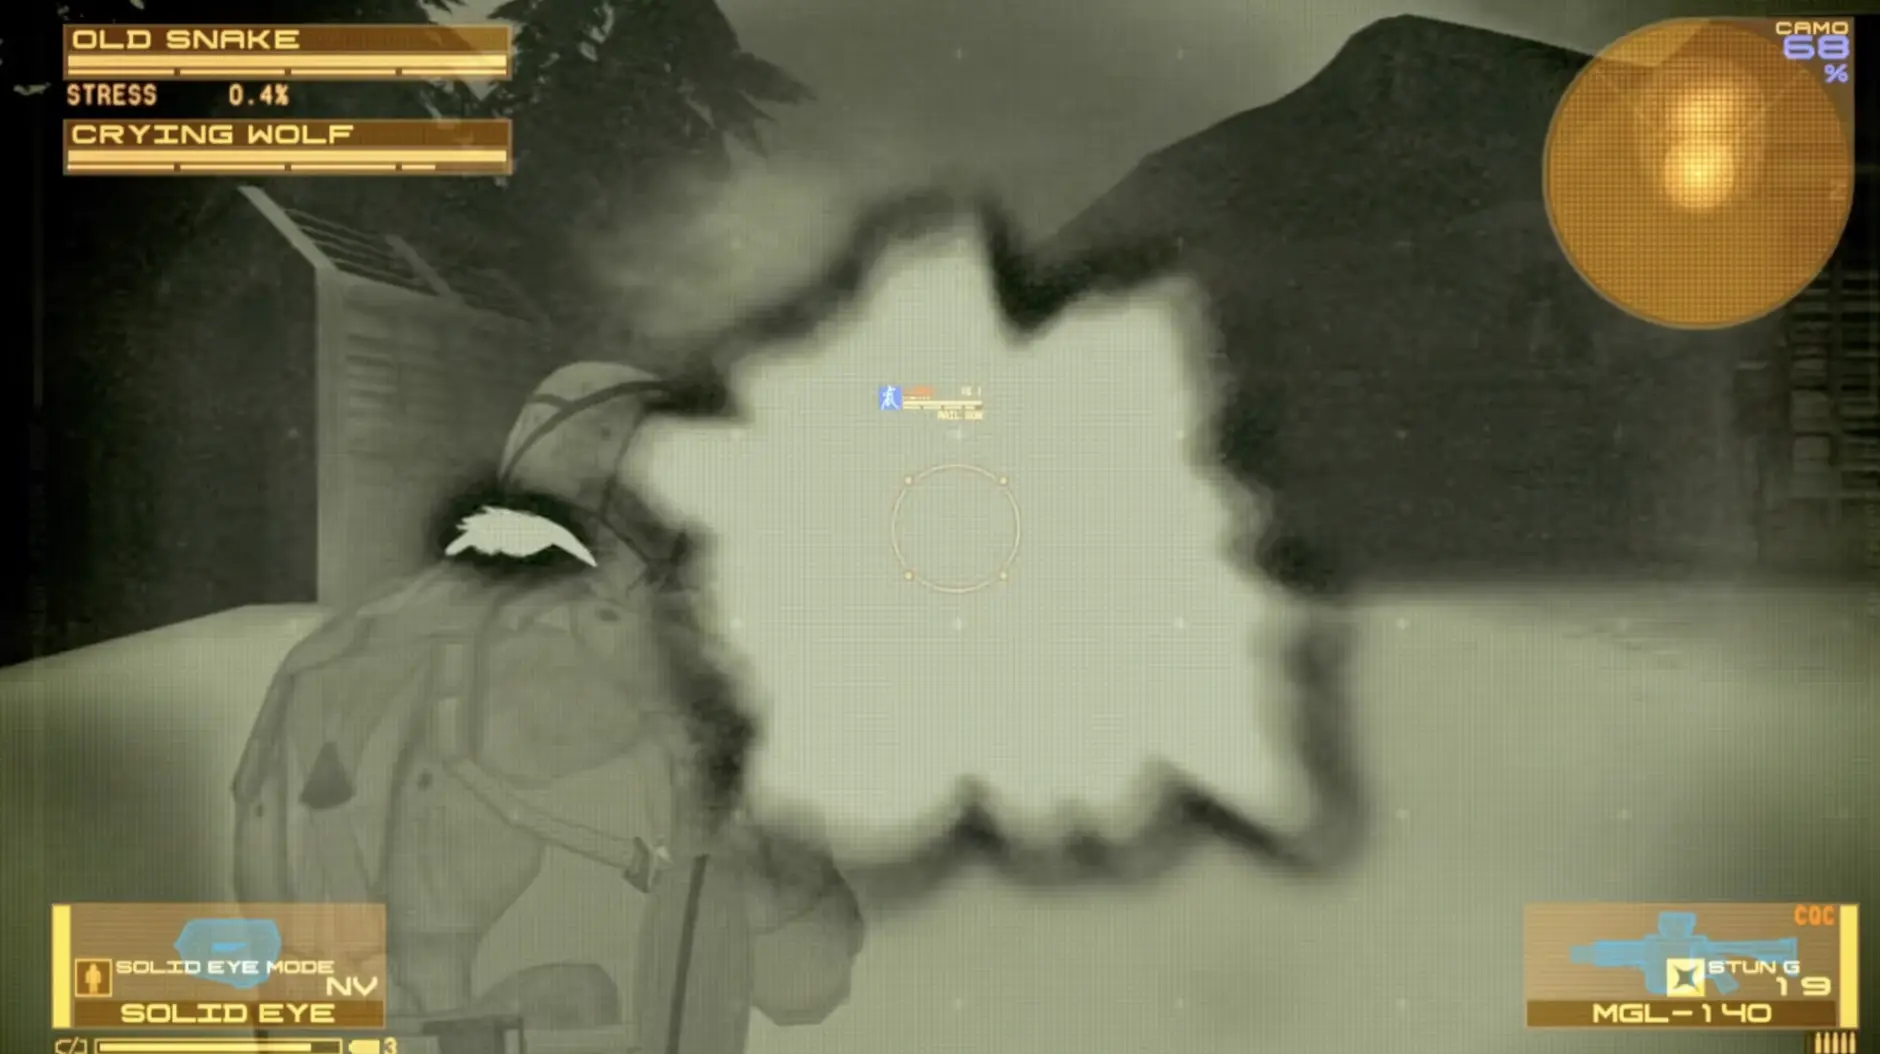
The boss itself is not the part I fear most.
The FROGs around the snowfield can ruin the zero-Alert requirement before I even finish positioning Wolf.
That is why I do not run across the arena with the Solid Eye permanently active and tunnel vision on the boss.
I use it when I need information, then go back to moving quietly.
Vamp and the Gekkos Do Not Change My Human-Kill Rule
Big Boss requires 0 Kills, but that does not mean I have to treat every machine as if it were a human soldier.
Gekkos and other unmanned machines can be dealt with using the heavier equipment I carry for them.
What I avoid is carrying that same trigger discipline into mixed human encounters.
The question I ask before firing is not:
Is this weapon lethal?
It is:
Can this shot register a human kill?
If the answer is unclear, I switch weapons.
That conservative rule is easier to remember than maintaining a long list of exceptions while I am already managing The Boss Extreme.
Vamp still follows the normal progression: bring his health down, then use the syringe through CQC when the opening appears.
After that, I handle the suicide Gekkos and move into REX rather than treating the section like another stealth arena.
REX and RAY Are Places to Use the Heavy Weapons Freely
Once I am inside REX, the human stealth restrictions stop being the problem.
The goal is simply to finish the machine sequence efficiently enough that it does not become an unnecessary time sink.
I make a save before the parts of the run where a failed machine fight would otherwise send me back through unrelated stealth sections.
The same principle carries into RAY.
I do not need a speedrunner opening.
I need to have the correct weapon ready, avoid a bad start and finish the fight without turning one mistake into ten minutes of repeated content.
Act 5: I Stop Taking Detours
By Outer Haven, the inventory question is finished.
I am no longer checking side rooms because there might be something useful inside.
I already brought what I wanted.
The remaining job is to protect the clean run through:
- the opening Haven infiltration;
- the Meryl encounter;
- Screaming Mantis;
- the microwave corridor;
- Liquid Ocelot.
If Meryl is under Mantis’ control, I do not treat her as an enemy I am free to damage lethally.
I knock her out when necessary and keep the encounter controlled.
The detailed Mantis mechanics are already covered in the full walkthrough; here the more important Big Boss concern is reaching the end without turning a scripted human encounter into the one kill that invalidates the challenge.
I Save Before the Final Fight
By the time I reach Liquid Ocelot, I am not going to risk several Acts because the final fight opens badly.
I make the final save before committing.
If Snake dies, I reload it.
I do not Continue.
The fight itself is not where I suddenly start chasing a faster completion time. If I reached Act 5 with healthy time remaining, there is nothing to gain from turning the ending into another gamble.
I work through the phases, respect the more aggressive exchanges and finish the run.
The Five-Hour Limit Does Not Turn This Into a Speedrun
The biggest mental change I made with Big Boss was separating:
fast enough
from:
as fast as possible.
They are not the same thing.
A true speedrun can accept strategies that save seconds but demand very precise movement or favorable enemy behavior.
That is the opposite of what I want from a first Big Boss clear.
If skipping cinematics gives me enough time to:
- save before risky areas;
- wait for patrols;
- take body shots instead of low-confidence headshots;
- use safer routes;
- reload mistakes;
then I use that margin.
The run becomes easier when I stop spending safety to buy time I never needed.
What I Check Before I Commit the Completed Save
My final preparation save normally has:
- Solar Gun
- Middle Eastern Disguise
- at least one useful B&B Beauty FaceCamo
- Twin Barrel
- 50+ V-ring rounds
- about 50 tranquilizer rounds
- 10 Sleep Gas Satchels
- Smoke Grenades
- 4–6+ Chaff Grenades
- Grenade Launcher
- 10 Stun Grenades
- the machine and boss weapons I already picked up through normal progression
I do not restart the preparation playthrough because one optional weapon is missing.
The list exists to eliminate predictable failure points, not to create a second completion checklist.
Once those pieces are in place, I preserve the completed save, start The Boss Extreme, skip the story scenes and begin protecting the counters that actually matter.
From that point forward, every decision gets simpler:
safe route over flashy shortcut, reliable hit over risky shot, reload over uncertainty.
That is the version of the Big Boss run I can repeat.