MGS4 First Playthrough Checklist: What I Make Sure to Get
What I pick up, save and postpone on my first MGS4 run so the completed save is ready for NG+ without turning every Act into a collectible sweep.
Updated:
Quick Answer
My first MGS4 playthrough is mainly about leaving myself a useful completed save for NG+.
The things I make a point of handling are:
- the Middle Eastern and South American disguises;
- the FROG Doll plus all four B&B Dolls by clearing the required Beast-form encounters non-lethally;
- the free Twin Barrel Shotgun, DSR-1, Grenade Launcher and Rail Gun instead of buying substitutes early;
- the 14893 bonus code in Act 4 for 100,000 Drebin Points;
- expensive purchases I can postpone until the 50% Drebin Shop discount in Act 5.
I leave the wider collectible cleanup for later. The first run only needs to make the next one easier.
The Boss Extreme is not available on a fresh save, which changes how I approach the entire first playthrough.
There is little value in forcing Big Boss-style restrictions onto a run where I am still learning how MGS4 handles stealth, faction battles, disguises, the Solid Eye and its more unusual boss mechanics. I would rather finish the five Acts with useful gear already collected, avoid wasting Drebin Points on weapons the story gives me for free and pick up a handful of things that would be annoying to reconstruct later.
When the story route itself is the problem, I use the full MGS4 walkthrough. For the much larger set of iPod Tracks, Flashbacks, FaceCamos, Ghosts, posters and other missables, I use the collectibles and missables guide.
What I Want to Understand in the First Hour
A few mechanics are worth getting comfortable with before I worry about preparation.
OctoCamo is much simpler than it first looks. When I press Snake against a surface or lie flat while wearing the suit, the camouflage copies the surrounding texture. I do not need to keep searching the equipment menus every time I want it to work.
The Mark II and Solid Eye also change how I read the battlefield. I use the map instead of trying to memorize the opening streets, and the Solid Eye helps me distinguish hostile contacts when uniforms and faction fights start becoming visually messy.
That matters because the militia and PMC troops fighting in Act 1 are not simply two groups I need to kill. Much of the opening becomes easier once I stop assuming that every armed person on screen is part of my objective.
The tranquilizer pistol is also something I start using early. The first playthrough already contains several rewards tied to non-lethal clears, so learning the difference between dropping someone with stamina damage and actually killing them pays off long before I attempt a challenge run.
Finally, I stop worrying when battlefield weapons show up as ID locked. Drebin’s laundering system is built into progression. I pick things up, meet him, and let that system open naturally instead of treating every locked weapon as something I missed.
Act 1: Start With the Middle Eastern Disguise
After meeting the Mark II, I take a short detour inside the militia safe house before leaving it behind.
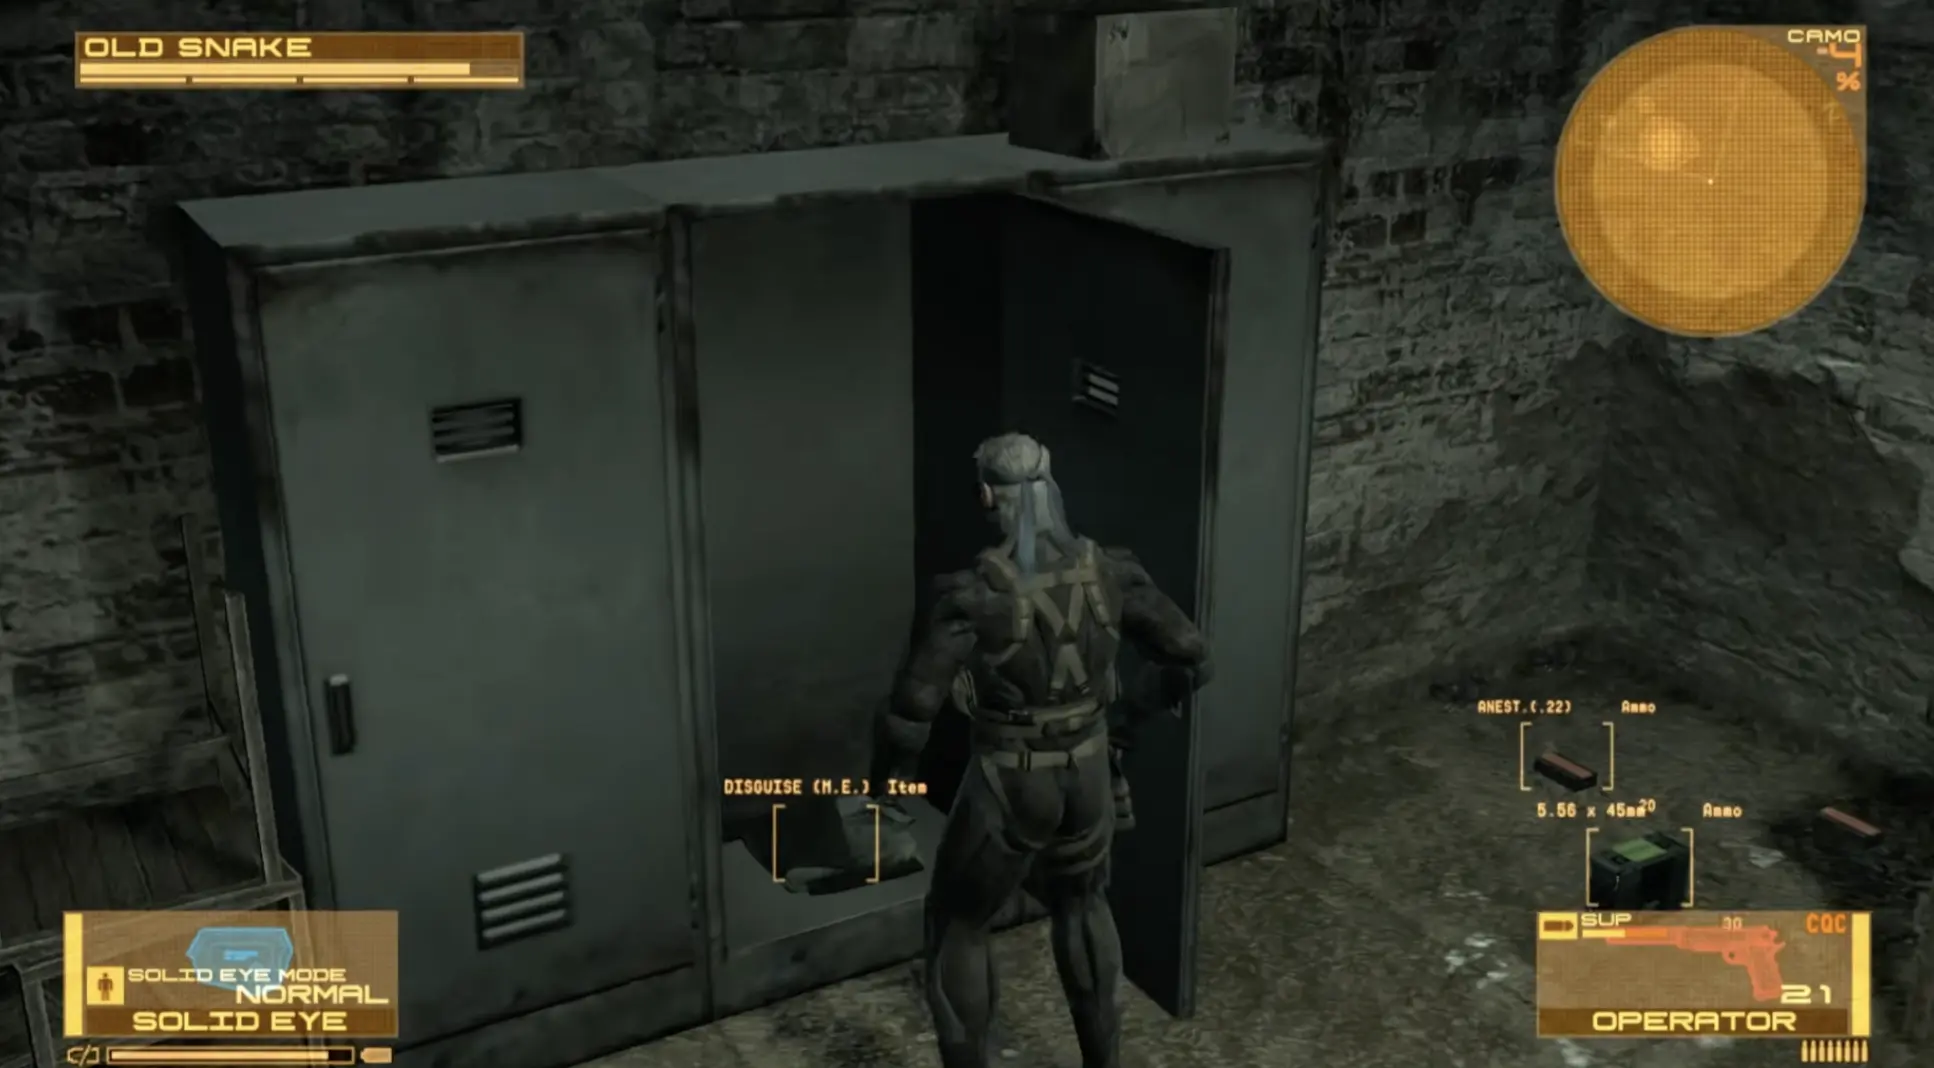
Working back through the interior takes me past the makeshift infirmary and into a storage area with three lockers. The middle locker contains the Middle Eastern Disguise.
It is not required to finish Liquid Sun, but it becomes a convenient option on later visits to this region, especially when I care more about keeping encounters controlled.
The FROG Encounter Is the First Solar Gun Decision
The Rat Patrol FROG battle is the first place where I deliberately think beyond the current playthrough.
For the FROG Doll, I need to clear the encounter without killing the FROGs. I make a save before committing so that an accidental lethal kill does not become something I discover much later.
The Mk. 2 tranquilizer pistol already gives me a reliable option, and I can combine it with whatever stun, smoke, CQC or other non-lethal tools I have available.
Once the encounter ends, I make sure the Doll actually came with me.
That puts the chain at:
FROG — 1 of 5
The exact pickup point is covered in the collectibles guide; here I only care that I leave the sequence with it.
Sleep Gas Mines Are Useful, Not Mandatory
There are five Sleep Gas Mines available later in Advent Palace.
I grab them when the route already takes me close because they are free non-lethal tools and save a little Drebin spending.
Missing them is not a reason for me to restart a large part of Liquid Sun. The disguise and FROG Doll are the Act 1 pickups I care much more about.
By the time the Act closes, the completed-save preparation I really want is simple: Middle Eastern Disguise acquired and the Solar Gun chain started at 1/5.
Act 2: Let the Rebels Open the Useful Room
South America contains one of my favorite first-run pickups because it rewards me for understanding the battlefield rather than shopping.
Early in the region, there is a room I cannot simply open myself. The local rebels are fighting PMC troops nearby, and once I help them win enough of that engagement to advance, a rebel can open the room.
Inside are two useful items:
- South American Disguise
- Twin Barrel Shotgun
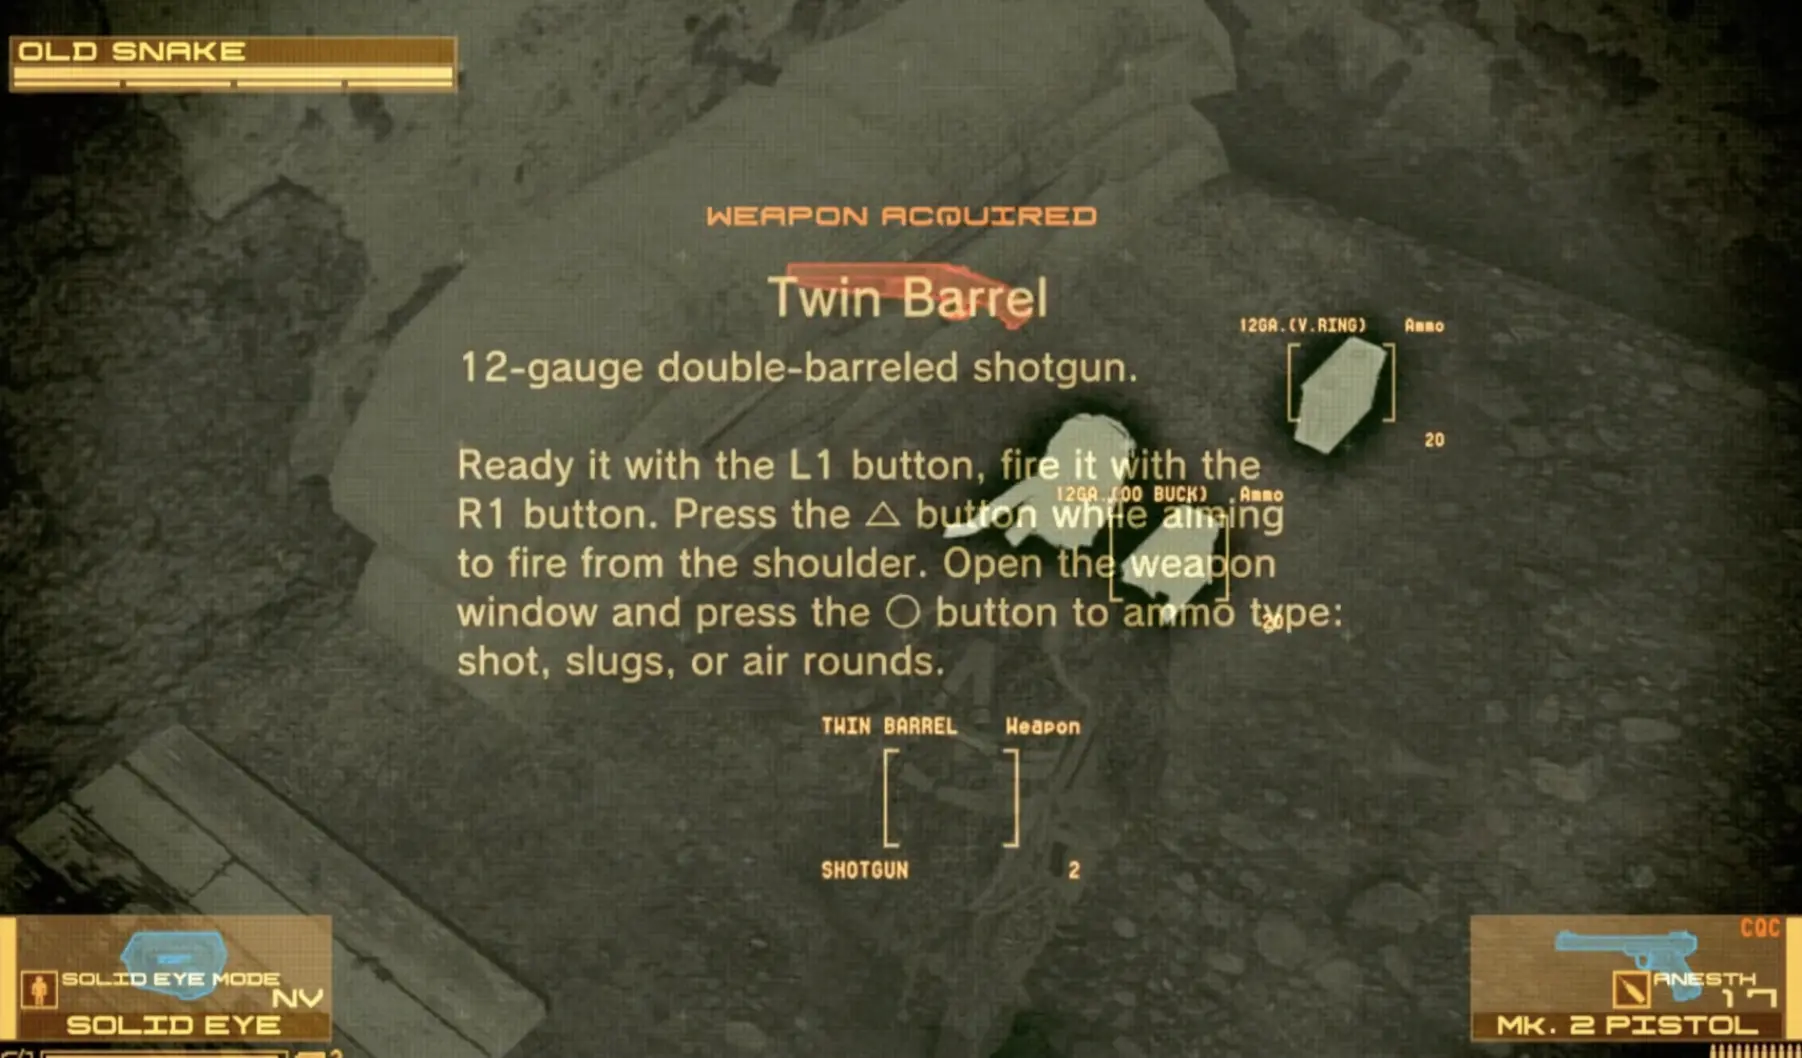
The Twin Barrel matters because it can use V-ring non-lethal ammunition. That gives me a stronger stamina-damage option than relying entirely on the tranquilizer pistol and becomes useful well beyond this Act.
Knowing it is here also stops me from buying an early shotgun just because Drebin’s menu makes one available.
Chaff Is Worth Picking Up When I See It
I take Chaff Grenades when they are convenient.
Their value becomes much more obvious once unmanned enemies take a larger role later in the campaign, so finishing the first run with some Chaff is useful.
What I am not doing yet is building a challenge-run stockpile. Spending a long time moving between areas or resetting pickups is unnecessary unless I already know the next save is becoming a serious Big Boss attempt.
Laughing Octopus Is Doll Number Two
The Laughing Octopus Beast form is the second non-lethal encounter I care about.
I use the Twin Barrel with V-ring ammunition or another stamina-damage setup and finish the armored Beast phase without lethal damage.
The reward I am checking for is the Laughing Octopus Doll.
That moves the Solar Gun chain to:
FROG → Laughing Octopus — 2 of 5
The Laughing Beauty FaceCamo is a different reward. If I also want it, I finish the later Beauty phase non-lethally, but I keep that separate in my head from the Doll requirement.
I Wait for the Free DSR-1
I resist buying a DSR-1 during Act 2.
The campaign gives me one for free near the end of the Act, so buying it shortly beforehand is exactly the kind of Drebin spending I want to avoid on the first run.
By the time Solid Sun ends, I want the South American Disguise, Twin Barrel, Laughing Octopus Doll and free DSR-1. Any Chaff picked up along the way is extra value rather than another requirement.
Act 3: Keep the Preparation Light
Third Sun does not need the same amount of side preparation as the first two Acts.
Most of my attention stays on finding and following the resistance member to Big Mama. There is no reason for me to search every Eastern European alley expecting another mandatory weapon or disguise.
If I already unlocked one of the Beauty FaceCamos, this is also a place where it can make moving around PMC personnel more comfortable, but I do not need it to complete the Act.
The main completed-save opportunity arrives with Raging Raven.
Raging Raven Is Doll Number Three
I defeat the Raging Raven Beast form non-lethally and make sure I leave the tower with her Doll.
The Solar Gun chain becomes:
FROG → Laughing Octopus → Raging Raven — 3 of 5
As with Laughing Octopus, the Raging Beauty FaceCamo comes from handling the Beauty phase non-lethally and is separate from the Doll itself.
The story then gives me a Grenade Launcher.
I keep it rather than immediately spending Drebin Points on something that fills essentially the same role. It remains useful later, so Act 3 is one of the easiest places to save money simply by accepting what the campaign gives me.
Third Sun can then end without any additional preparation sweep.
Act 4: Do Not Confuse 48273 With 14893
Shadow Moses contains two numbers worth remembering, but they do very different things.
48273 belongs to normal story progression through Otacon’s old security system.
The optional code I care about on the first run is:
14893
Entering 14893 at the relevant password terminal gives me:
100,000 Drebin Points
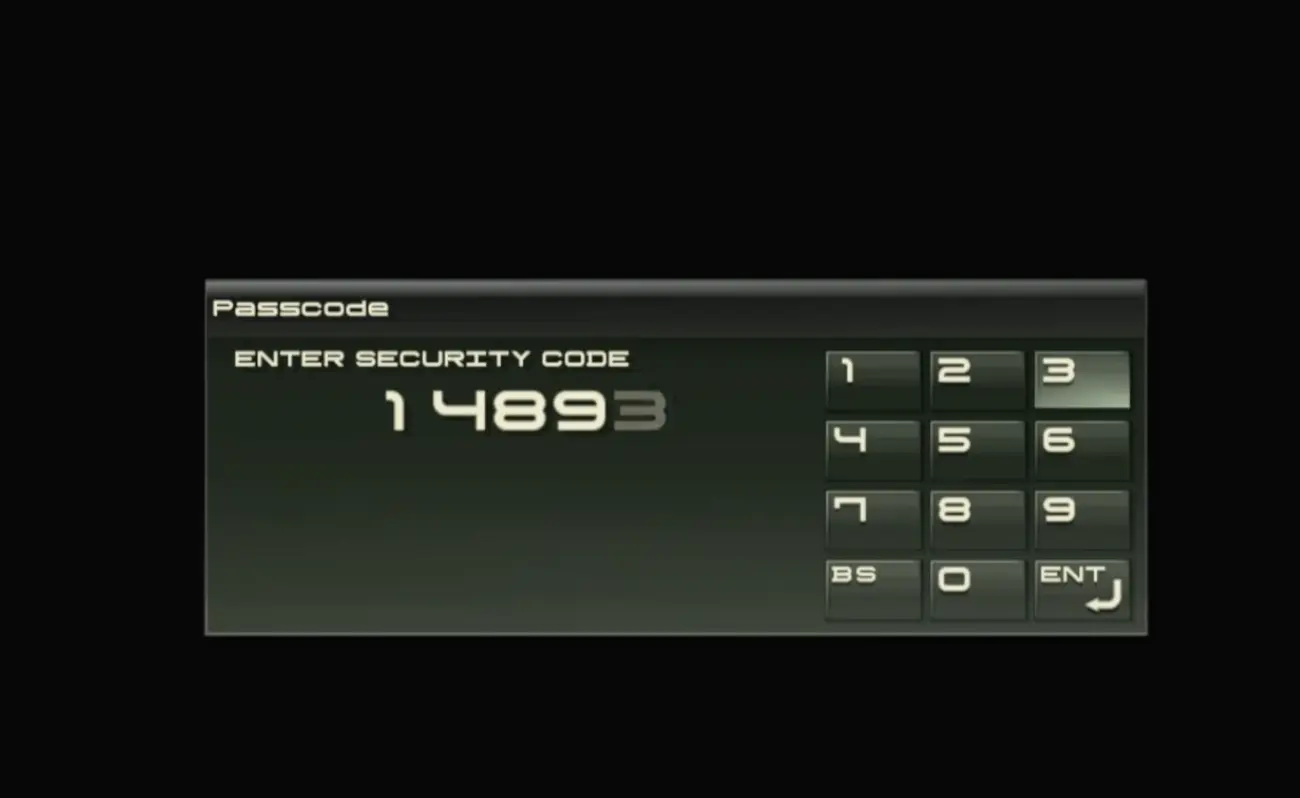
One hundred thousand points is large enough that I always bother with this on a first playthrough.
The mistake would be treating the sudden balance increase as a reason to immediately empty Drebin’s shop.
A much better buying window is coming.
Crying Wolf Is Doll Number Four
The Crying Wolf Beast form is the fourth Doll check in the Solar Gun chain.
I finish that phase non-lethally and collect the Doll before continuing deeper into Shadow Moses.
My chain is now:
FROG → Laughing Octopus → Raging Raven → Crying Wolf — 4 of 5
Finishing the Beauty phase non-lethally can also give me the Crying Beauty FaceCamo, but again, that is not the condition deciding whether I receive the Doll.
Act 4 does not need a specialized Big Boss strategy on this run. I only need the non-lethal Beast clear to remain intact.
Keep the Rail Gun and Grab Convenient Chaff
The campaign also hands me the Rail Gun during Act 4.
I keep it. It remains valuable against large targets and machines, so there is little reason to treat it as a one-scene weapon and immediately look for a paid replacement.
Shadow Moses is also another good place to pick up Chaff Grenades when they sit naturally along my route.
I still avoid farming them. If the completed save later becomes the basis for The Boss Extreme, the Big Boss Emblem guide is where I decide how much Chaff and non-lethal ammunition I actually want before starting that run.
Leaving Twin Suns with 100,000 extra Drebin Points, Doll 4/5 and the Rail Gun is already a strong result.
Act 5: Spend When Drebin Drops to 50% Off
Old Sun is where all the Drebin restraint finally pays off.
During Act 5, the shop reaches a:
50% discount
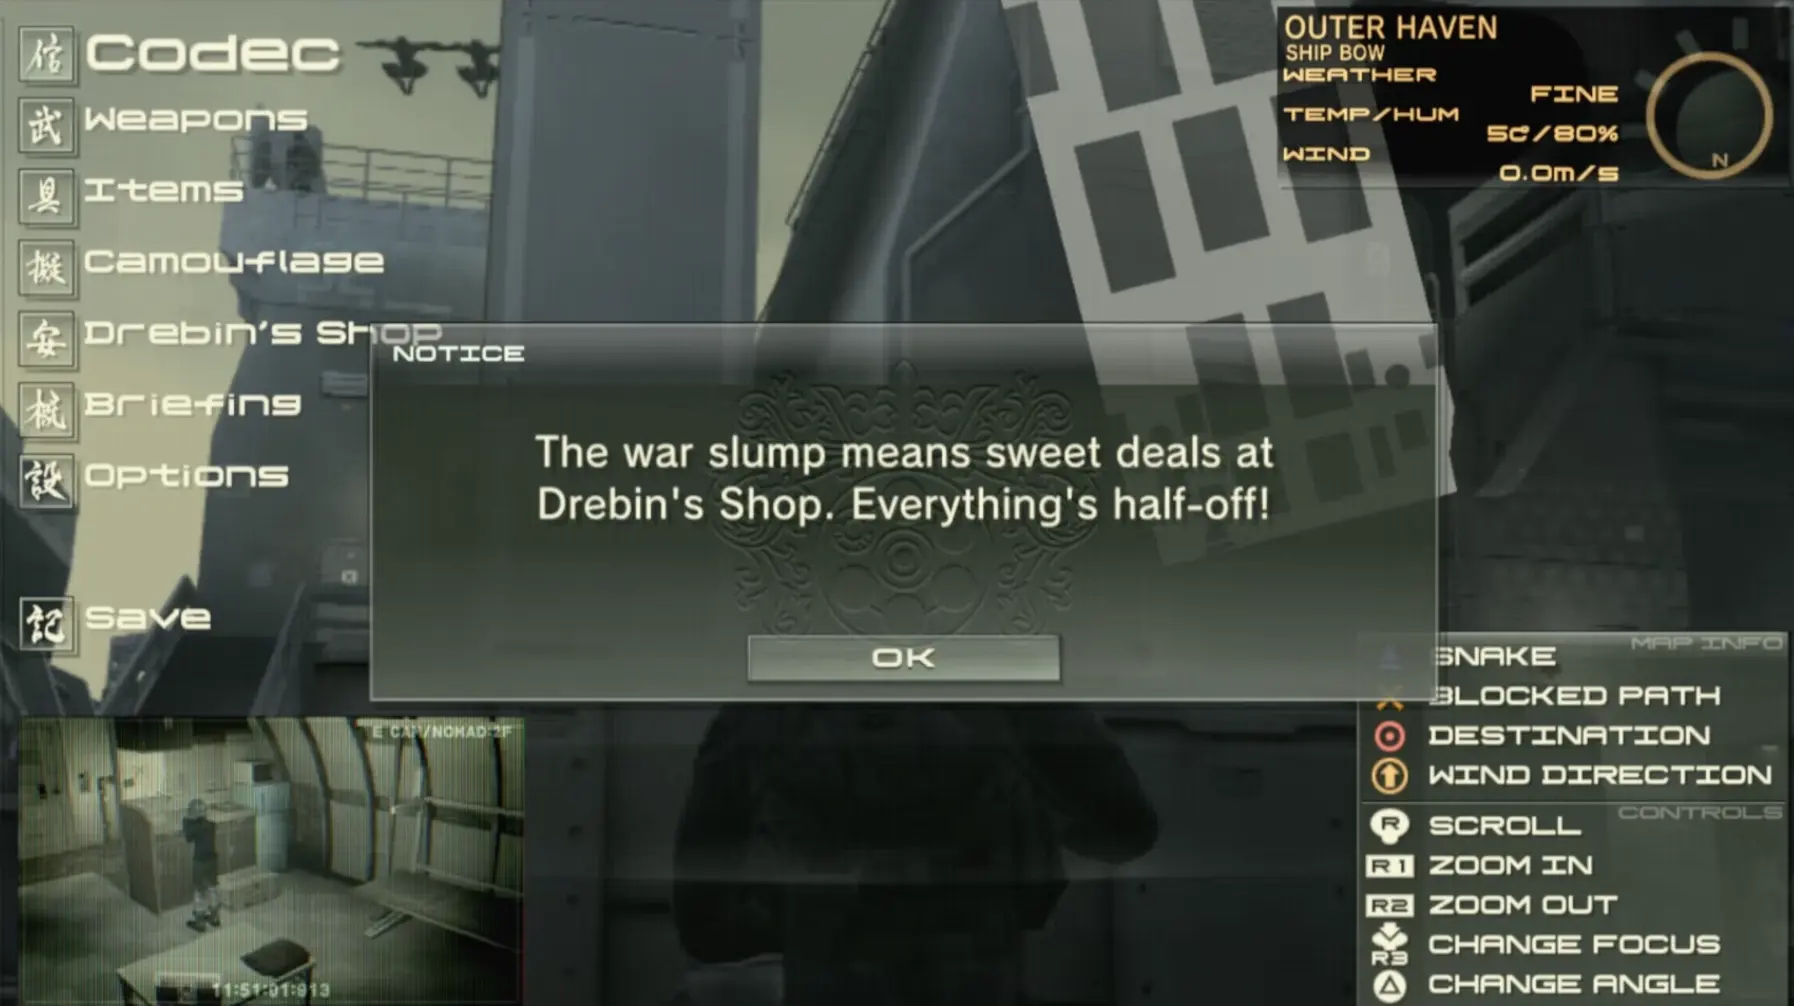
I use this sale to solve actual inventory gaps.
If I am focused only on finishing the story, I buy ammunition or equipment I expect to use on Outer Haven.
If I already know I will keep playing the completed save, I also think about the things I would rather have ready when NG+ begins: useful non-lethal ammunition, grenades and supplies for weapons I already rely on.
I still do not buy everything in the catalogue simply because it is cheaper.
The discount is most valuable when it saves money on things I was going to use anyway.
Screaming Mantis Finishes the Solar Gun Chain
The final Doll is easy to confuse with other items because the Screaming Mantis encounter contains several similarly named puppets.
The Mantis Doll and Sorrow Doll are weapons involved in the boss mechanics.
The collectible I need for the Solar Gun is the separate Screaming Mantis B&B Doll.
I defeat the required Beast form non-lethally and confirm that I secured the collectible before leaving the encounter behind.
That completes:
FROG → Laughing Octopus → Raging Raven → Crying Wolf → Screaming Mantis
or simply:
5 of 5
If I also want the Screaming Beauty FaceCamo, I handle the Beauty phase non-lethally as its own reward condition.
The puppet mechanic used to defeat Screaming Mantis is separate from this collectible requirement. I do not use the Mantis Doll appearing in the fight as proof that the five-Doll Solar Gun chain is complete.
When the names start blurring together, the collectibles guide is where I check the exact B&B Doll pickup rather than guessing.
One Last Refill Before I Finish
Before I leave the discounted Drebin window behind, I look at the things I actually consumed during Outer Haven.
A nearly empty supply of tranquilizer or V-ring ammunition is more important to me than an unowned weapon I never plan to use. The same goes for smoke, stun and other utility grenades that I may want immediately on the next run.
This is not about filling every inventory slot.
It is about avoiding the situation where I start NG+ with the right equipment but discover that all the useful ammunition was spent finishing the previous game.
Once the things I care about are in reasonable shape, I finish the story and keep the completed save.
What I Want Waiting for Me in NG+
I do not expect the first playthrough to end with every trophy, every FaceCamo and every collectible finished.
A good completed save is enough.
The version I want to carry forward has:
- the FROG Doll and four B&B Dolls needed for the Solar Gun;
- the Middle Eastern and South American disguises;
- the free Twin Barrel Shotgun and DSR-1;
- the Grenade Launcher and Rail Gun the story gives me;
- the 100,000 Drebin Point bonus from 14893;
- useful supplies bought or refilled during the Act 5 50% discount;
- enough understanding of the five Acts that the next run no longer feels like reconnaissance.
That gives NG+ a purpose instead of turning it into another blind first playthrough.
From there I can decide whether the next run is for collectibles, Emblems or the Big Boss Emblem rather than trying to make one first-time save accomplish all three at once.