MGS4 Collectibles & Missables: How I Clean Up Every Act
My MGS4 collectible route for all 5 Dolls, iPod Tracks, FaceCamos, 65 Flashbacks, 4 Model Posters, Shadow Moses ghosts and major missables.
Updated:
Quick Answer
I clean up MGS4 collectibles on the same completed save instead of trying to force everything into one playthrough.
The things I refuse to rush past are the FROG Doll and four B&B Dolls needed for the Solar Gun, all 65 Flashbacks, the Camera before Act 4, all four Model Posters, the Shadow Moses ghost photos and iPod Tracks tied to one-time interactions.
The two optional Act 4 password iPod Tracks require different completed-save runs, while later Emblem rewards naturally push the collection across additional playthroughs.
The easiest way for me to make MGS4 collectible cleanup miserable is to treat every gun, song and hidden interaction as equally urgent.
They are not.
A common rifle is rarely worth reloading an old save for. I can find many ordinary weapons again, buy them through Drebin or pick them up on another completed-save run.
The collectibles I slow down for are the ones attached to a specific moment:
- a Doll that only appears after the correct non-lethal encounter;
- a Flashback buried inside a cutscene;
- an NPC who must be searched before leaving the area;
- a poster that has to register rather than simply be seen;
- a track revealed by an environmental trigger;
- a password reward where choosing one locks out the other for that playthrough.
Those are the mistakes that turn a five-second check into another trip through an entire Act.
If I am still on my first story playthrough and only want the items that make NG+ easier, I use the first-playthrough checklist instead. This page is the route I use when I actually want to push the collection toward completion.
What Actually Counts Toward the Big Collection Goals
The Master Collection completion list gives me a much better way to decide what deserves attention.
The collection-heavy goals include:
- the five individual Doll conditions and the Solar Gun;
- all FaceCamo;
- all iPod Tracks;
- all Flashbacks;
- all four Model Posters;
- at least five Shadow Moses ghost photographs;
- all required weapon types.
That means I do not need to photograph every ghost I can possibly find or obsess over every ordinary weapon drop the moment I see it.
I need a route that protects the one-time collectibles first and lets the repeatable cleanup happen later.
The Master Collection also has Cover-to-Cover Solid 4: Books of the Patriots for reading the Screenplay Book. I treat that separately from this Act-by-Act route because it is not another physical collectible hidden in one of Snake’s missions.
All 5 MGS4 Doll Locations for the Solar Gun
The Doll chain is the first thing I memorize because every one of these depends on how I finish an encounter.
The order is:
FROG Soldier → Laughing Octopus → Raging Raven → Crying Wolf → Screaming Mantis
FROG Soldier Doll — Act 1
I clear the Rat Patrol FROG encounter without killing the Haven Troopers.
After the bulldozer breaks through Advent Palace and I regain control in the garage area, I turn back and check beside the tire.
Laughing Octopus Doll — Act 2
I defeat Laughing Octopus’s Beast form non-lethally.
When the Beauty phase begins, I check the bed before finishing the encounter.
Raging Raven Doll — Act 3
I defeat Raging Raven’s Beast form non-lethally.
During the Beauty phase, I go back to the top floor of the tower and check the right side of the upper level.
Crying Wolf Doll — Act 4
I finish Crying Wolf’s Beast form non-lethally.
When control returns at the start of the Beauty phase, I turn around and check near the wall behind me.
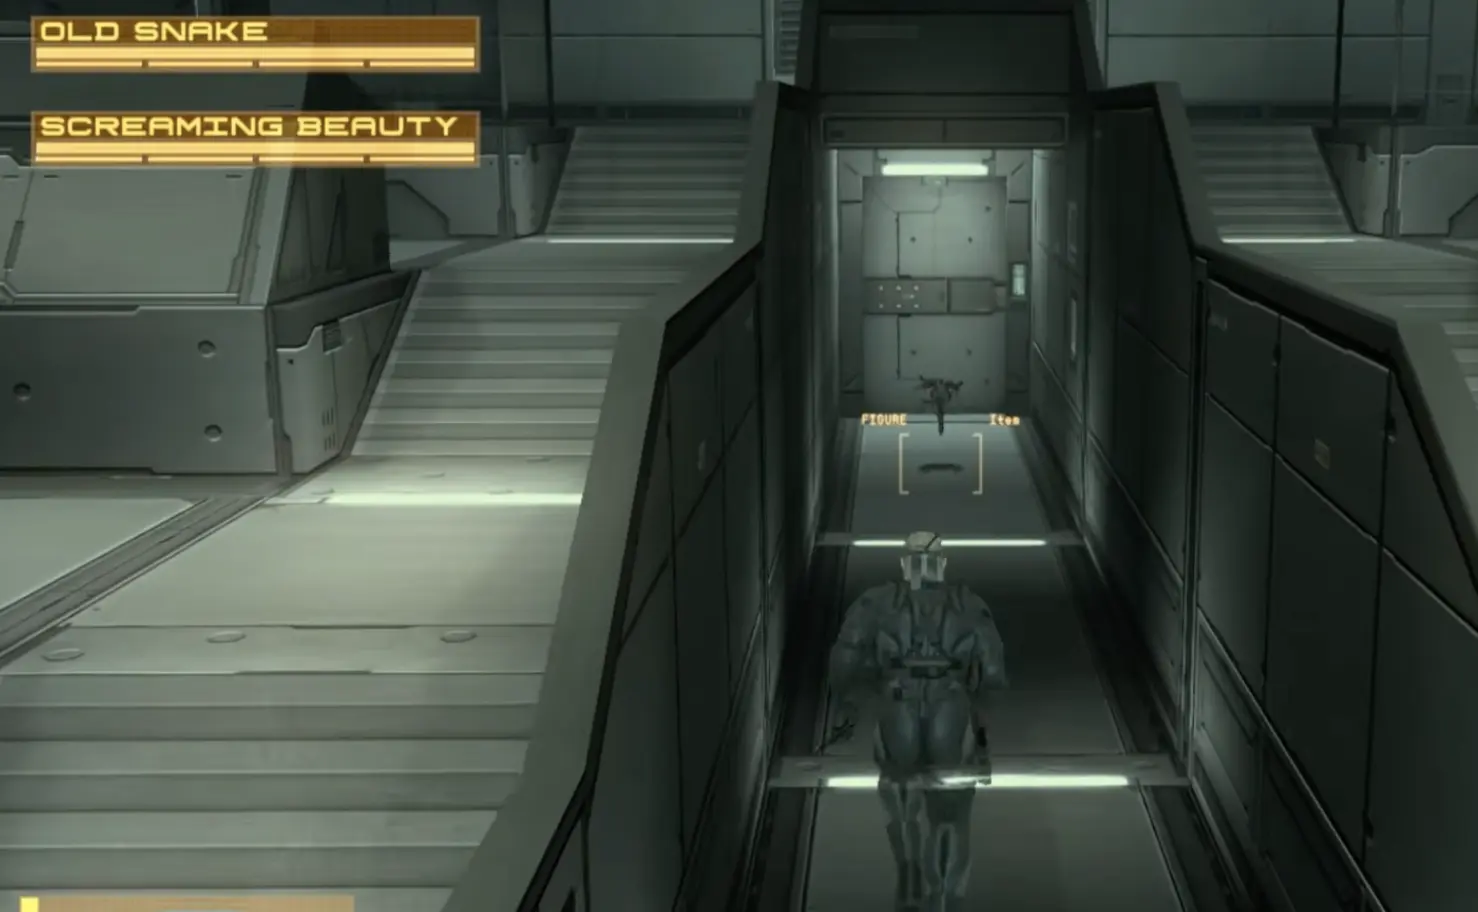
Screaming Mantis Doll — Act 5
I defeat the Beast phase non-lethally, then search the lower level near the narrow hallway leading toward the door.
This small figure is separate from the Mantis Doll and Sorrow Doll weapons used during the boss fight.
Once all five are secured on the same completed-save progression, I finish the game and carry the Solar Gun forward.
What I Treat as Truly Missable
I keep using the same completed-game save, so one missed floor weapon does not make the whole file bad.
What costs me another planned opportunity is usually one of these:
- a Doll tied to a non-lethal encounter;
- an NPC search that disappears when the mission advances;
- a hidden Flashback sequence;
- a Model Poster I never registered;
- an environmental iPod trigger;
- one of the Act 4 password tracks;
- a Mission Briefing interaction I forgot to revisit.
The collection also contains rewards that naturally require later runs:
- the second Act 4 password track;
- Emblem-locked FaceCamos;
- Emblem-locked iPod Tracks;
- special weapons tied to Emblems;
- weapon types I intentionally leave for later.
So I do not judge a collectible run by whether the end screen says everything is finished.
I judge it by whether I avoided creating unnecessary repeat work.
Flashbacks: I Start Pressing Early and Keep Going
MGS4 tracks 65 Flashbacks, and the dangerous ones are not necessarily the obvious prompts.
Whenever a Flashback cue appears during a cutscene, I keep pressing the input while the memory sequence continues.
Some scenes contain multiple flashes close together.
One successful response does not mean the scene is finished.
There are also late hidden chains where the safest habit is simply to start pressing before the visible cue disappears and continue until the entire memory sequence has clearly moved on.
I pay special attention to those in Acts 4 and 5.
Before Act 1: Ten iPod Tracks Are Already There
A fresh game begins with 10 iPod Tracks already available.
I do not spend time searching the opening maps for songs that are already sitting in the player.
My route begins with the Mission Briefing collectibles and everything added during the five Acts.
Act 1 — Liquid Sun
Act 1 has plenty of weapons and songs, but the collectible decision that matters most is the FROG encounter near the end.
Before that, I clear several easy tracks that barely pull me away from the story route.
Use the Act 1 Mission Briefing Before Moving On
When the Mk. II becomes controllable aboard the Nomad, I drive upstairs toward Sunny’s cooking area.
The iPod Track here is:
Inorino Uta
There is also a Roy Campbell FaceCamo interaction tied to this briefing.
FaceCamo is not available yet when I first reach this point on an untouched game, so I do not replay the entire campaign just to fix that later.
Once FaceCamo has been unlocked, I return through:
Main Menu → Mission Briefing → Act 1
Then I drive the Mk. II into Campbell and register the interaction.
That is much faster than treating the briefing collectible as an Act 1 replay requirement.
The Four Militia Tracks Are Random Rewards
Friendly militia can give me:
- Show Time
- MGS4 Love Theme (Action Version)
- MPO+ Theme
- Destiny’s Call – Break for the Fortress
I help the militia through the early PMC fighting, then approach friendly soldiers with healing items available and hand the items over directly.
The rewards are random.
If one militia member stops giving me useful drops, I move to another instead of emptying my entire inventory into the same NPC.
These songs can also come from rebels later, so I do not restart Liquid Sun because one random reward refuses to appear.
Four Easy Act 1 Tracks on the Normal Route
Theme of Tara is inside the Militia Safe House. After the wounded-soldier room, I check the small recess off the hallway.
Zanzibarland Breeze is in Urban Ruins. Near the end of the area, I check the raised ledge before dropping toward the next section.
Level 3 Warning is inside Advent Palace. I work up to the third floor and search the kitchen side of the building.
Theme of Solid Snake is in Millennium Park. I use the broken-wall side route and check behind the stacked boxes rather than heading straight down the exposed road.
None of these are worth turning the entire Act around for later, which is exactly why I grab them while I am already passing through.
The FROG Doll Is the Pickup I Refuse to Leave Behind
I save before the Rat Patrol encounter.
From the start of the sequence until it is completely finished, I avoid killing the FROGs.
After the bulldozer breaks through Advent Palace and I regain control in the garage, I turn around and check beside the tire.
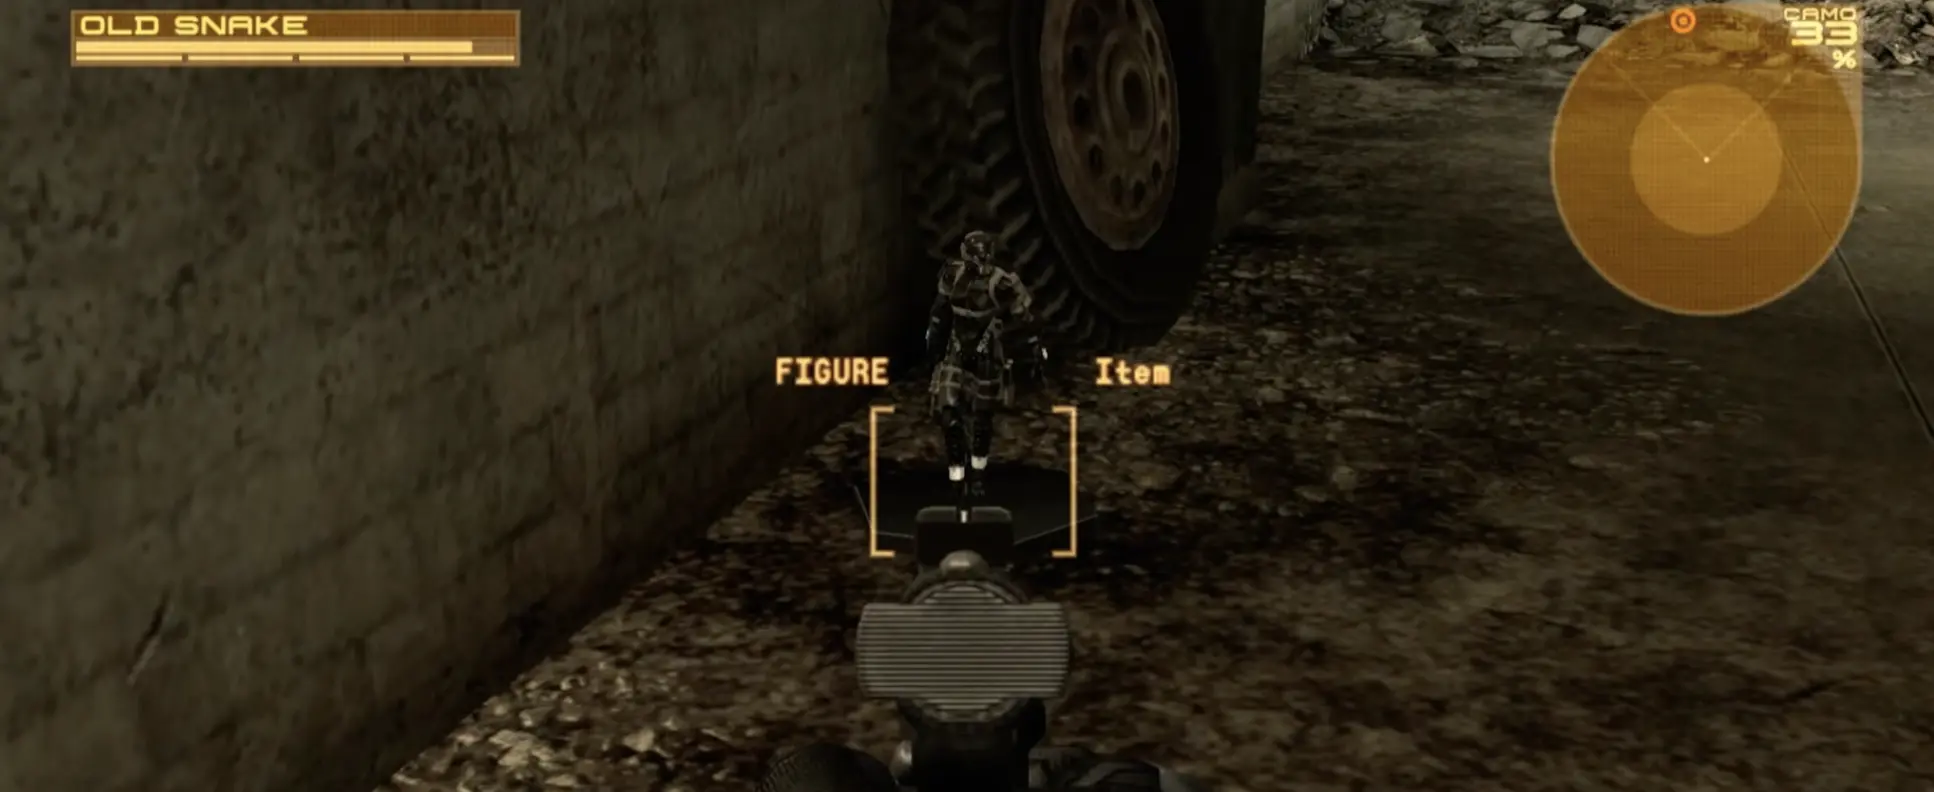
If I deliberately cleared the encounter non-lethally and the Doll is not there, I deal with that immediately.
This is not the same kind of mistake as walking past a common rifle.
I Pick Up New Weapon Types Without Farming Them
Liquid Sun introduces a lot of ordinary guns.
When an unfamiliar weapon is sitting on my route or drops directly in front of me, I take it because the wider collection eventually wants the weapon type.
I do not hunt a despawned rifle across the whole battlefield.
Drebin and later runs give me easier cleanup opportunities.
Act 2 — Solid Sun
Act 2 contains one of the most important pieces of preparation for a collectible run that will not matter until much later:
the Camera.
Get the Camera Before Shadow Moses
During the Act 2 Mission Briefing, I take control of the Mk. II and drive behind Sunny’s desk.
That is where I collect the Camera.
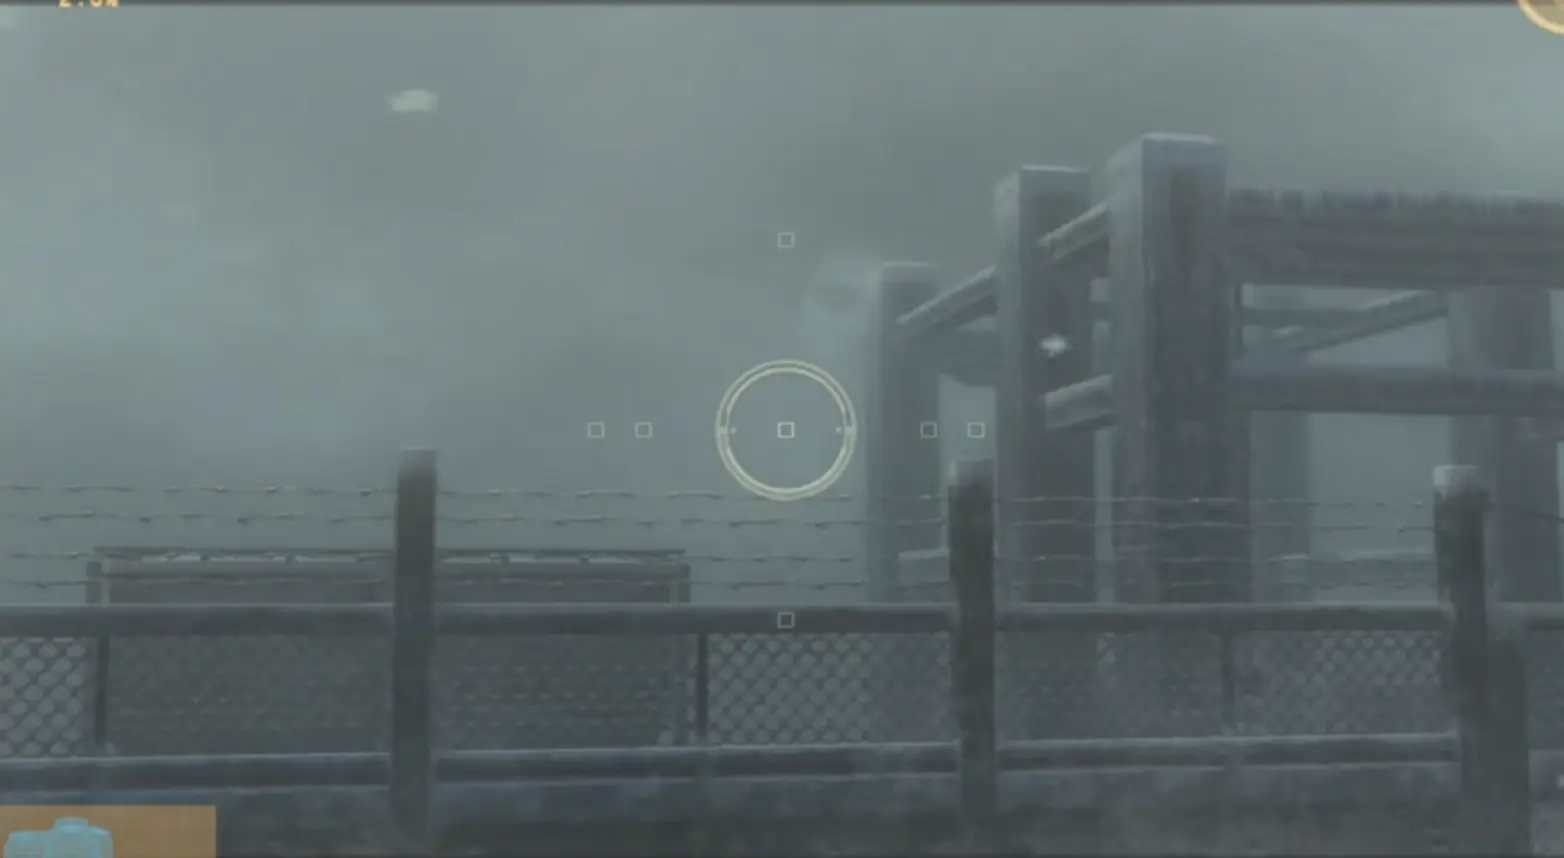
The Camera can be collected through other briefings too, but I prefer removing the problem now rather than reaching Act 4 and discovering I forgot it.
The same briefing also has:
Boktai 2 Theme
I drive upstairs toward Sunny’s kitchen and check behind the curtain near the cooking area.
Act 2 Tracks Along the Route
The Fury is inside the burned-out building near the opening of Cove Valley Village.
Metal Gear 20 Years History: Part 3 is at the Confinement Facility, inside the larger building in the room with the cots.
Rock Me Baby is also around the Confinement Facility. I cross toward the small island in the swamp and check around the rocks.
Sailor is at Vista Mansion. I work around the back-right exterior and squeeze behind the storage container near the tents.
Vista Mansion Has Model Posters 1 and 2
Half of the game’s four Model Posters are inside the mansion.
Seeing the artwork is not enough.
I stay on it until Snake actually registers the poster.
If looking normally does nothing, I use the Solid Eye’s SE view, center the image and adjust the zoom until I get the reaction.
Model Poster 1 is hidden behind the painting showing two people on the first floor. I shoot the painting to expose it.
Model Poster 2 is upstairs in the bedroom, on the ceiling.
The ceiling placement is exactly why I make a deliberate stop here. It is easy to stand underneath the poster without ever realizing it counts.
Laughing Octopus Doll and FaceCamo
I finish Laughing Octopus’s Beast form with stamina damage.
When the Beauty phase starts, I check the bed before doing anything else.
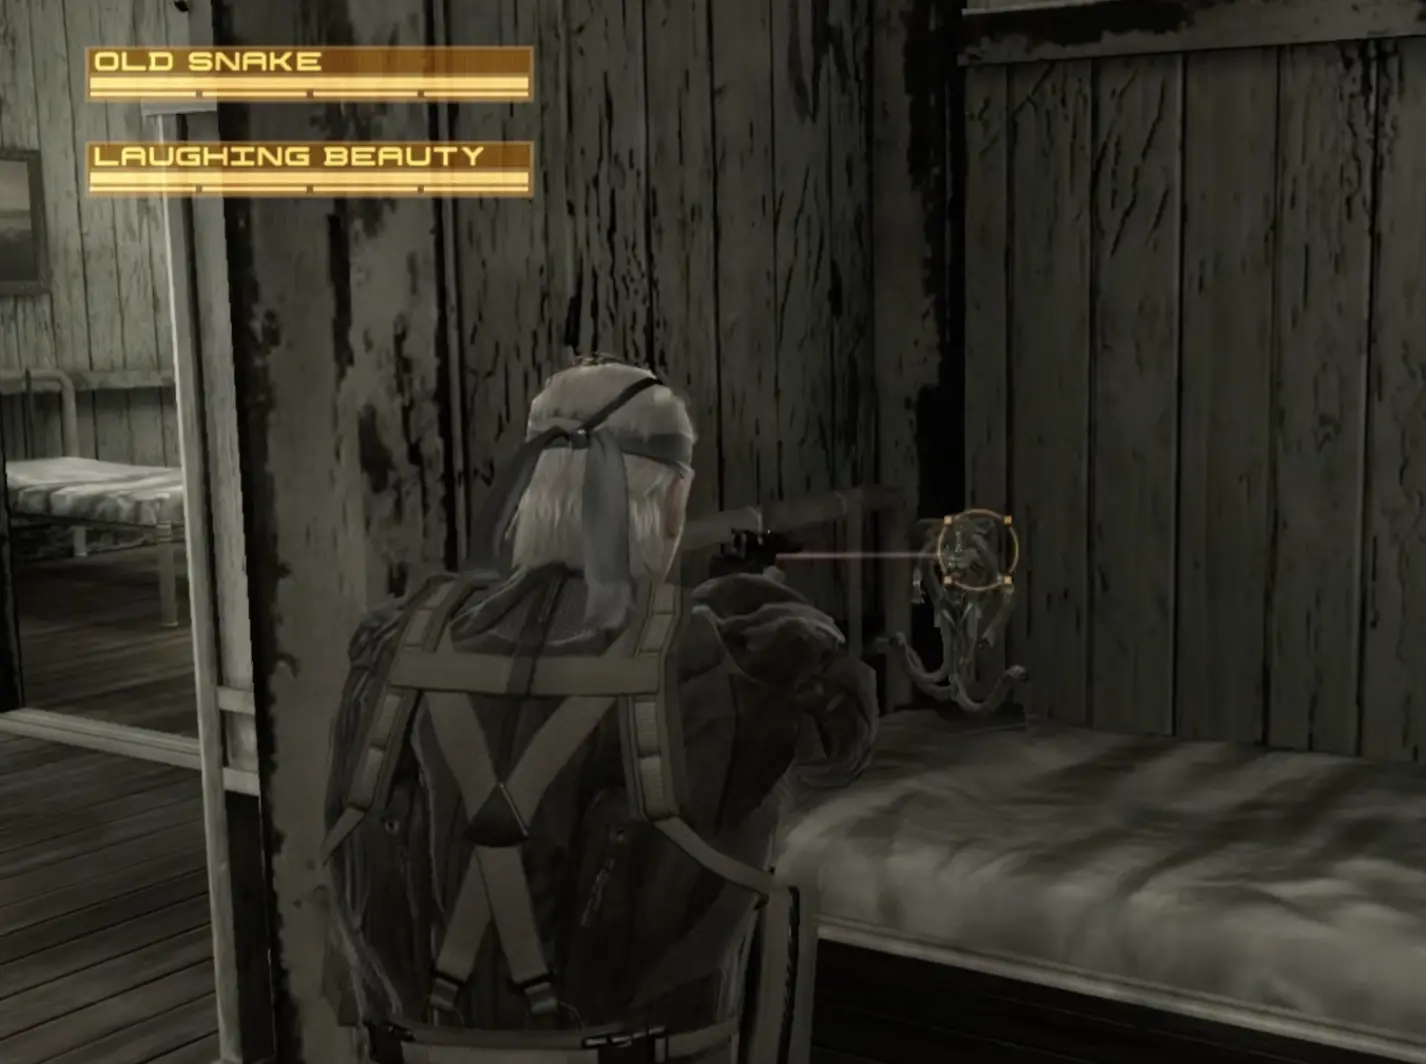
That gives me the second Doll in the Solar Gun chain.
I also finish Laughing Beauty non-lethally so the run adds the Laughing Beauty FaceCamo instead of leaving another cleanup task for later.
Bon Dance Only Appears After the Gecko Trigger
Near the end of Act 2, I slow down when I regain control in the Marketplace.
I do not immediately sprint through.
A Gecko destroys the small stall near the early bend in the street.
Bon Dance appears in the wreckage.
I use the Solid Eye if I have trouble seeing the pickup.
The danger here is not a complicated puzzle. It is simply moving through the Marketplace so quickly that I never let the trigger finish.
Act 3 — Third Sun
Third Sun has fewer classic loot rooms, but its NPC interactions are much easier to lose once the resistance tail is finished.
The normal route and Signal Interceptor logic belong in the full walkthrough. Here I only interrupt that route for collectibles that disappear when the tail moves on.
The Act 3 Mission Briefing Has Three FaceCamos and a Track
Before entering Eastern Europe, I use the Mk. II during the briefing.
For Otacon FaceCamo, I drive into Otacon’s legs.
For Raiden A, I wait until Naomi stands up and drive into her.
For Raiden B, I wait until Sunny leaves her chair and hit her with the Mk. II.
The briefing also contains:
Shin Bokura no Taiyou Theme
I go upstairs toward the cooking area and check near Sunny’s kitchen station.
None of these are part of Snake’s normal street route, which is why the briefing itself belongs on my collectible checklist.
Search the Resistance Member Before He Reaches the End
Once I find the resistance member, I wait until nearby enemies are no longer making the interaction awkward.
Then I hold him up and search him repeatedly until he drops:
Bio Hazard
I do this before he reaches the final destination.
Once the tail ends, the opportunity is gone for that playthrough.
Test Subjects Duality Is the Easy One
Early in the street route, I check the sidewalk heading east and look between the yellow barriers.
That gives me:
Test Subjects Duality
This is a normal floor pickup, so I grab it while moving rather than building another detour around it later.
One Night in Neo Kobe City Comes From Another Soldier
When the resistance member reaches the large park and eventually continues left, I break away briefly and go right toward the street on the east side.
Another soldier is there.
I hold him up and search him repeatedly for:
One Night in Neo Kobe City
I do not assume every NPC-based song in Third Sun comes from the resistance member I am following.
Model Posters 3 and 4 Finish the Set
On the east side of the large park, I continue down the street until it bends and check the wall under the café archways.
That is Model Poster 3.
I stay on it until Snake registers it.
For Model Poster 4, I continue west into Midtown Central, follow the road and look for the parked van on the right.
The final poster is on the wall beside it.
Once that one registers, the physical poster route is finished:
4 of 4 Model Posters
On Alert Sits Inside the Tail’s Most Confusing Section
Later, the resistance member can disguise himself as a PMC soldier.
That is also the section where I watch for:
On Alert
I pay attention as the PMC group begins splitting apart instead of treating every uniformed soldier as unrelated background.
I would rather deal with this song during the normal tail than repeat Third Sun solely because I rushed through the disguise transition.
Raging Raven’s Tower Has Two Collectibles
Before finishing the Raging Raven sequence, I use the upper floor twice.
During the Beast fight, I climb all the way to the top floor, turn right and follow the short route around the tower.
One of the corners holds:
The Essence of Vince
After I defeat Raging Raven’s Beast form non-lethally and the Beauty phase begins, I return to the same upper area for the Doll.
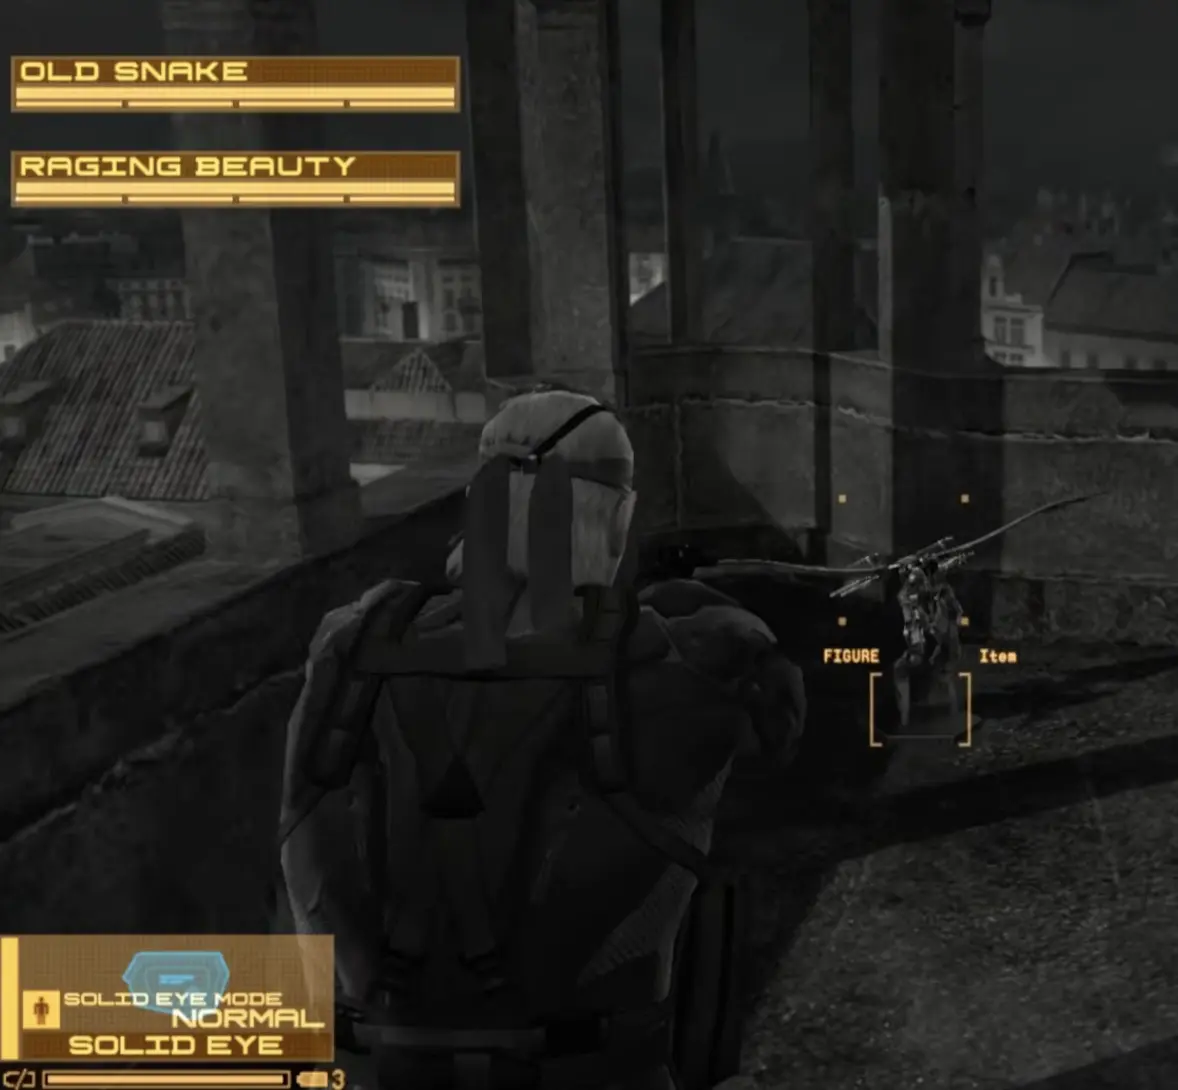
Before leaving the tower, I make sure I have both:
- The Essence of Vince
- Raging Raven Doll
I then finish Raging Beauty non-lethally for the Raging Beauty FaceCamo.
Act 4 — Twin Suns
Shadow Moses is the Act where my collectible route becomes much denser.
This is where I handle:
- five ghost photographs;
- several iPod Tracks;
- one of two competing password rewards;
- Crying Wolf’s Doll;
- a late hidden Flashback chain.
That is why forgetting the Camera before Act 4 is such an annoying mistake.
I Only Photograph Five Shadow Moses Ghosts
There are more ghosts around Shadow Moses than I actually need for the collection requirement.
I stop at five reliable shots.
I also check the completed Camera image after every attempt. If the ghost appears in the finished photograph, I know the framing worked.
Ghost 1 — Cargo Elevator
From the south side of the Heliport, I face the cargo elevator and frame slightly to its left.
Ghost 2 — Old Surveillance Camera
I face the open Tank Hangar doors.
To the right are the stairs and the old surveillance camera.
I center that old camera in the shot.
Ghost 3 — Storage Room
I enter the nearby open storage room and photograph the left wall behind the large crates.
Ghost 4 — Left of the Tank Hangar Entrance
I move left of the open hangar doors and aim toward the wall above the low vent.
I frame the area between the icicles rather than the vent itself.
Ghost 5 — Fence Beside the Surveillance Camera
I return toward the old surveillance camera and move closer to the dark wall and chain-link fence beside it.
That is my fifth shot.
Once five have registered, I stop turning Shadow Moses into a photography tour.
Shadow Moses Tracks Before the Password
The Act 4 Mission Briefing contains:
Lunar Knights Main Theme
I use the Mk. III and check Sunny’s kitchen near the cooking station.
On Shadow Moses itself, I pick up several more while following the normal route.
Warhead Storage is reached from the Heliport side by taking the stairs beside the Tank Hangar and using the upper vent route.
Flowing Destiny is in the Canyon. I stay toward the left and check the opening around the steel support partway through the area.
Metal Gear 20 Years History: Part 2 is in Nuclear Warhead Storage B2. I check the rooms through the broken glass instead of walking straight past them toward the objective.
The Two Act 4 Password Tracks Need Different Runs
This is one of the few collectible conflicts I deliberately plan around.
The optional Shadow Moses password rewards are:
13462 → ‘Policenauts’ End Title
and:
78925 → Old LA 2040
I do not expect to keep both from the same completed playthrough.
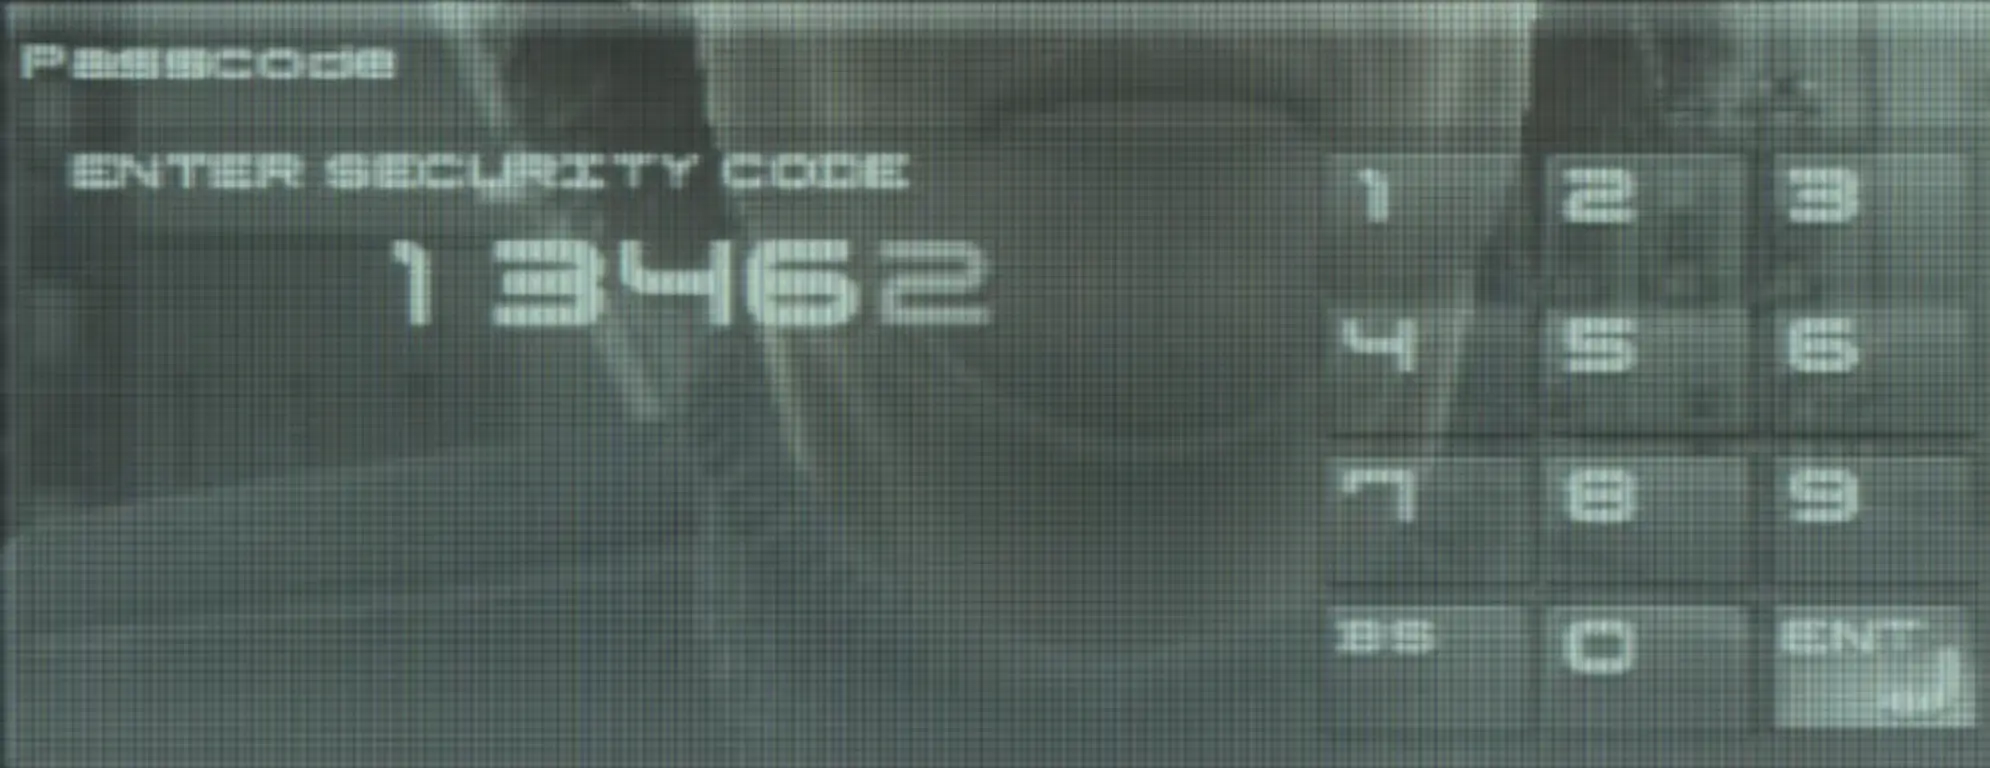
Reloading the password scene does not turn this into two permanent rewards from one pass.
I choose one, note it, finish the run and use the other code on a later completed-save playthrough.
That is much cleaner than wondering several Acts later why one song is still missing.
Return for Beyond the Bounds After Power Comes Back
Once the old Shadow Moses systems are restored and the previously locked route becomes usable, I do not assume the Tank Hangar is finished forever.
I return through the Tank Hangar and check the upper walkway.
The room that was inaccessible earlier can now be entered.
Inside is:
Beyond the Bounds
This is one of the better examples of why collectible routing is different from a straight Walkthrough.
The story wants me to continue forward.
The collection gives me one reason to turn around first.
Crying Wolf Doll and FaceCamo
I defeat Crying Wolf’s Beast form non-lethally.
As soon as the Beauty phase begins and control returns, I turn around instead of immediately heading toward the next objective.
The Doll is near the wall, slightly off to one side.
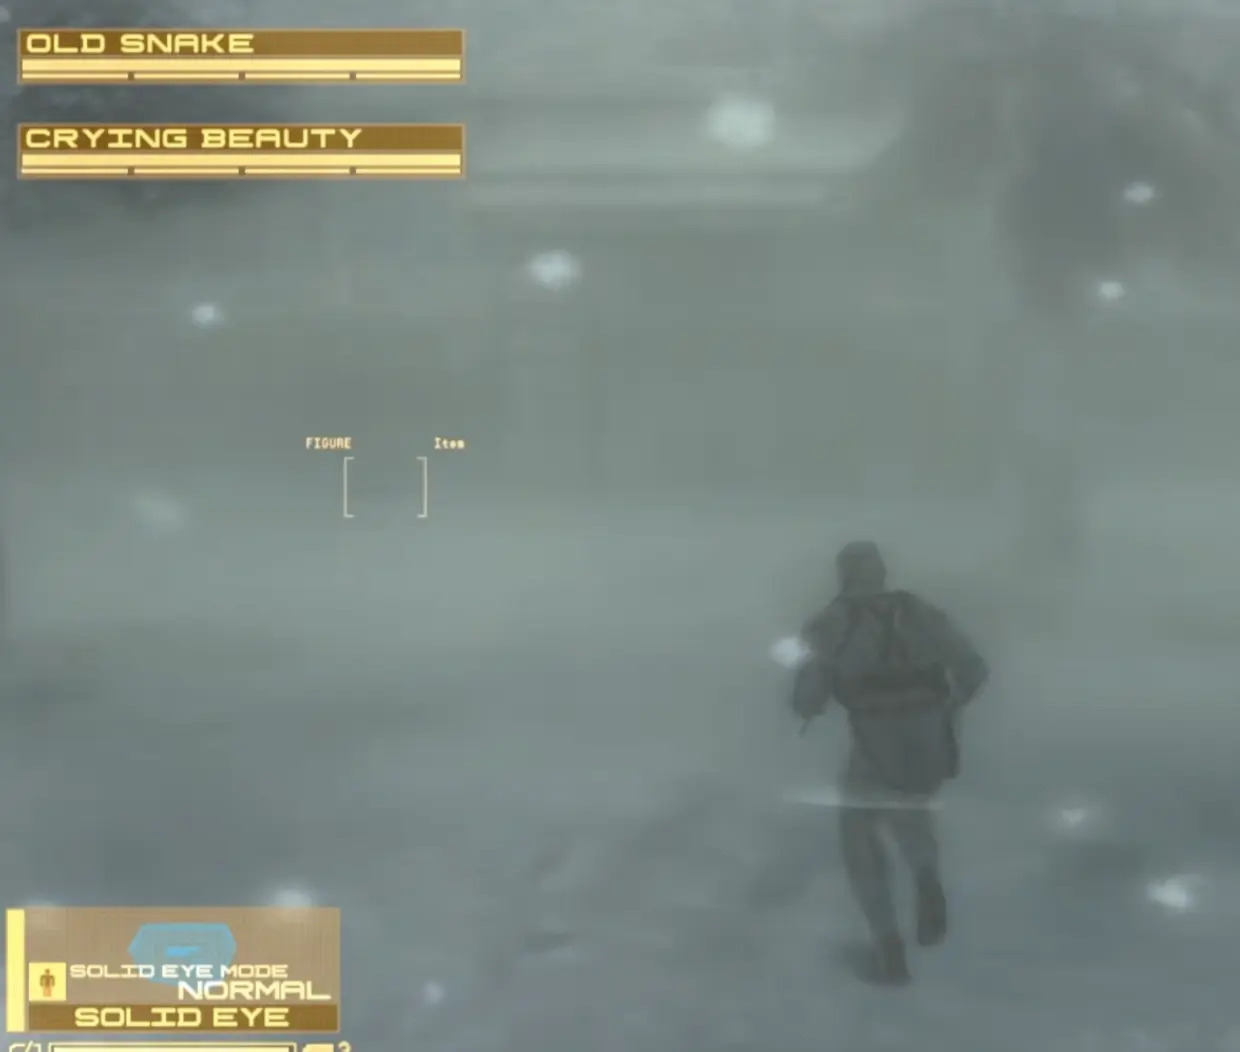
I then finish Crying Beauty non-lethally for the Crying Beauty FaceCamo.
The Best Is Yet to Come Is Right After Crying Wolf
When Otacon opens the route after the fight, I go through the door and immediately check to the right.
That is where I collect:
The Best Is Yet to Come
I take it before going deeper into Shadow Moses.
Yell “Dead Cell” Is Behind Me at the Exit
Near the end of Casting Facility North, I stop before going through the exit door.
Then I turn around.
Near the large tarp-covered box is:
Yell “Dead Cell”
The placement is easy to miss because the correct direction for story progression is also the direction that takes me away from the track.
If I have already crossed into the next area, I know exactly what I walked past.
Do Not Stop Pressing During the Hidden Raiden Flashbacks
Late in Act 4, Raiden jumps in front of Snake and calls out to Rose.
That is where I stop relying on a single visible prompt.
Several memories arrive close together, and the entire chain does not keep showing me an obvious Flashback cue.
I start pressing the Flashback input when the Rose sequence begins and keep going through the whole montage.
Act 5 — Old Sun
Old Sun is the final physical cleanup pass.
By now I am mostly looking for:
- the remaining ordinary weapon types;
- the opening Outer Haven song;
- Screaming Mantis’s three differently named Doll items;
- the fifth Solar Gun Doll;
- the last hidden Flashback clusters.
Act 5 Is When I Finish Normal Weapon Shopping
By this point I have already collected a large portion of the weapon list through normal play.
Drebin’s shop is now 50% off.
That is when I check which ordinary purchasable weapons are genuinely still missing.
I do not spend huge amounts in Acts 1–3 simply because an unowned weapon is visible in the shop.
By Act 5:
- I have more Drebin Points;
- prices are lower;
- I know what I still need.
Anything I still cannot afford can stay on the same completed-save progression for another run.
Special Weapons Are Not Location Cleanup
Weapons such as these belong to later progression requirements:
- Solar Gun from the five Dolls;
- Patriot from the Big Boss Emblem;
- other special weapons tied to Emblems such as Fox, Foxhound or Hound.
If the missing weapon comes from an Emblem, I stop searching rooms.
It is not hidden behind another crate.
It is a challenge requirement.
Grab the Document Remix as Soon as Outer Haven Starts
When I first regain control aboard Outer Haven, I look immediately to the left.
There is a hatch in the floor.
I open it, crawl inside and go right to collect:
Metal Gear Solid Main Theme (The Document Remix)
I take this immediately so the final run through Haven does not become another “did I search the opening deck?” question later.
Screaming Mantis Has Three Different Doll Items
This is the naming problem I make sure I understand before the fight.
During the Beast phase, Screaming Mantis carries two puppet weapons:
- Sorrow Doll
- Mantis Doll
I shoot each one down and pick it up before Mantis recovers it.
The Mantis Doll is also part of how I progress the boss fight.
Neither of those weapons is the fifth Solar Gun collectible.
The Solar Gun chain wants the separate small Screaming Mantis B&B Doll.
Get the Screaming Mantis Doll Before Finishing the Beauty Phase
I defeat Screaming Mantis’s Beast form non-lethally.
During the Beauty phase, I search the bottom level of the room.
From the central area, I move toward the narrow hallway leading to the door.
With that pickup, my Solar Gun chain is complete:
FROG → Laughing Octopus → Raging Raven → Crying Wolf → Screaming Mantis
I finish Screaming Beauty non-lethally as well so the same run adds the Screaming Beauty FaceCamo.
Keep Pressing After the Psycho Mantis Controller Memory
Immediately after the fight, the Psycho Mantis callback creates another Flashback cluster.
There is an obvious controller-related memory.
I keep pressing after it ends.
Another hidden Flashback follows almost immediately, including the Kojima memory.
I do not assume the visible callback was the final one.
I continue until the entire Psycho Mantis sequence has moved on.
The Final Flashbacks Continue Into the Epilogue
Liquid Ocelot is not the end of a Flashback completion run.
The remaining sequence continues through:
- Naked Sin
- Naked Son
The final group reaches Flashback #65 during the Big Boss ending sequence.
So I do not skip those scenes when the Flashback total is still one of my active goals.
I keep watching and responding until the final Big Boss sequence is finished.
FaceCamo Cleanup
Several FaceCamos arrive automatically through story progression, so I do not spend time looking for pickup locations that do not exist.
The ones I deliberately plan are the unusual Mission Briefing interactions, B&B Beauty rewards and later completion rewards.
Mission Briefing FaceCamos
I actively return for:
- Roy Campbell
- Otacon
- Raiden A
- Raiden B
Campbell is the awkward one because I can reach his briefing before FaceCamo itself is available.
That is why I return through the Mission Briefing menu later rather than replaying Act 1 just for the interaction.
B&B Beauty FaceCamos
After handling each Beast form non-lethally for its Doll, I also finish the Beauty phase non-lethally for:
- Laughing Beauty
- Raging Beauty
- Crying Beauty
- Screaming Beauty
The Doll and FaceCamo are related but not identical checks.
I make sure I finish both parts correctly before moving on.
Story FaceCamos
Several others arrive through normal story progression, including:
- Young Snake
- Young Snake with Bandana
- MGS1 Snake
I let the game award those naturally.
Drebin FaceCamo Comes From Weapon Completion
The Drebin FaceCamo requires 60 weapon types.
That is why I keep taking unfamiliar weapons while playing without turning each Act into a gun-shopping trip.
I build the weapon count naturally, use Drebin’s Act 5 discount for ordinary gaps and continue on later completed-save runs when necessary.
Big Boss FaceCamo Belongs to the Challenge Run
The Big Boss FaceCamo requires the Big Boss Emblem.
Once this is the FaceCamo blocking completion, I stop searching the Acts entirely.
The next step is the Big Boss Emblem guide.
That keeps this page focused on collection cleanup while the challenge page owns the zero-Alert, zero-Kill and The Boss Extreme route.
Why an iPod Collection Eventually Becomes an Emblem Problem
Most iPod Tracks come from locations, NPCs, briefings or special triggers.
The last missing songs may not.
Two important late rewards are:
- Big Boss → requires the Big Boss Emblem;
- Snake Eater → requires earning every Emblem.
If every physical location looks clean and one of those songs is missing, another search through Shadow Moses is not going to solve it.
The collection has moved from location cleanup into Emblem progression.
That distinction saves me from replaying five Acts while looking for a pickup that was never on the floor.
Why I Expect More Than One Completed-Save Run
A serious collectible pass can clear most of the physical locations.
It still does not finish every possible completion goal.
The remaining work can include:
- the second Act 4 password iPod Track;
- the Big Boss iPod Track;
- the Snake Eater iPod Track;
- Big Boss FaceCamo;
- special weapons tied to Emblems;
- ordinary weapon types I still could not afford or did not encounter;
- anything I deliberately postponed.
That is normal.
MGS4’s completed save is what turns those later runs into continuation rather than starting over.
I do not reload thirty minutes of progress because I missed an ordinary weapon.
I do reload when a five-second Doll pickup, NPC search or hidden Flashback would otherwise force me through another large part of the campaign.
That is the balance that keeps collectible cleanup manageable.