DOOM Revelations Proving Grounds 100% Walkthrough
A practical DOOM: The Dark Ages Revelations Proving Grounds 100% walkthrough for item tracker, blue skull, Khan Maykr Secret, Life Sigil, Energy Nodes, 4/4 secrets, 3 collectibles, Agaddon Brute Champion, and The Henchman.
Updated:
Quick Answer
For DOOM Revelations Proving Grounds 100%, I clear the Oracle opening, use the item tracker because the AutoMap does not reveal items before pickup, route the first skull and blue skull door, grab the Khan Maykr Secret, solve the Flesh Node / Shield Charge / Energy Node path, collect the elevator Life Sigil, finish 4/4 secrets and 3 collectibles, defeat the Agaddon Brute Champion, then survive the first The Henchman encounter.
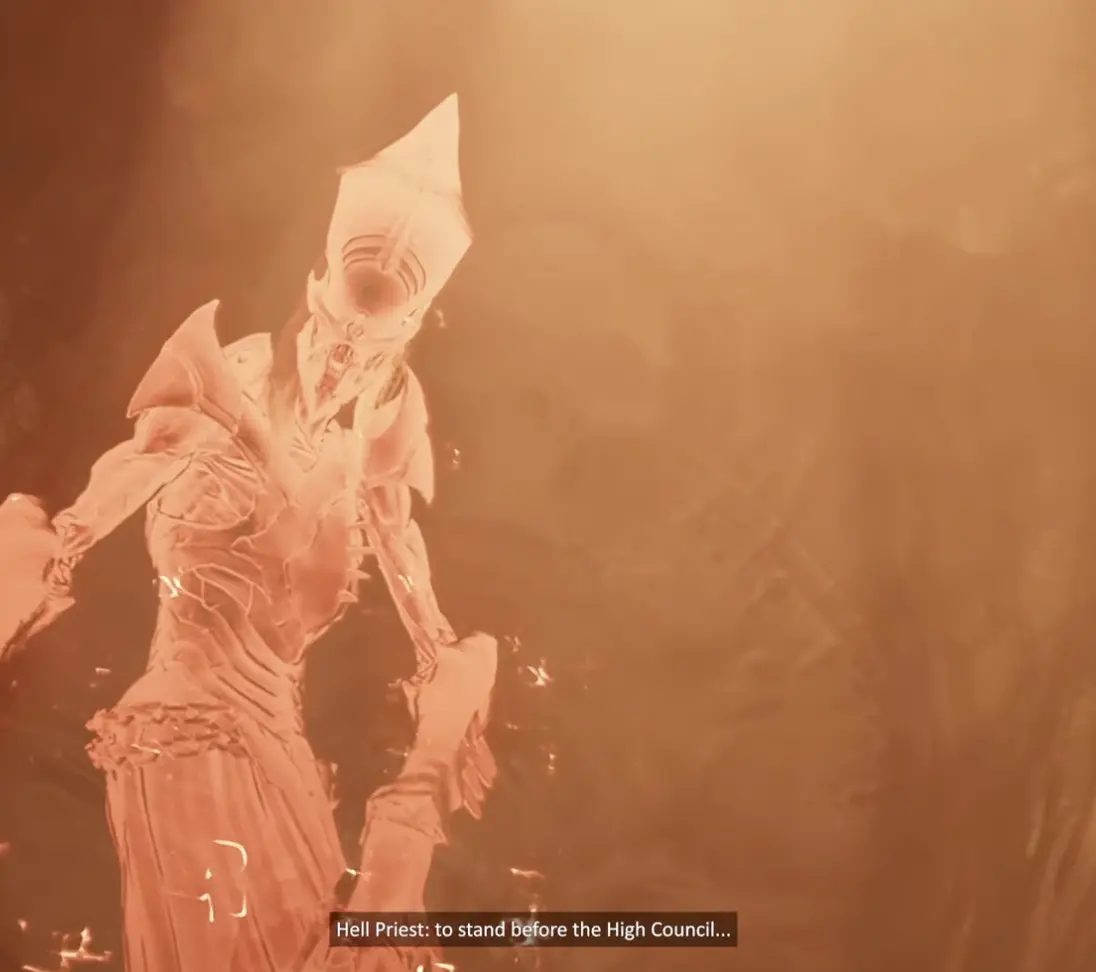
Opening Setup: Bishop Kreed, Marok, Khan Maykr and the Oracle
The DLC does not start with a random arena.
The story opens after Bishop Kreed’s betrayal. The Sentinels are unstable, faith is shaken, and political pressure builds around the Slayer. Marok appears in that opening tension as part of the Sentinel side of the conflict, while the Khan Maykr returns to restore order and reclaim control.
The route hook is simple: the High Council has been uncovered in the dark realm, but the Council Chamber is sealed, and the Oracle holds the key. Merrick is also flagged as missing, and Veilen’s team secures the crypt entrance.
| Story cue | What it tells me |
|---|---|
| Bishop Kreed’s betrayal | The DLC starts from political and religious fallout |
| Marok’s distrust | The Sentinel side is not fully united behind the Slayer |
| Khan Maykr returns | The Maykr side wants order, faith, and control restored |
| High Council uncovered | This is the first major destination |
| Council Chamber sealed | The Slayer cannot simply walk in |
| Oracle holds the key | The opening trial is the route gate |
| Merrick did not report in | The missing-ally thread starts before the crypt route |
| Crypt entrance secured | This becomes the first practical objective direction |
Proving Grounds 100% Checklist
Use this checklist before leaving the mission.
| Proving Grounds target | Goal |
|---|---|
| Secrets | Finish 4/4 secret areas |
| Collectibles | Finish 3/3 tracked collectibles |
| Khan Maykr Secret | Pick up the named early collectible |
| First skull route | Learn the local loop routing |
| Blue skull door | Get the blue skull before forcing the locked door |
| Life Sigil secret | Jump off the elevator early and take the side path |
| Flesh Node / Energy Node puzzle | Use Shield Charge and the node route to open the secret path |
| Agaddon Brute Champion | Defeat the real Proving Grounds boss |
| Henchman encounter | Survive the scripted story sequence |
Item Tracker: The One Search Rule You Need
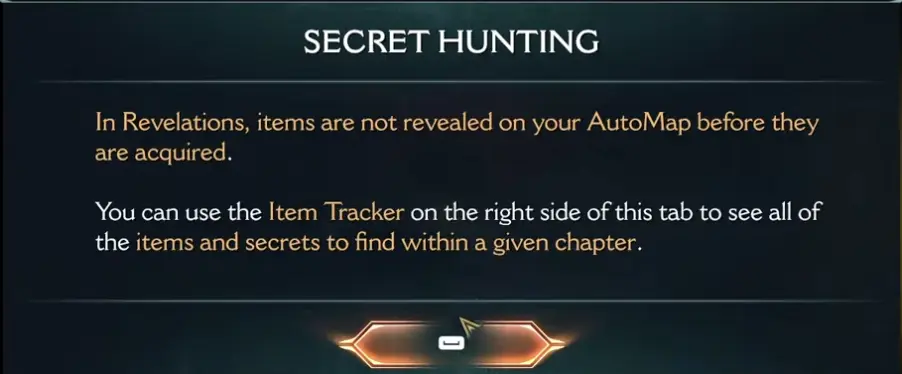
Revelations changes secret hunting immediately:
Items are not revealed on the AutoMap before they are acquired.
That is the only place this guide fully explains the tracker rule. For the rest of the route, I treat the tracker as the completion check and the map as a layout tool.
| Tracker situation | My decision |
|---|---|
| Tracker is complete | Move on |
| Tracker shows one missing item | Check the nearest side room, vertical layer, or elevator route |
| Map looks empty but tracker is incomplete | Trust the tracker more than the visible map |
| Collectible sits above or below the route | Look for ledges, lifts, Shield Charge routes, or return loops |
| A route is clearly locked | Leave it for later instead of circling the same door |
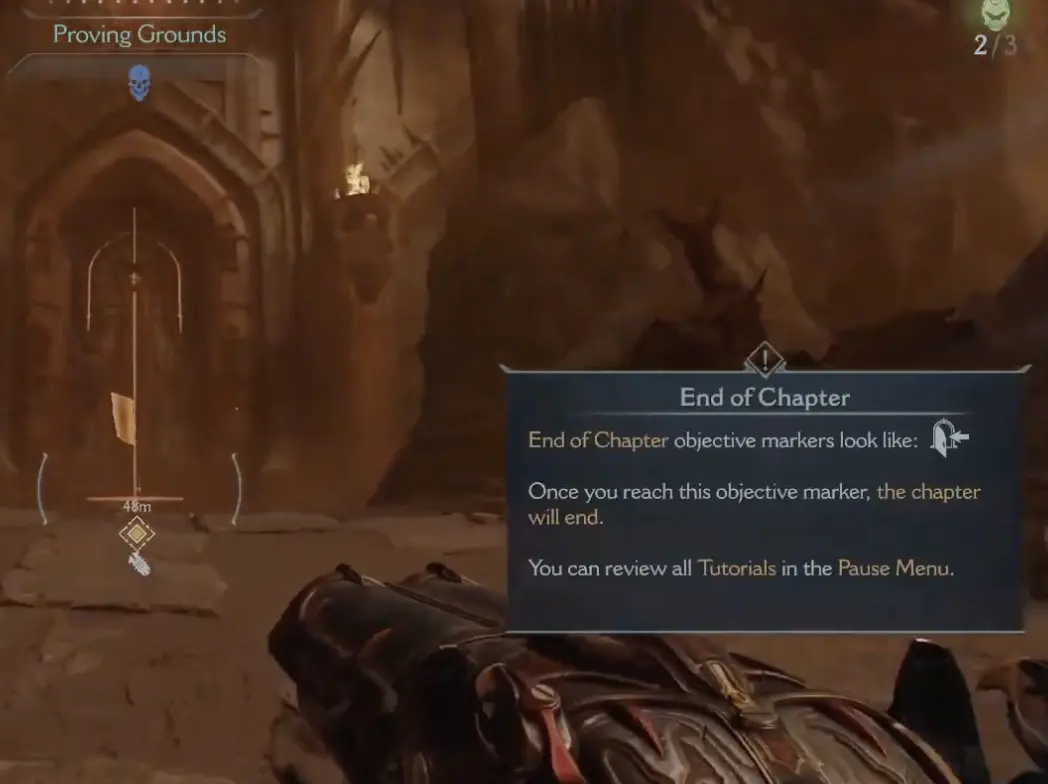
| End-of-chapter marker appears | Stop and confirm the tracker before crossing |
First Skull and Blue Skull Route
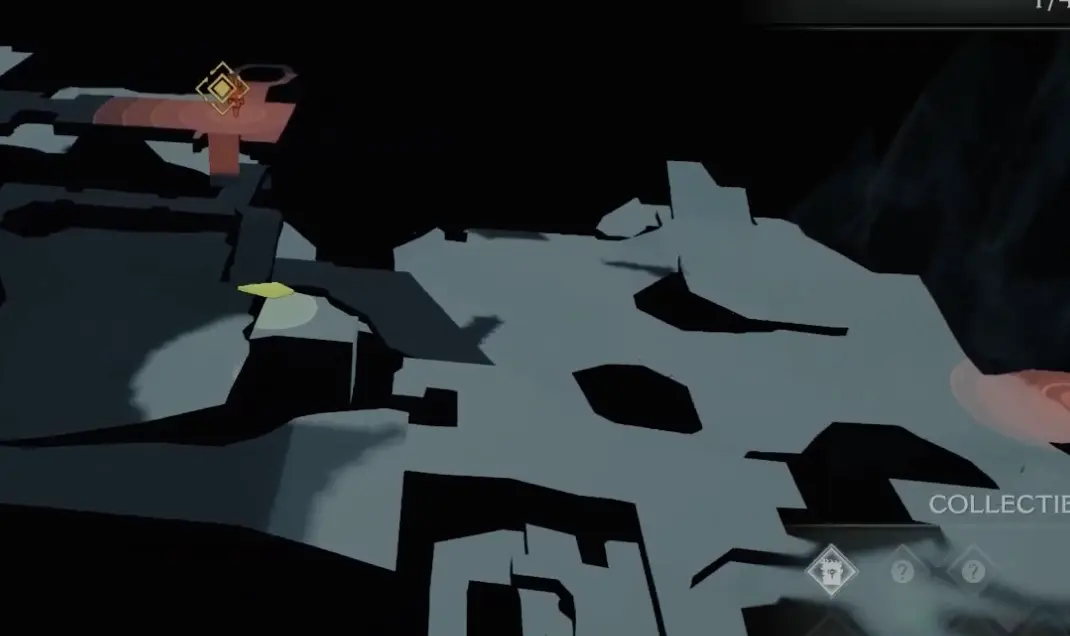
The first skull route teaches the main Proving Grounds habit: read the loop around the locked door.
When the skull is visible but unreachable, I stop trying to jump straight to it. I look for the upper path, nearby combat route, or traversal loop that brings me back.
| Blue skull clue | What I do |
|---|---|
| Blue Skull Required | Stop pressing into the door |
| Skull is visible but high | Follow the upper route and combat path |
| Side ledge appears before the main door | Check it before dropping into the next arena |
| Enemies spawn near the return path | Use them for health or armor before opening the skull door |
| Another locked route appears later | Treat it as a separate route problem, not the same blue skull door |
Khan Maykr Secret and Early Collectibles
The early collectible route is easy to rush because Proving Grounds is still teaching combat.
I treat the Khan Maykr Secret as a named collectible check. If I pass a side pickup or collectible icon while moving toward the crypt route, I grab it before starting the next large arena.
| Collectible cue | What I do |
|---|---|
| Khan Maykr Secret on route | Pick it up before pushing the next objective |
| Collectible near a side path | Grab it now; Proving Grounds only tracks three main collectibles |
| Collectible is visible above the route | Search for a vertical path instead of forcing the jump |
| A door is locked from the other side | Continue the loop and check whether the route returns later |
| The tracker still shows a missing pickup | Recheck the latest side room before crossing the chapter marker |
Elevator Life Sigil Secret
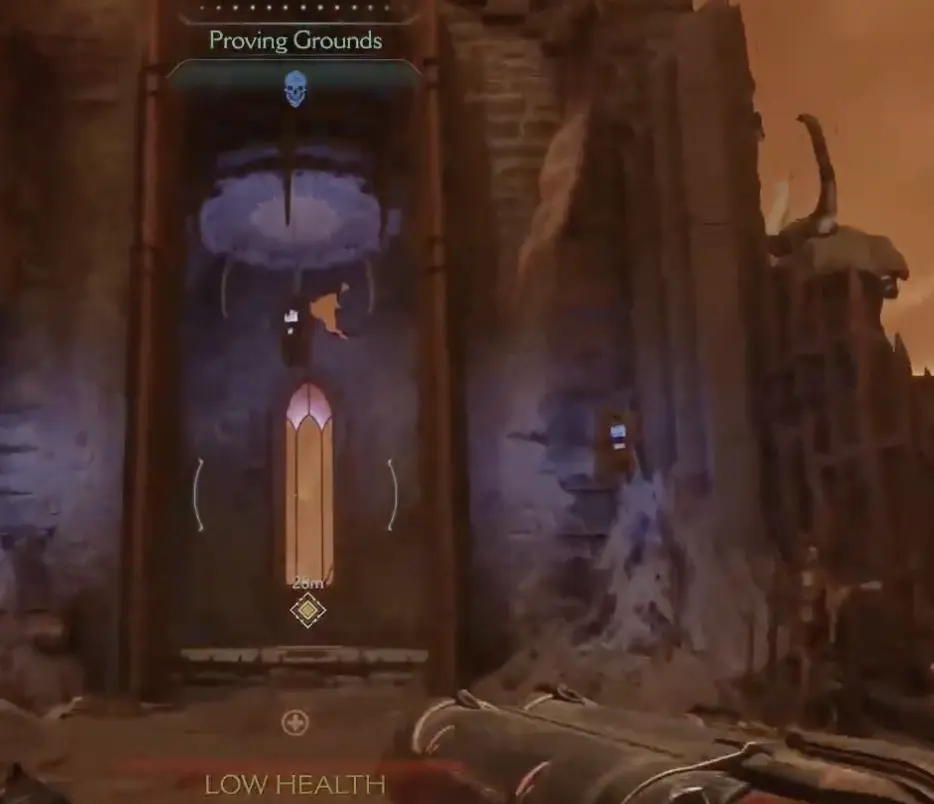
One of the easiest secrets to miss is the elevator side route.
When the elevator starts moving, I turn the camera and look for an early jump-off point. If I ride all the way down without checking the side ledge, the Life Sigil route becomes much easier to miss.
| Elevator cue | What I do |
|---|---|
| Elevator starts descending | Turn the camera and look for a side exit |
| Ledge appears mid-route | Jump off early instead of riding to the bottom |
| Life Sigil sits off the main path | Grab it before continuing the lower arena |
| Combat starts after the pickup | Clear the room, then return to the elevator route |
| You missed the jump | Check whether a lower path loops back before restarting the whole route |
Flesh Nodes, Shield Charge and Energy Nodes
This section replaces the older “Argent energy pipe puzzle” wording.
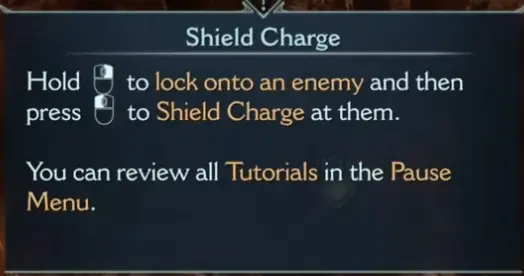
The safer way to describe the puzzle is: use Shield Charge and the node route to redirect or connect the energy path. The useful player search terms are Flesh Nodes, Shield Charge, Energy Nodes, and green skull / node routing.
| Puzzle cue | What I do |
|---|---|
| Shield Charge tutorial appears | Learn the input before rushing the next puzzle |
| Green skull / node cue appears | Look for the Shield Charge interaction |
| Energy Node route needs alignment | Move the node state until the route opens |
| Secret-area popup appears | Confirm the hidden route counted as a secret |
| Door opens but tracker remains incomplete | Follow the route fully before leaving |
4/4 Secrets and 3 Collectibles
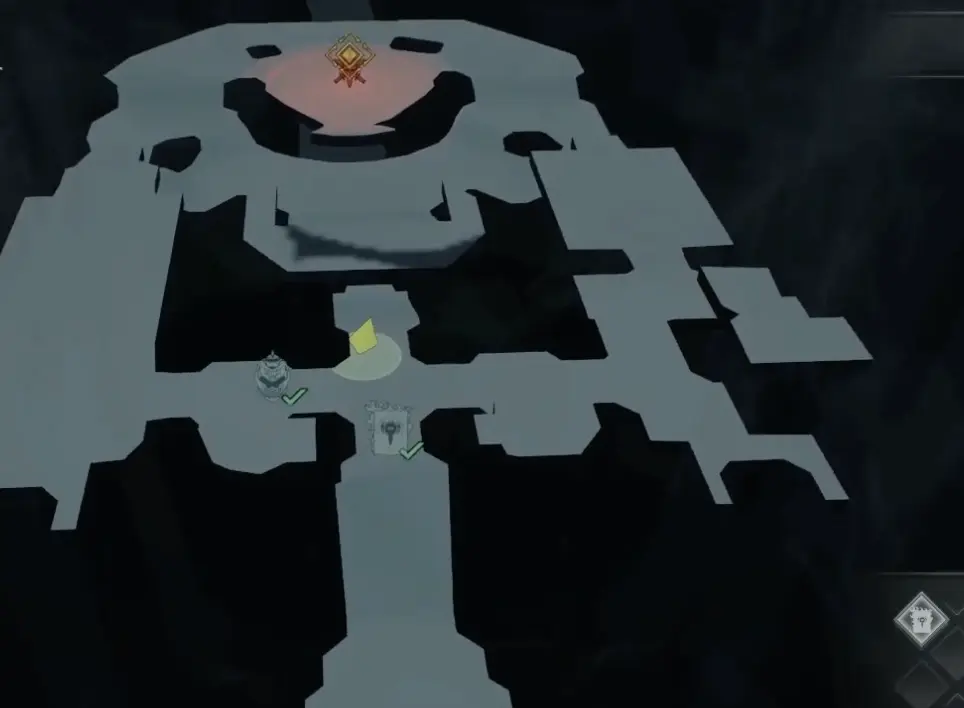
Before the end-of-chapter marker, I want the tracker to show the clean completion state.
The route should end with 4/4 secrets and the three collectible icons already picked up. If something is missing, I recheck the elevator Life Sigil route, the node puzzle route, side ledges around skull routing, and any room that looked like a simple combat arena but had vertical space.
| Missing item | First place I recheck |
|---|---|
| One secret missing | Elevator Life Sigil route or Energy Node secret path |
| One collectible missing | Side door after a combat room or upper route before the exit |
| Tracker incomplete but map looks clean | Vertical layers around elevators and skull paths |
| Secret area not counted | Make sure you fully entered the hidden room, not just opened the door |
| Reward seen but unreachable | Look for a return loop instead of forcing the jump |
| Everything complete | Move to the boss route and end-of-chapter sequence |
Agaddon Brute Champion Boss Fight
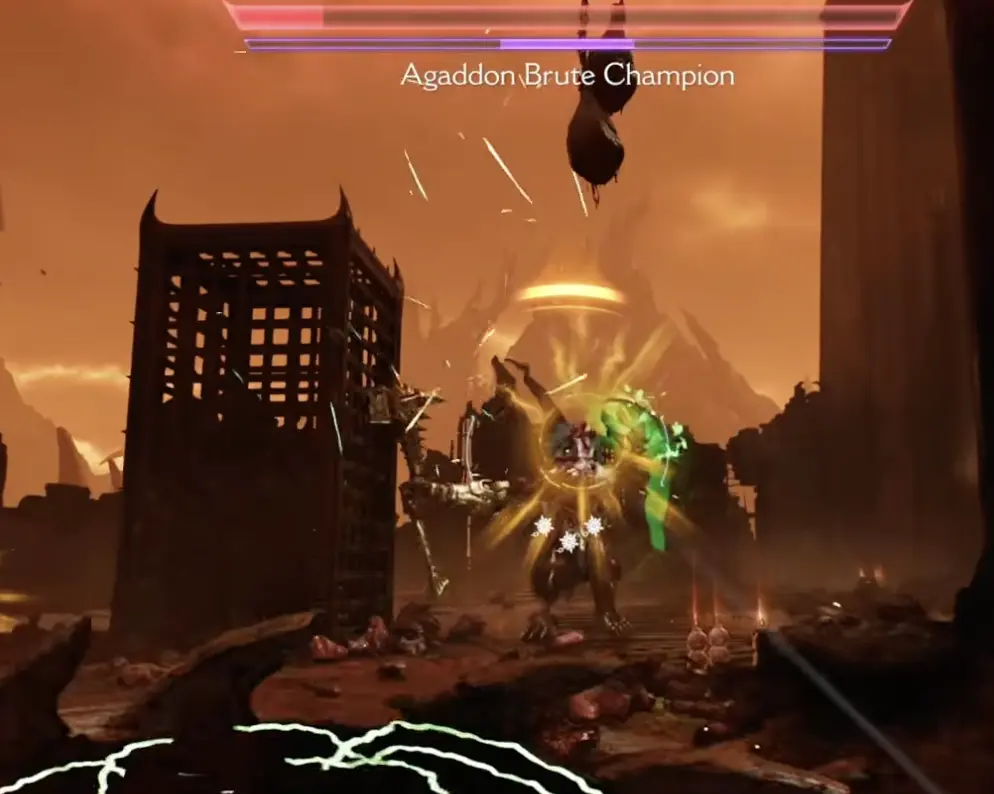
The Agaddon Brute Champion is the real Proving Grounds kill boss.
This is the fight I treat as the mission’s first major boss check. The arena asks me to keep space, use recovery targets properly, and punish the champion when it commits to a readable attack. If I panic-fire every heavy weapon too early, the fight gets messier than it needs to be.
| Boss problem | What I do |
|---|---|
| Champion closes distance fast | Keep lateral space instead of backing into the wall |
| Heavy attack is coming | Stop shooting and prepare the defensive response |
| Fodder demons appear | Keep some alive for health or armor recovery |
| Armor drops too low | Use melee recovery before committing to boss damage |
| Heavy weapon is ready | Save it for a clear boss window, not random panic shots |
| Arena gets crowded | Clear enough support pressure to keep the champion readable |
| Boss is almost dead | Finish cleanly; do not overextend into one final hit trade |
The Henchman Encounter: Survive, Do Not Force the Kill
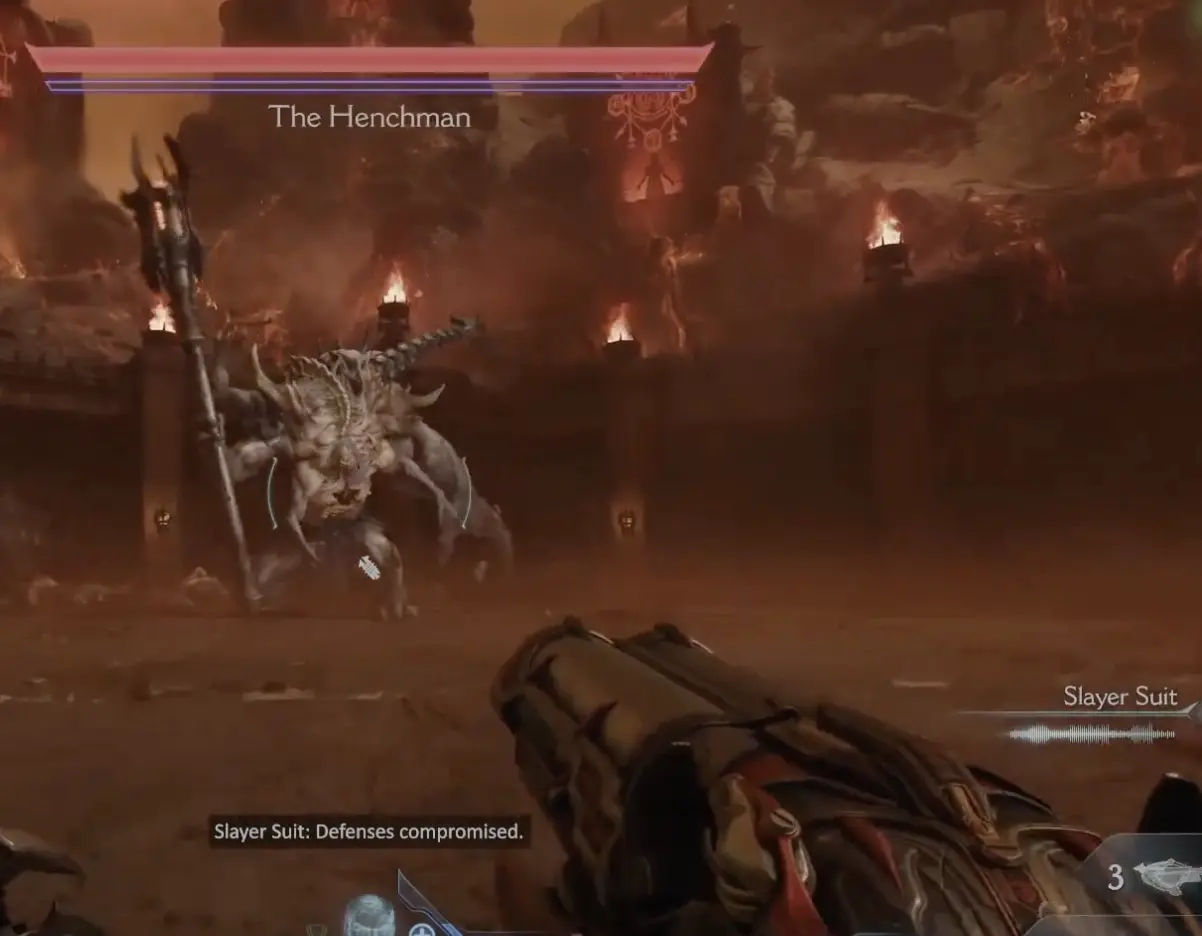
After the mission’s real boss route, The Henchman appears as a scripted survival encounter.
This is the only place I fully explain the Henchman rule: do not treat the first encounter as a normal boss kill. If the health bar barely moves, the Slayer Suit starts failing, and the fight feels impossible, focus on staying alive until the story advances.
| Henchman signal | What I do |
|---|---|
| Boss health barely moves | Stop trying to brute-force the kill |
| Damage feels ineffective | Save panic shots and focus on survival |
| Slayer Suit fails / shield breaks | Treat it as a story transition |
| Arena pressure rises | Keep distance and use recovery pickups |
| Cutscene feels close | Stay alive instead of chasing damage |
| The boss returns later | Treat the later fight as campaign story payoff, not the post-campaign Uber Boss |
Proving Grounds Combat Problems
| Problem | What is happening | Fix |
|---|---|---|
| I keep getting hit while relearning controls | The opening expects base-game muscle memory | Slow down and rebuild shield throw, parry, melee recovery, and Shield Charge |
| I miss the skull route | I am staring at the locked door instead of reading the loop | Use the map and follow upper or side paths |
| I miss the Life Sigil | I ride the elevator too far without checking side exits | Jump off early when the ledge appears |
| The node puzzle does nothing | I am not using the Shield Charge / Energy Node route correctly | Recheck the green skull or node cue and follow the opened path |
| Tracker still says incomplete | The map does not reveal items before pickup | Recheck vertical layers and hidden room entrances |
| Agaddon Brute Champion overwhelms me | I am treating the boss like a damage race | Control space, use recovery, then burst in clean windows |
What to Grab Now and What to Leave Later
This is the first-pass decision table for Proving Grounds.
| Thing you find | First-pass decision | Why |
|---|---|---|
| Skull / blue skull | Get now | Required for immediate route progress |
| Khan Maykr Secret | Get now | It is part of the early collectible route |
| Open side-path secret | Get now | Proving Grounds 100% depends on local searching |
| Life Sigil secret | Get now | It is reachable during the elevator route |
| Flesh Node / Energy Node secret | Get now | It is part of the 4/4 secret route |
| Collectible icon | Get now | The mission has 3 tracked collectibles to clear |
| Weapon skin / cosmetic reward | Get if the path is open | Nice reward, but not worth over-searching locked routes |
| Master Key-style door or gate | Leave later | Belongs to replay or endgame cleanup |
| Agaddon Brute Champion | Kill now | This is the real Proving Grounds boss |
Proving Grounds Exit: What Carries Forward
By the end of Proving Grounds, these lessons should be clear:
| Lesson | Why it matters later |
|---|---|
| The Oracle opening is the gateway to the High Council route | The story setup gives the first playable trial a real direction |
| Items do not appear on the AutoMap before pickup | The item tracker is your real completion check |
| Skull doors are route cues | They teach local loop routing |
| Shield Charge matters | Proving Grounds starts teaching node and traversal logic |
| Elevators can hide side routes | Later missions use vertical space the same way |
| Agaddon Brute Champion is the real boss | This is the mission’s actual kill check |
| Locked paths are not always mistakes | Some belong to Master Key or endgame cleanup |
Next Route: Purgatory and Hell’s Core
After Proving Grounds, the route moves toward Purgatory and then Hell’s Core.
I treat those as the next mission layer, not part of this 100% checklist. Proving Grounds teaches how Revelations wants to be searched; Purgatory teaches return routing; Hell’s Core tests whether I can keep that discipline through a longer mission.
| Next route topic | What to remember |
|---|---|
| Purgatory | Hub layer with three stones, locked paths, and return routes |
| Hell’s Core | First large Ascension Stone mission route |
| Chasm of Xal’Goroth | Later mission name, not the confirmed Uber Boss name |
| Osseus | Later mission with strong 100% route potential |
| Uprising | Later campaign route and story climax |
| Master Key cleanup | Post-campaign replay and endgame layer |
| Astral Boss / Uber Boss route | Post-campaign endgame boss route after Master Key progression |
Related Revelations Guides
| If you need help with… | Read this |
|---|---|
| Overall DLC structure and cleanup order | DOOM Revelations Guide |
| Chain Spear abilities, Platinum, Empowerment, and Shield Saw swap | Chain Spear Guide |
| Osseus secrets, Warlock enemy, blue skull route, and Master Key door | Osseus Walkthrough |
| Master Key doors, mission replay, Blood Iron, and Classic Encounters | Master Key Endgame Guide |
| Astral Boss Key parts, Praetor fights, Blood Iron, Uber Boss, and Master Arenas unlock | Astral Boss and Uber Boss Guide |
| Relics, Spear Mastery, 93 Shotgun, Ritual of Power, and boss achievements | Achievements Guide |
Final Proving Grounds Rule
My final rule for Proving Grounds 100% is:
Clear the mission first; survive the story second.
Use the tracker. Get the blue skull. Grab the Khan Maykr Secret. Check the elevator Life Sigil. Solve the Shield Charge / Energy Node secret. Confirm 4/4 secrets and 3 collectibles. Defeat the Agaddon Brute Champion.
Then survive The Henchman. That fight is there to break the Slayer into the next story layer, not to test your damage output.
FAQ
What does this DOOM Revelations Proving Grounds walkthrough cover? +
This guide covers Proving Grounds 100%: the Oracle opening, item tracker, skull routing, blue skull door, Khan Maykr Secret, Flesh Nodes, Shield Charge, Energy Nodes, Life Sigil secret, 4/4 secrets, 3 collectibles, Agaddon Brute Champion, and The Henchman survival encounter.
How many secrets are in Proving Grounds? +
Proving Grounds has 4 secret areas. Use the item tracker and confirm 4/4 secrets before crossing the end-of-chapter marker.
How many collectibles are in Proving Grounds? +
Proving Grounds has 3 tracked collectibles. Some guides may refer to them as codex-style pages, but the in-game tracker shows them under Collectibles, so this guide uses collectibles as the main term.
Where is the Khan Maykr Secret in Proving Grounds? +
The Khan Maykr Secret is one of the early named collectibles in Proving Grounds. Treat it as part of the 100% route and do not rush past side pickups after the Oracle opening.
What is the real Proving Grounds boss? +
The real kill boss for Proving Grounds is the Agaddon Brute Champion. The Henchman is a separate scripted survival encounter.
Can you kill The Henchman in Proving Grounds? +
Treat the first Henchman encounter as a survival sequence, not a normal boss kill. If damage feels ineffective and the Slayer Suit fails, stay alive until the story advances.
Is The Henchman the final boss? +
The Henchman returns later as the campaign final boss / story-ending fight, but it is not the post-campaign Uber Boss. Master Key endgame, Astral Boss Key, Master Arenas, and Ripatorium 3.0 come later.