DOOM Revelations Osseus 100% Walkthrough
A practical DOOM: The Dark Ages Revelations Osseus 100% walkthrough covering Warlock enemies, blue skull routing, 12 secrets, Relics, Platinum, Hollow Shrine upgrades, Master Key door, box-gate secrets, Whiplash Toy, Life Sigil, and final combat cleanup.
Updated:
Quick Answer
For Osseus 100%, kill the Warlock first whenever it shields enemies, use the blue skull as the main route anchor, finish nearby Relic sets for Platinum, spend at the Hollow Shrine when the upgrade improves your current Chain Spear route, leave the Master Key door for replay, solve the box-gate secret through the pressure plate and upper switch, collect the Whiplash Toy, grab the Life Sigil after the blue skull side-door branch, and confirm 12/12 secrets before the final fight.
Osseus 100% Route Summary
Osseus is route-dense, not just combat-heavy. The mission stacks Warlock rooms, blue skull loops, Relic pickups, shield-state routing, box-gate secrets, side-door jumps, a Master Key replay door, and a final 12/12 tracker check.
| Route piece | Do this | Do not do this |
|---|---|---|
| Warlock room | Kill the Warlock before cleaning shielded enemies | Waste ammo into shielded targets |
| Blue skull route | Pick up the skull, return to the known skull door, then check side branches | Push past the loop without opening the skull door |
| Relic / Platinum route | Search the same local area after each Relic piece | Leave the area before finishing the local set |
| Hollow Shrine | Buy the upgrade that solves the current mission problem | Split Platinum across upgrades you barely use |
| Box-gate secret | Push the box through the gate sequence and use the upper switch | Leave after the first gate opens |
| Whiplash Toy | Enter the dropped secret path before returning to the main route | Assume the toy is on the main path |
| Life Sigil route | Jump, dash, climb, then turn around after the side branch | Follow the exit without checking the ledge |
| 12 secrets tracker | Confirm the count before the final fight | Trust memory after a long route |
| Master Key door | Leave it for replay | Circle the locked door during the first pass |
Action Names Used in This Walkthrough
Use the in-game prompts for your platform or keybinds. This guide names the action instead of assuming a default keyboard layout.
| Action name | What it means in this guide | Where it matters in Osseus |
|---|---|---|
| Shield Throw | Throw the shield at a switch, skull target, or shield puzzle object when the room marks it | Shield-switch return loops and door changes |
| Shield Charge | Charge into the marked shield target after the shield route lines up | Shield-state routing and movement links |
| Meat Hook / Chain Spear hook | Hook to a demon or traversal point with the Chain Spear | Warlock pressure, movement routes, and late combat resets |
| Dash | Use the dash to extend a jump or avoid pressure | Life Sigil route and late arena survival |
| Stab | Use direct Chain Spear pressure on priority targets | Warlocks and dangerous demons |
| Tracker check | Open the mission tracker and confirm the count changed | Every secret route, especially before the final fight |
Osseus 12 Secrets Route Tracker
Use this as a route-order checklist. The in-game tracker is the final authority. This table tells you where to stop and confirm that the secret count moved before the route pushes you forward.
| Secret check | Landmark | Action | Requirement | Clear before |
|---|---|---|---|---|
| Secret 1 | Opening graveyard side path | After the first combat space, check the side route before following the main marker | None | Leaving the opening route |
| Secret 2 | First Warlock combat area | Kill the Warlock, then check the room edges instead of chasing the exit | Warlock cleared | Moving past the first major arena |
| Secret 3 | Early Relic / Platinum route | When the Relic clue appears, search the same local area before dropping forward | Relic route | Leaving the Relic area |
| Secret 4 | Shield-switch return loop | Use the switch, keep the shield route active, then follow the local return path | Shield switch | Entering the blue skull route |
| Secret 5 | Blue skull main loop | Pick up the blue skull, return to the known skull door, then check the side opening after the route changes | Blue skull | Pushing into the next branch |
| Secret 6 | Box-gate puzzle room | Move the box through the gate sequence and place it on the pressure plate | Box + switch puzzle | Leaving the puzzle room |
| Secret 7 | Whiplash Toy room | After the hidden path drops open, enter the toy room before returning to the main route | Box-gate route complete | Dropping back to the main path |
| Secret 8 | Blue skull side door | Open the side skull door before taking the elevator deeper | Blue skull | Riding the elevator |
| Secret 9 | Spear / shield side jump | Follow the turn route after the side door and collect the ledge secret | Movement route | Leaving the side branch |
| Secret 10 | Life Sigil room | After the side-door branch, jump, dash, climb, then turn around for the pickup | Jump-dash route | Entering the late arena |
| Secret 11 | Final skull / fissure route | Open the hidden entrance first, then return for the visible reward | Late route puzzle | Starting final cleanup |
| Secret 12 | Last return loop before final fight | Check lower rooms, wall openings, and return paths when the tracker is still short | Tracker check | Triggering the final fight |
Opening Route: Graveyard, Warlock and First Priority Fight
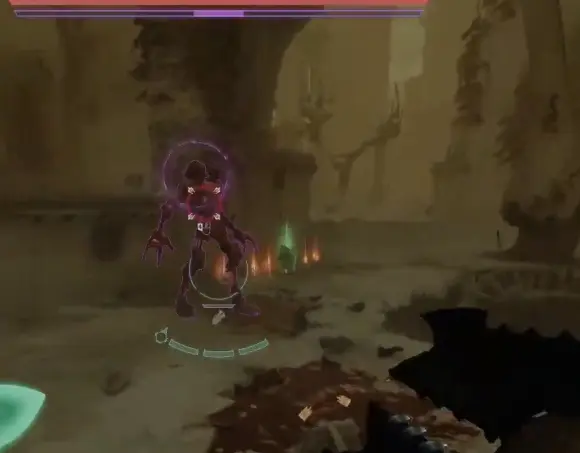
The first major combat lesson in Osseus is the Warlock.
When enemies are shielded, the shielded demon is not the real target. The Warlock is. Stop shooting the protected enemy, look for the caster, then force it down with Stab or burst damage.
| What you see | What to do |
|---|---|
| Enemy has a protective shield | Stop attacking it and look for the Warlock |
| Warlock teleports away | Track it immediately instead of clearing fodder |
| Fodder blocks the path | Kill just enough to reach the Warlock |
| Heavy demon is shielded | Do not spend burst damage until the shield source is dead |
| Health drops during the chase | Leave recovery enemies alive until the Warlock is removed |
| Warlock is dead | Return to normal arena cleanup |
Early Relics, Platinum and Hollow Shrine Choice
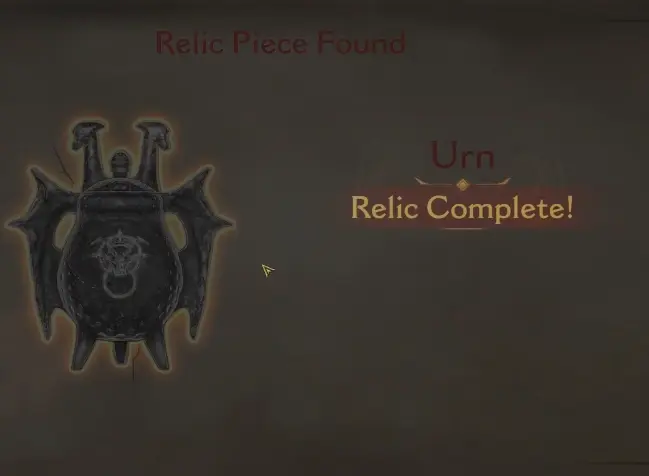
Osseus gives Relic pieces before the mission fully opens. When you find one piece, search the same immediate area before leaving. A completed Relic pays out Platinum, and Platinum becomes your Hollow Shrine upgrade currency.
| Mission problem | Upgrade priority |
|---|---|
| Groups keep surrounding you after Meat Hook | Slam |
| Flying or distant targets punish bad landings | Throw |
| Warlocks and priority demons keep breaking the room | Stab |
For full Chain Spear routing, use the Chain Spear Guide.
Shield Switch and Early Return Loop
Osseus uses shield-state routing before it gives you every answer.
When a switch lowers a route or changes a gate, keep the shield route active and look for the nearby climb, window, or side path that returns you above the changed area. When the path does not open immediately, continue the local return loop before leaving the area.
| Room cue | Action |
|---|---|
| Shield switch is visible | Use Shield Throw on the marked target |
| Gate or platform changes | Watch what moved before leaving |
| Return path opens above or beside you | Climb back through the local loop |
| No Chain Spear hook appears | Stay on the shield route instead of forcing a spear route |
| Window / side opening appears | Check it before returning to the main path |
| Master Key-style door appears | Mark it for replay and continue the open route |
Blue Skull Route
The blue skull is the main route anchor in Osseus.
Pick it up, return to the skull door you already saw, and open the loop before chasing deep side paths. After the door route changes, check the side branch before moving into the next major arena.
| Step | Blue skull action |
|---|---|
| 1 | Follow the main route until the blue skull pickup appears |
| 2 | Pick up the blue skull before deep side searching |
| 3 | Clear the combat that triggers after pickup |
| 4 | Return to the known skull door |
| 5 | Open the skull door and watch for the route change |
| 6 | Check the side branch before leaving the loop |
Box-Gate Secret Route
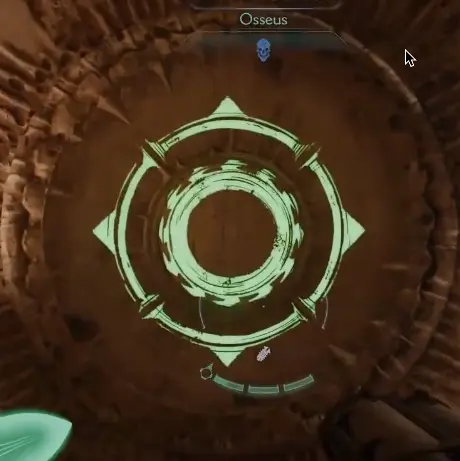
The box-gate puzzle is the main mid-mission secret route in Osseus.
Do not leave after the first gate opens. The secret only opens after the box reaches the pressure plate and the upper switch route drops the hidden path.
| Step | What to do | Check |
|---|---|---|
| 1 | Push the box toward the first gate | The box must be on the gate route, not left in the starting corner |
| 2 | Use the nearby switch to change the gate state | The path for the box opens |
| 3 | Push the box through the opened gate | Do not climb away yet |
| 4 | Move the box onto the pressure plate | The next route activates |
| 5 | Climb to the upper platform | Look for the switch above the box route |
| 6 | Activate the upper switch | The hidden path drops open |
| 7 | Enter the secret room before returning to the main path | This secures the secret route and Whiplash Toy path |
Whiplash Toy Secret
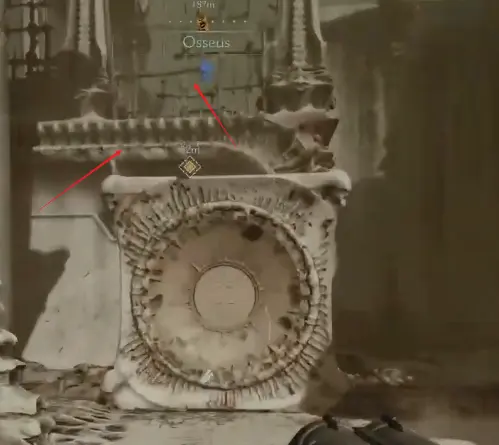
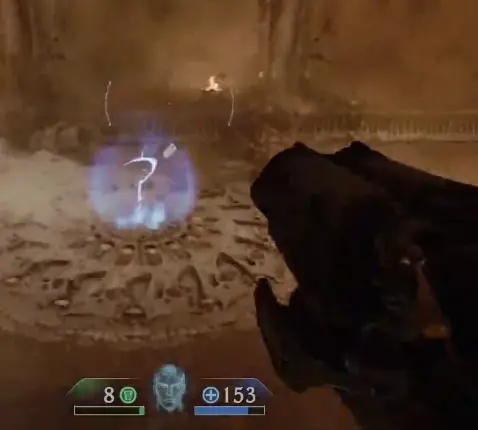
The Whiplash Toy sits behind the box-gate secret route.
After the hidden path drops open, enter the secret room before returning to the main path. Clear the immediate enemy pressure first, then collect the toy.
| Toy route cue | Action |
|---|---|
| Hidden path drops open | Enter before returning to the main path |
| Enemy spawns immediately | Fight first, collect second |
| Toy is visible after the secret opens | Grab it now |
| Main route continues afterward | Return only after the toy and secret count are secured |
Master Key Door: Leave It for Replay
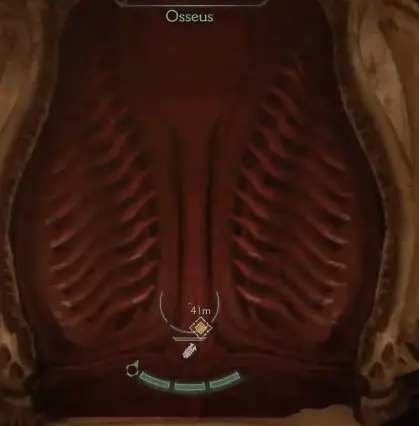
Osseus shows a clear Master Key-style door during the mission.
Do not spend the first pass circling it. Mark the location, continue the accessible route, and return through Master Key endgame cleanup.
| Door type | Decision |
|---|---|
| Master Key door | Leave for replay |
| Blue skull door | Open during the current route |
| Shield switch door | Solve locally |
| Box-gate secret door | Solve locally |
| Door unlocked from the other side | Continue the loop until it opens naturally |
Blue Skull Side Door and Secret Jump
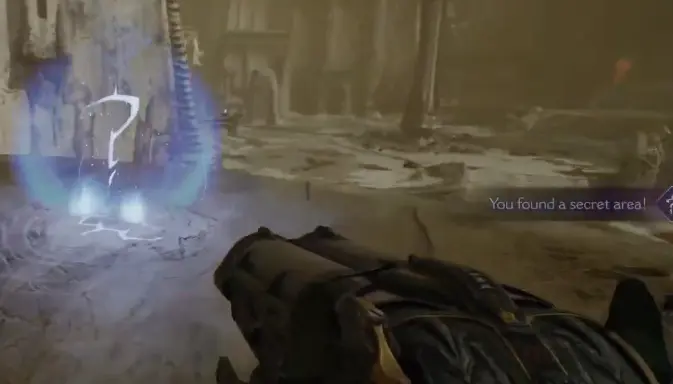
After the mid-route cleanup, return to the side blue skull door before riding deeper into the mission.
Open the door, follow the short spear / shield turn route, and grab the ledge secret before the elevator path pulls you away.
| Step | Side route action |
|---|---|
| 1 | Return to the side blue skull door after the main loop opens |
| 2 | Open the door before taking the elevator route |
| 3 | Follow the spear / shield turn route inside |
| 4 | Jump to the reachable ledge when the line opens |
| 5 | Collect the secret before dropping back |
| 6 | Return to the main route and ride deeper only after the tracker moves |
Life Sigil Jump-Dash Route
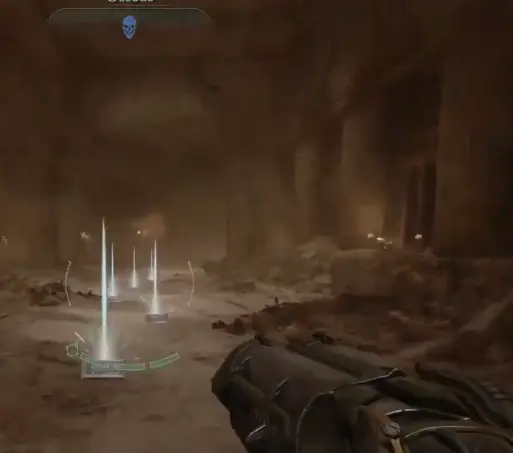
The Life Sigil route appears after the blue skull side-door branch and before the deeper elevator / late arena push.
When the side branch returns you into a combat-looking room, do not follow the exit immediately. Clear enough pressure to move safely, then look for the jump line on the side of the room. Jump across, dash before the height drops, climb to the upper ledge, then turn around for the Life Sigil pickup.
| Route cue | Action |
|---|---|
| Blue skull side branch is cleared | Do not ride deeper immediately |
| Room opens into a combat-looking space | Clear pressure, then check the side ledge |
| Jump line appears | Jump across first |
| Dash extension is needed | Dash before the height drops |
| Upper ledge is reached | Turn around instead of following the exit |
| Life Sigil is visible | Grab it before entering the late arena route |
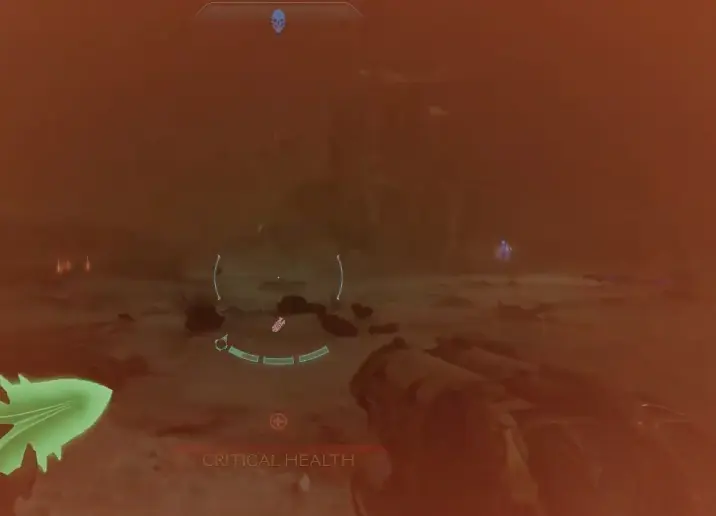
Late Combat Arena: Purple Enemies, Cyber Demon and Cosmic Elemental
The late Osseus arena mixes heavy demons, fast pressure, and dangerous floor control.
Do not tunnel one target while the room collapses. Stabilize the floor first, then spend burst damage on the enemy creating the most pressure.
| Arena problem | Action |
|---|---|
| Purple enemies control the floor | Do not stand near them; dodge out and reset angle |
| Cyber Demon pressure appears | Use heavy damage windows instead of saving everything |
| Cosmic Elemental joins the fight | Clear it before it adds too much screen pressure |
| Fast demon escapes | Snap it with ranged pressure or Stab when safe |
| Recovery is low | Stop clearing fodder too early; use fodder for health and armor windows |
| Arena is crowded | Shield Saw to stabilize, Chain Spear to reposition |
| Empowerment windows are failing | Clear clutter, then dash late into Hell Surge attacks |
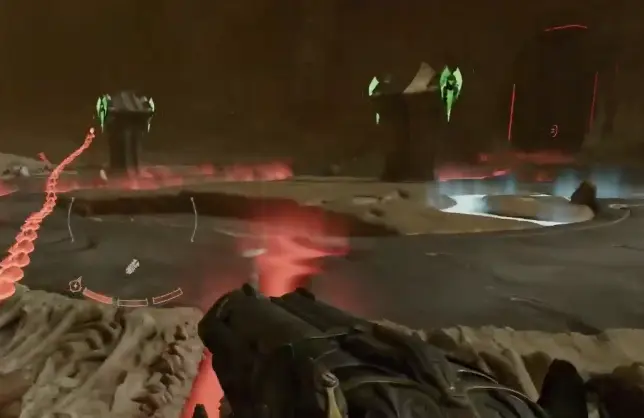
Final Skull / Fissure Secret Route
Near the end, Osseus gives another route puzzle around the final skull and secret cleanup.
Open the route before chasing the visible reward. When the door is not open yet, line up the route object, move the block or path object into position, and return once the secret entrance opens.
| Late secret cue | Action |
|---|---|
| Skull is visible but path is blocked | Follow the route object before forcing the pickup |
| Door must open before the secret counts | Open the door first, then return |
| Reward is visible before the entrance | Solve the entrance route first |
| Tracker is short before the final fight | Search lower rooms, wall openings, and return paths |
| Relic sound / clue appears | Search the immediate room before moving on |
| Final collectible remains | Check behind walls, return routes, and low side rooms |
Final Tracker Check Before the Fight
Before triggering the final fight, open the tracker and confirm the mission state.
The key check is 12/12 secrets, but 12/12 secrets does not automatically mean every collectible, toy, Codex, lore-style entry, Relic, or resource line is complete. Check the remaining tracker lines before moving on.
| Tracker state | What to do |
|---|---|
| 12/12 secrets complete | Secrets are done; check remaining collectible / resource lines |
| One collectible remains | Search behind route walls, lower rooms, and return loops |
| Platinum is short | Finish the local Relic or check upgrade currency pickups |
| Master Key door remains locked | Leave it for replay |
| All local trackers are clear | Push to the final combat route |
Final Fight
The final Osseus fight escalates quickly once support pressure starts filling the arena.
Remove support pressure, spend burst damage on the main threat, and use executions or recovery windows to stabilize before the room snowballs.
| Final fight problem | Action |
|---|---|
| Main threat appears | Identify it quickly and plan burst damage |
| Support pressure appears | Kill the support enemy before tunneling the main target |
| Fodder floods the arena | Clear enough to move, but keep recovery available |
| Health drops too low | Use executions and armor recovery before pushing damage |
| Main threat survives too long | Stop hoarding heavy weapons |
| Arena becomes chaotic | Shield Saw to stabilize, Chain Spear to reposition |
What to Leave for Master Key Replay
Osseus still has replay logic after the first clear. The first pass should finish the accessible 100% route, not force locked endgame doors.
| Leave for replay | Why |
|---|---|
| Master Key door | It is built for post-campaign cleanup |
| Endgame-looking locked path | It belongs to replay or later objective routing |
| Objective Wheel route | It is not a first-pass requirement |
| Astral Boss Key blocker | It belongs to the Uber Boss Unlock Guide |
Related Revelations Guides
| If you need help with… | Read this |
|---|---|
| Overall DLC route and guide hub | DOOM Revelations Guide |
| Proving Grounds secrets, collectibles, Agaddon Brute Champion, and The Henchman | Proving Grounds Walkthrough |
| Chain Spear, Orbit, Perfect Dodge, Empowerment, Platinum, and Shield Saw swap | Chain Spear Guide |
| Master Key doors, Blood Iron, Classic Encounters, Rituals, and replay cleanup | Master Key Endgame Guide |
| Astral Boss Key route, Uber Boss gate, Master Arena Key, and Master Arenas | Uber Boss Unlock Guide |
| Relics, Spear Adept, Spear Mastery, 93 Shotgun, and achievement cleanup | Achievements Guide |
Final Osseus Rule
Kill the Warlock before wasting damage on shielded enemies. Use the blue skull as the route anchor. Solve the box-gate secret all the way through the pressure plate and upper switch. Grab the Whiplash Toy and Life Sigil while their paths are open. Confirm 12/12 secrets before the final fight.
Leave Master Key doors and Astral Boss Key routing for the endgame pages.
FAQ
What does this DOOM Revelations Osseus walkthrough cover? +
This guide covers Osseus 100% routing: Warlock enemies, blue skull routing, 12 secrets, Relics, Platinum, Hollow Shrine upgrades, the Master Key door, the box-gate secret, Whiplash Toy, Life Sigil, late combat, and final tracker cleanup.
How many secrets are in Osseus? +
Osseus has 12 secret areas to confirm on the tracker. Use the route-order secret checklist before the final fight and do not leave until the tracker shows 12/12 secrets or the only remaining blocker is a Master Key replay route.
Does 12/12 secrets mean Osseus is fully complete? +
No. 12/12 confirms secret areas. Still check the tracker for collectibles, toys, Relics, Platinum, Codex or lore-style entries, and other resource lines before leaving the mission.
How do you deal with the Warlock in Osseus? +
Kill the Warlock first. It shields other enemies, teleports, and turns normal cleanup into a slow fight. Stop attacking shielded targets, find the Warlock, then use Stab or burst damage to remove it.
What Chain Spear upgrade helps most in Osseus? +
Slam helps when groups surround you after Meat Hook. Throw helps against flying or distant targets. Stab helps when Warlocks or priority demons keep breaking the room.
Where is the Whiplash Toy in Osseus? +
The Whiplash Toy is tied to the box-gate secret route. Push the box through the gate sequence, place it on the pressure plate, activate the upper switch, then enter the dropped secret path before returning to the main route.
Where is the Life Sigil in Osseus? +
The Life Sigil is on a jump-dash return route after the blue skull side-door branch and before the deeper late-arena push. Clear pressure, use the jump line, dash to the upper ledge, then turn around for the pickup.
What should I leave for Master Key replay in Osseus? +
Leave Master Key doors and endgame-looking locked paths that the first pass cannot open. Mark them, finish the accessible Osseus route, then return through Master Key endgame replay.
Is Osseus part of the Uber Boss route? +
No. Osseus is a campaign mission and 100% cleanup route. Astral Boss Key and Uber Boss routing belongs to the dedicated Uber Boss Unlock Guide.