1 Arrival at Regenstein (Past)
Regenstein is unsettling precisely because nothing is “wrong” in the obvious way—no statues, no crowds, no noise. Your first objective is to find the dungeon entry: the Hidden Stairs (HS).
Go to the large tent/structure in the northeast. Search/interact with the floor area to reveal HS. If you can’t see the prompt, adjust camera angle (see RG-ERR-001).
📜 Lore Note: The Boy and the Monster
Regenstein’s tragedy is a misunderstanding, not a conquest. The “enemy” here is grief and fear—your job is to uncover the truth and resolve the timeline.
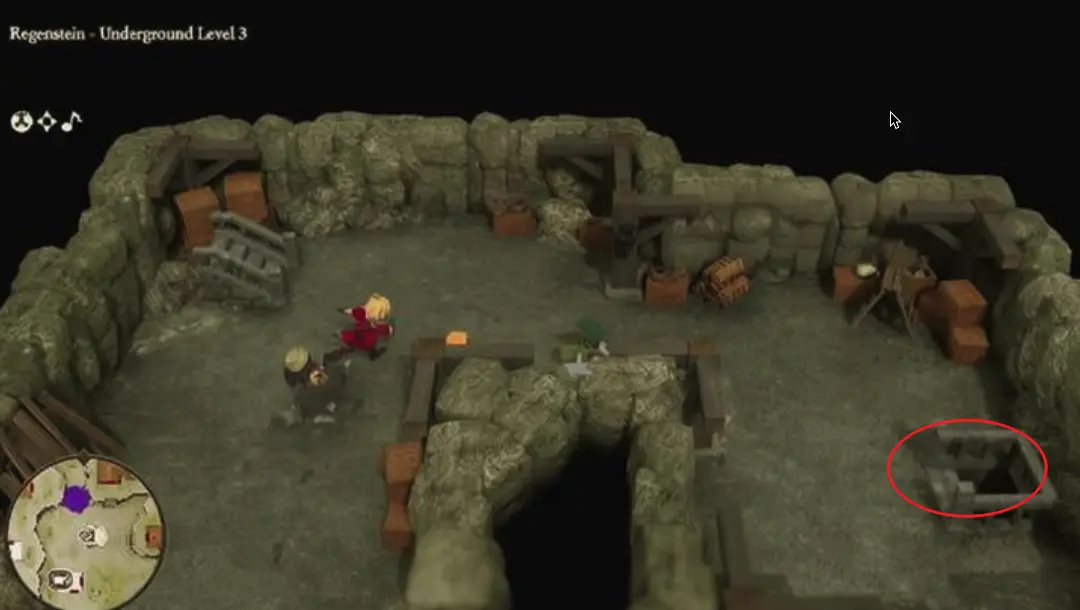
2 Underground Caves: Floor Script (Level 1–4)
The cave is mostly linear, but the important difference is whether you secure the Boomerang early. Treat the following as a routing script:
- Level 1 Follow the main corridor to S1. Ignore side niches unless you need a quick heal/item.
- Level 2 Stay on the “downward line” to S2. If you feel you’re looping, backtrack—this is usually a camera/angle issue.
- Level 3 Keep pushing to S3. Don’t spend MP over-healing—save it for surprise fights.
- Level 4 This is the priority floor: locate BMR (Boomerang chest). Do not leave this floor without it. After that, continue to the NPC (Old Man) deeper in the cave.
⚖️ Player Decision: Who Should Equip the Boomerang?
The Boomerang is a massive random-encounter accelerator because it hits the entire enemy group. Your equip choice determines whether you clear mobs faster or stay safer.
- Upside: consistent party-wide damage while still allowing utility turns.
- Downside: if Hero is your backup healer, you may lose tempo in tougher packs.
- Best for: speed clears and “clean routing.”
- Upside: keeps Hero free for heals/items while still clearing packs quickly.
- Downside: depends on your party composition / who can equip.
- Best for: safer runs with fewer wipes.
If your build differs, frame it like this: “Give Boomerang to the character who takes the most normal attacks per fight.”
3 Resolution & Unlocking the Next Island (Present)
After you trigger the Old Man (NPC) sequence and complete the Past-side flags, return to the Present. The “forgotten island” becomes a quiet memorial location, and your final action is a specific interaction point.
- Memorial Step (G): locate the grave/memorial and use the required item (often described as Holy Water in guides). If nothing happens, you are missing the Old Man flag (RG-ERR-003).
- Unlock Trigger (NX): return to the Shrine and use the tablet system to open the next region. (Exact pillar/slot naming can vary by translation—treat the shrine prompt as the source of truth.)
If your screenshot/source mentions a visible fragment at the memorial, you can add it to your ShardList later. For now, this page focuses on the guaranteed, repeatable value item: the Boomerang.