1 War in Faraday (Past): Flags & First Fragment
You arrive during an active invasion. Treat this chapter as a set of required flags rather than “free exploration.”
- KD (King Dialogue): speak to the King in Faraday Castle to officially start the defense arc.
- GW (Gate Wave): repel the automaton wave at the castle gate to unlock the counter-attack mission.
📦 Mandatory Detour: Institute of Automatry (INS)
Do this before entering the Stronghold. It’s the #1 “I forgot and had to backtrack” mistake.
2 Automaton Stronghold: Floor Script (B1 → B2)
The Stronghold is designed to make you lose orientation: repeating metal halls + conveyors. To keep this guide “incremental,” use this rule:
Rule: If a conveyor can loop you, a Control Panel (CP) is nearby.
Scan walls near belt junctions. Interact with CP to stop or reverse belts. If you’re repeatedly pushed back, you missed CP by 1–2 screens.
- Entrance → B1 Enter SH and commit to descending. Avoid side rooms unless they clearly lead downward.
- B1 Prioritize “down” routes. If a belt blocks progress, locate CP on adjacent walls (often at corners or near junctions).
- B2 Basement Level 2 leads to the boss arena (SLG). Heal up before committing.
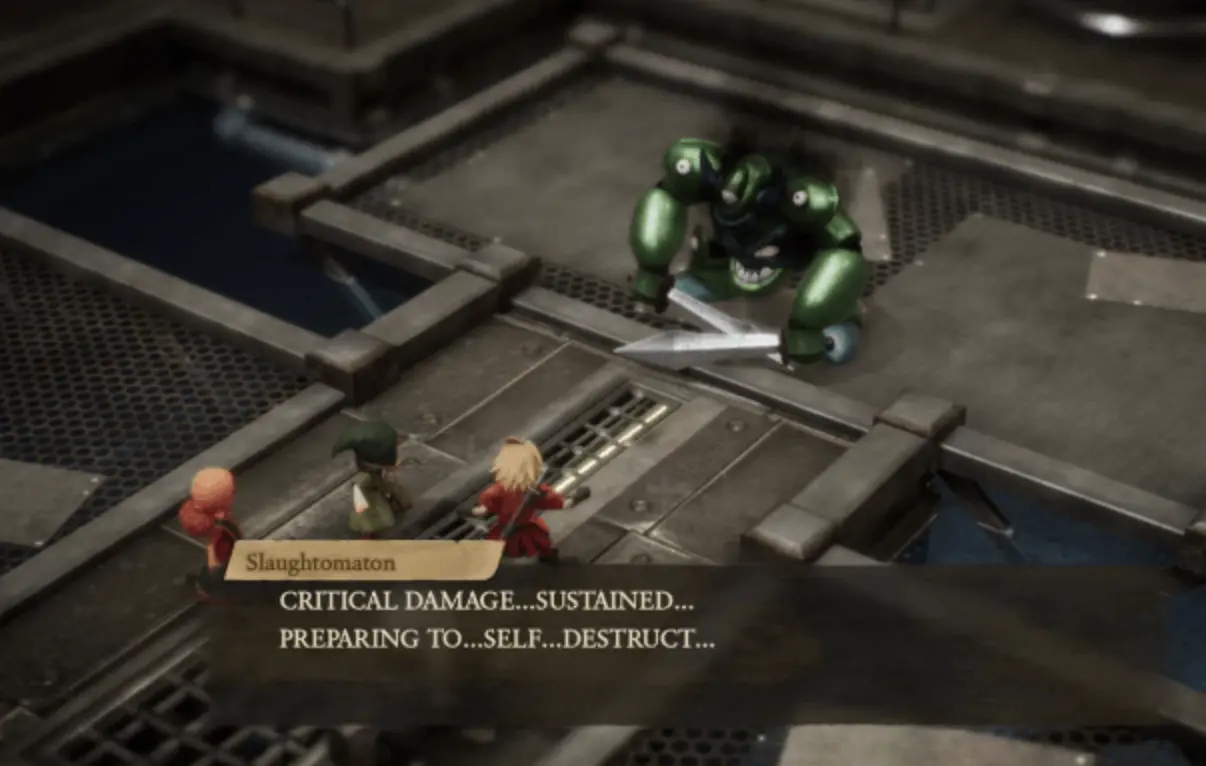
3 Boss: Slaughtomaton (SLG)
Slaughtomaton is a party-pressure boss: it punishes “greedy damage turns” with multi-target hits. Win by stabilizing, then taking safe damage windows.
Turn Discipline (Simple Rule Set)
- Heal proactively (don’t wait for red HP).
- Use defense buffs or damage reduction if available.
- If two members drop low: full heal turn > damage turn.
Reward: the boss drops a fragment (label it precisely in your shard system once you confirm its color/ID). For now, keep the shard entry as a dedicated boss drop to avoid misinformation.
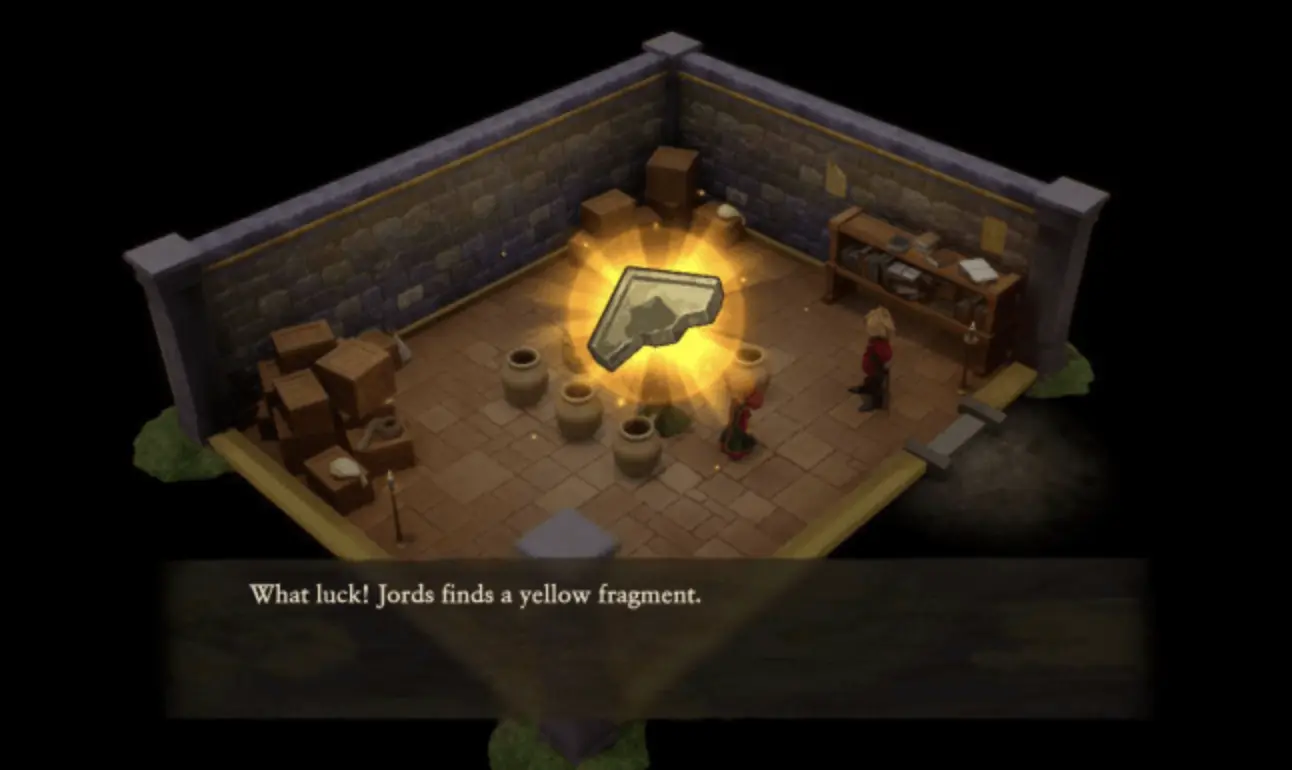
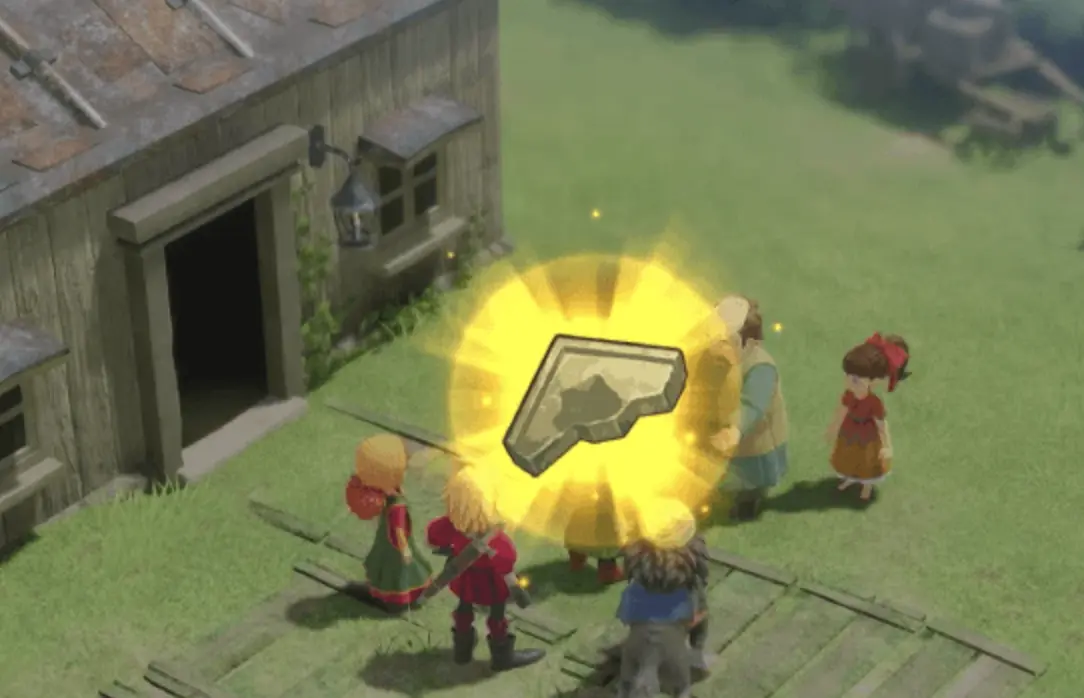
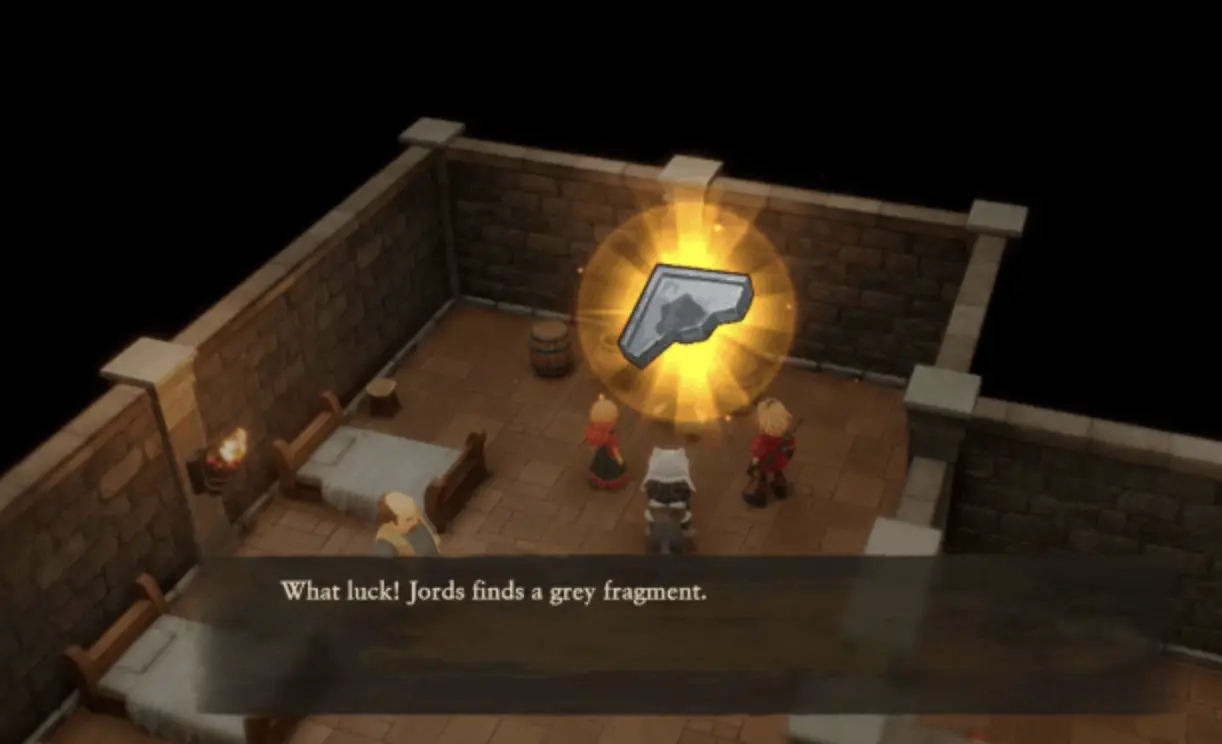
4 Present-Day Sweep: 3 Fast Fragments (Best Order)
This is a “pickup loop.” The optimal order reduces backtracking: Town → Institute → Castle Dungeon.