How I Build Every Bloodmoon Weapon Evolution and Union
I keep one chest ready, max only the pieces that matter, and use the Bloodmoon unions and Velvet Dodecahedron without letting the weapon pool get in the way.
Updated:
Quick Answer
For the five normal Bloodmoon evolutions, I max the base weapon, finish its required passive, then keep an evolution chest available.
The three unions work differently:
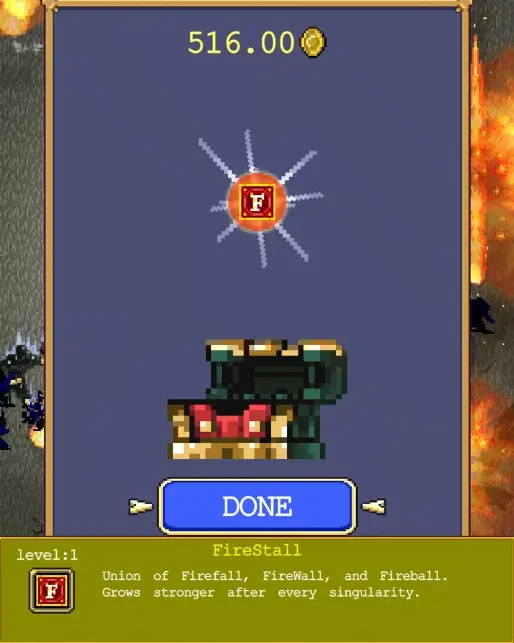
- FireFall + FireBall + FireWall → FireStall
- Descent Into Misery + Kyra-Stones → Shimmering Sands
- 108 Bocce + 108 Responsive Prayers → Road to Heaven
If Velvet Dodecahedron is the part stopping me, I first evolve Screams from the Void. Unlocking Velvet only makes the passive available; I still have to pick it up in a later run before it can satisfy a character requirement.
Bloodmoon gave me a familiar Vampire Survivors problem with an unfamiliar number of moving pieces.
Getting the right weapon was rarely the hard part.
The wasted runs came from reaching a chest with one level missing, taking the wrong passive because my slots were full, or assuming an item marked as “unlocked” was already sitting in my inventory.
There are five normal evolutions and three unions that I care about for the Bloodmoon set. I use the table below as the checklist, then build around one or two targets at a time instead of filling six weapon slots and hoping the right pieces sort themselves out.
| Type | Required pieces | Result | What I have ready |
|---|---|---|---|
| Evolution | Scarlet Needle + Pummarola | Cardinal Rain | Max Scarlet Needle, Pummarola Lv.5, then a chest |
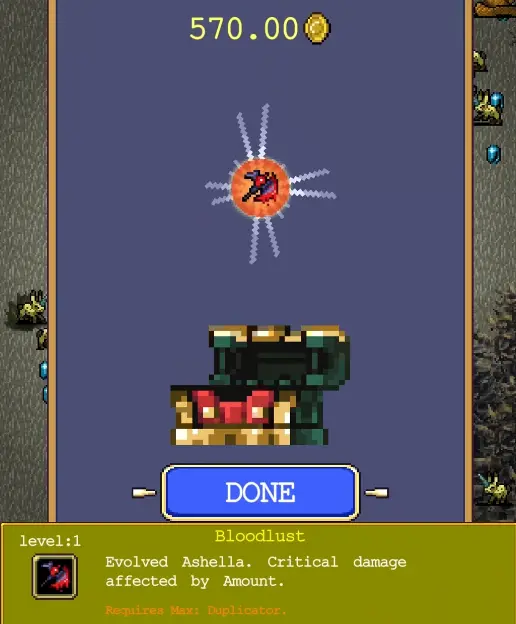
| Evolution | Ashella + Duplicator | Bloodlust | Max Ashella, Duplicator Lv.2, then a chest |
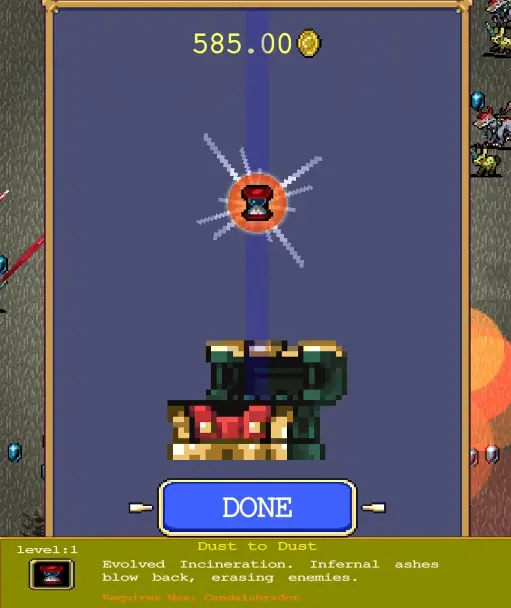
| Evolution | Incineration + Candelabrador | Dust to Dust | Max Incineration, Candelabrador Lv.5, then a chest |
| Evolution | Screams from the Void + Attractorb | Forbidden Siren | Max Screams from the Void, Attractorb Lv.5, then a chest |
| Evolution | Blacken Firmament + Torrona’s Box | Damnation | Max Blacken Firmament, Torrona’s Box Lv.9, then a chest |
| Union | FireFall + FireBall + FireWall | FireStall | All three fire weapons built to their final level |
| Union | Descent Into Misery + Kyra-Stones | Shimmering Sands | Both weapons prepared in the same run |
| Union | 108 Bocce + 108 Responsive Prayers | Road to Heaven | Both weapons held; I finish the Prayer side before expecting the union |
The passive maximums are worth remembering because they are very different: Duplicator stops at Level 2, while Torrona’s Box goes all the way to Level 9. Waiting for another Duplicator level that does not exist is just as bad as opening the Damnation chest while Torrona’s Box is still short of max.
I Save a Chest Before I Start Chasing Extra Weapons
The first three Bloodmoon evolutions taught me the same lesson very quickly: once the recipe is ready, the chest matters more than another optional weapon.
With Scarlet Needle, I need Pummarola.
I bring the red heart to Level 5, finish Scarlet Needle, and then take a chest.
That produces Cardinal Rain.

The chest timing sounds trivial until the screen is full of drops.
I have opened an attractive chest too early simply because it was there, then spent the next several minutes waiting for another boss while the actual recipe was already finished.
So when I am one or two levels from a target evolution, I leave a convenient chest alone unless survival is genuinely at risk.
That small restraint matters more than squeezing another random upgrade out of the run.
Bloodlust Is the Easiest Recipe to Overthink
Ashella + Duplicator → Bloodlust has the shortest passive requirement in the whole group.
Duplicator’s maximum is only Level 2.
Once Ashella is fully leveled and the ring shows Level 2, I am done with the setup. The next suitable chest can produce Bloodlust.
This is also where aggressive Banish use starts paying off.
If my only goal is Bloodlust, another unrelated six- or eight-level weapon is not harmless. Every extra item competes for level-up choices while I am trying to finish Ashella.
A narrow pool gets me to the chest condition faster.
The full reason I am moving through Ashella, Bloodlust, and the next character belongs in the Bloodmoon character progression guide. Here I only care about making the weapon reliably.
Dust to Dust Is Easier When I Use Red Moon Manor’s Fixed Pickups
Incineration needs Candelabrador, maxed at Level 5.
That recipe is:
Incineration + Candelabrador → Dust to Dust
I like doing this one in Red Moon Manor because Candelabrador pickups are available on the stage. If RNG has not offered the passive early, I do not keep burning rerolls indefinitely when the map can solve the problem for me.
That is the point where the Red Moon Manor map guide becomes useful: the stage page owns the physical navigation, while this page only needs the recipe.
The practical rule is simple. If a required passive already exists on the stage, I would rather route to it than turn a clean evolution run into a reroll lottery.
Forbidden Siren Is Also the Gate to Velvet Dodecahedron
The fourth normal evolution is more important than its damage alone.
I need:
Screams from the Void + Attractorb → Forbidden Siren
Attractorb goes to Level 5.
Screams from the Void is the part I pay more attention to because this branch is also what opens Velvet Dodecahedron.
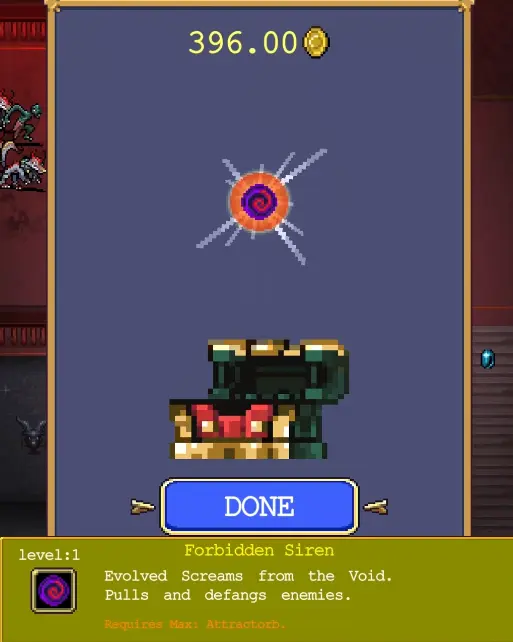
In one run I reached the evolution setup, killed a boss for a chest, and finally got Forbidden Siren. That solved the weapon requirement.
It did not mean Velvet was already equipped.
That difference caused more confusion for me than any of the first three evolutions.
Velvet Dodecahedron Unlocked but Not Showing?
This is the Bloodmoon problem I would check before assuming the game is bugged.
I had already completed the relevant unlock and still found myself looking through the map and inventory thinking:
Where is Velvet Dodecahedron?
The answer is that Bloodmoon separates two states:
Velvet unlocked
and
Velvet physically held in the current run
Those are not the same thing.
After the Screams from the Void branch is completed, Velvet becomes available as a passive pickup. On a later Red Moon Manor run I still need to obtain it before conditions that say “hold the Velvet Dodecahedron” can succeed.

Mad Groove is the shortcut I use once Velvet has entered the stage’s available pickup set.
Rather than trying to trace one passive through a screen full of icons and enemies, I let Mad Groove pull stage items toward me and check the pickup directly.
If Velvet is still missing, I check the dependency before spending another whole run searching:
- Have I unlocked Congregation?
- Have I unlocked and leveled Screams from the Void?
- Have I evolved it with Attractorb?
- Did the Velvet unlock actually register?
- Am I now in a new run where I can physically collect the passive?
The last step is the one that is easiest to skip mentally.
Velvet is later required for Megalo Sargon and Baal’Thamut, but their complete character conditions stay in the 12-character unlock route.
Damnation Has the Longest Passive Grind
Blacken Firmament + Torrona’s Box → Damnation is the recipe where I am most careful with chest timing.
Torrona’s Box has to climb to Level 9.
That is a much longer passive commitment than Duplicator Level 2 or Pummarola Level 5.
I once had Blacken Firmament ready while the box was still climbing. Opening the next chest at that point would have been a waste of the evolution opportunity, so I kept the chest on the ground until the box finally reached max.
The successful setup was unambiguous:
Torrona’s Box reaches Level 9 → next evolution opportunity → Damnation.
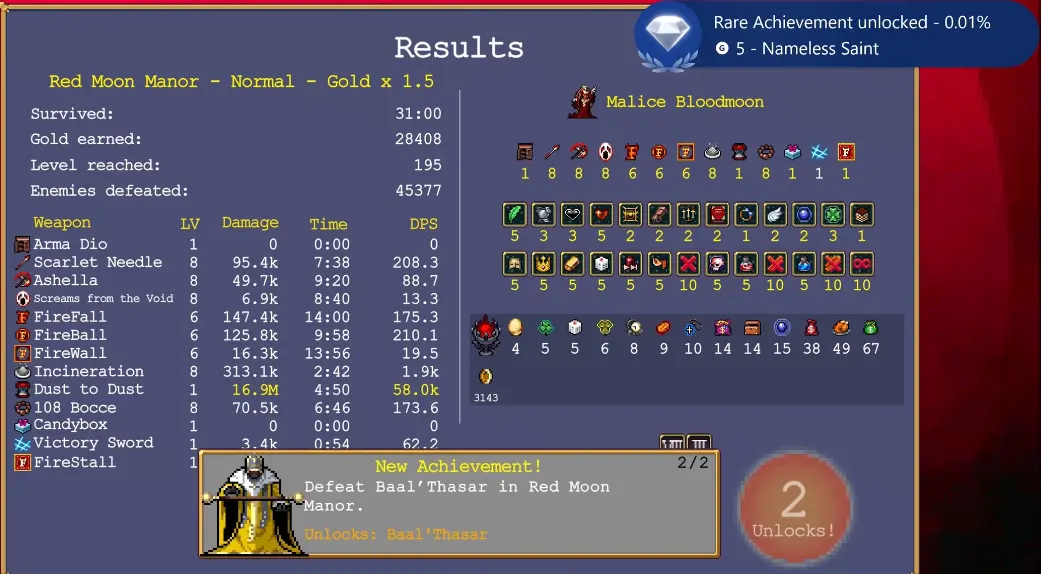
Damnation matters twice.
It completes the weapon entry, and while playing Baal’Thasar with Velvet Dodecahedron already held, obtaining Damnation satisfies the late Baal’Thamut condition.
That is why I prepare Velvet before committing to this build. Finishing the expensive Level 9 box and only then realizing the required passive is absent turns one useful run into two.
FireStall Is a Three-Weapon Chain, Not a Passive Evolution
FireStall behaves differently from the five recipes above.
There is no Pummarola, Duplicator, or other passive catalyst.
I need the fire trio:
FireFall + FireBall + FireWall → FireStall
The unlock chain is what catches me if I try to make FireStall too early.
FireFall first comes from surviving 15 minutes with Sargon. Then I take FireFall to Level 6 to add FireBall, and FireBall to Level 6 to add FireWall to the available pool.
Once the three weapons are available, I can finally build them together.
This is one of the few runs where I use Banish almost aggressively.
If a level-up offers an unrelated weapon while I am still missing FireBall or FireWall, taking it makes every subsequent roll worse. I would rather remove that branch and preserve my slots for the three pieces I came to assemble.
The end result is worth the setup because three occupied weapon slots collapse into FireStall.
It also means that when I later use Sargon with Velvet Dodecahedron, the same union can satisfy the Megalo Sargon requirement instead of being a separate collection-only run.
Shimmering Sands Is the Union I Nearly Missed
The fire trio is obvious because the names advertise that they belong together.
Descent Into Misery + Kyra-Stones → Shimmering Sands is much easier to miss.
There is no matching naming scheme telling me that the cursed blade and the stones are a pair.
Once both are built together, they combine into Shimmering Sands.

I therefore treat this as a cleanup union rather than trying to force it during the early character chain.
Descent Into Misery already has an important progression job at Level 9. Once that unlock is finished and Kyra-Stones is available, combining the two is much less disruptive than trying to fit another objective into the first Sargon run.
There is also a practical visual consideration with Shimmering Sands: its effect can become extremely bright and busy once the run scales. If I am trying to navigate Red Moon Manor at the same time, I finish location-sensitive work before letting the build become visually overwhelming.
Road to Heaven Is My Last Union Cleanup
The final Bloodmoon union is:
108 Bocce + 108 Responsive Prayers → Road to Heaven
I usually leave this until the 108 weapon branch is already available rather than forcing it during the earlier character unlocks.
The two names are similar enough that it is easy to assume one is simply an upgrade of the other. They are separate weapons, and both need to be present for the union.
108 Responsive Prayers reaches its maximum at Level 6. For a clean no-guess run, I finish the Prayer side and keep 108 Bocce in the build until the union resolves.
Current builds can produce Road to Heaven without requiring 108 Bocce itself to be maxed, so if the union appears while Bocce still has levels left, that is not a failure. I do not spend extra time maxing it after Road to Heaven has already formed.
That distinction is useful during cleanup because the objective is the union, not a prettier pre-union results screen.
Why My Chest Gave Me Chicken Instead of an Evolution
This happened to me on a build that looked close enough.
I opened the chest expecting the next weapon transformation.
I got a normal reward instead.
When that happens, I stop blaming RNG and check the recipe state.
The usual causes are:
- the base weapon still has a level left;
- the required passive is not at its necessary maximum;
- I have the correct item unlocked globally but not actually in this run;
- one of the union weapons is still missing;
- I opened the convenient chest before the build was ready.
Velvet creates a variation of the same mistake: seeing an unlock notification does not put the passive into my current inventory.
That check saves more time than trying to recover from a bad chest afterward.
I Keep Bloodmoon Evolution Runs Narrow
Bloodmoon gives me enough toys that it is very easy to build something powerful and still fail the objective I entered for.
A six-weapon screen full of good choices is not automatically a good evolution run.
When I am targeting one of these recipes, my priorities are:
- secure the required passive before optional passives fill the slots;
- use fixed Red Moon Manor pickups when they save rerolls;
- Banish weapon branches I know I will not finish;
- leave an available chest alone when the target recipe is still one level short;
- finish a two- or three-weapon union before adding another large weapon chain;
- verify that Velvet is held, not merely unlocked, before building FireStall or Damnation for a character transformation.
That is enough structure for all eight Bloodmoon combinations.
The weapon system becomes much less random once every level-up has one job.