Alltrades Abbey: Quest for Power

"You lose your abilities, get thrown into Pilgrim's Perdition, and are forced to fight like it's the early game again. Survive the Arena. Expose Cardinal Sin. Then — finally — unlock the Class System."

🔮

Speedrun Route: The Path to Ascension

Step 01 Trigger the Fall

Enter Alltrades (Past) → talk to the “priest” → get stripped → arrive in Pilgrim’s Perdition. Immediately loot the town for recovery items + early fragments.

Step 02 Recruit the Resistance

Talk to Eustace + Fingers to unlock the breakout arc. Skip flavor NPCs — this is the progress flag that matters.

Step 03 Western Cave → Arena

Clear Western Cave for the Arena entry key item. Once obtained, go straight to the Arena and prep for a 5-fight endurance run.

Step 04 Boss → Present Unlock

Win the tournament → defeat Cardinal Sin → return to the Present to unlock vocations. Then do a fast sweep for missed fragments (Abbey + Bandits’ Base).

1 Fall from Grace: Pilgrim’s Perdition (Past)

After arriving at Alltrades Abbey (Past), you’re deceived by an impostor priest and your powers are sealed. You wake up in Pilgrim’s Perdition — a slum designed to break fighters by forcing them to rely on basic actions and items.

Immediate Goal

Trigger the resistance chain: talk to the local leaders (Eustace + Fingers), then loot key buildings for fragments before you commit to the cave and Arena.

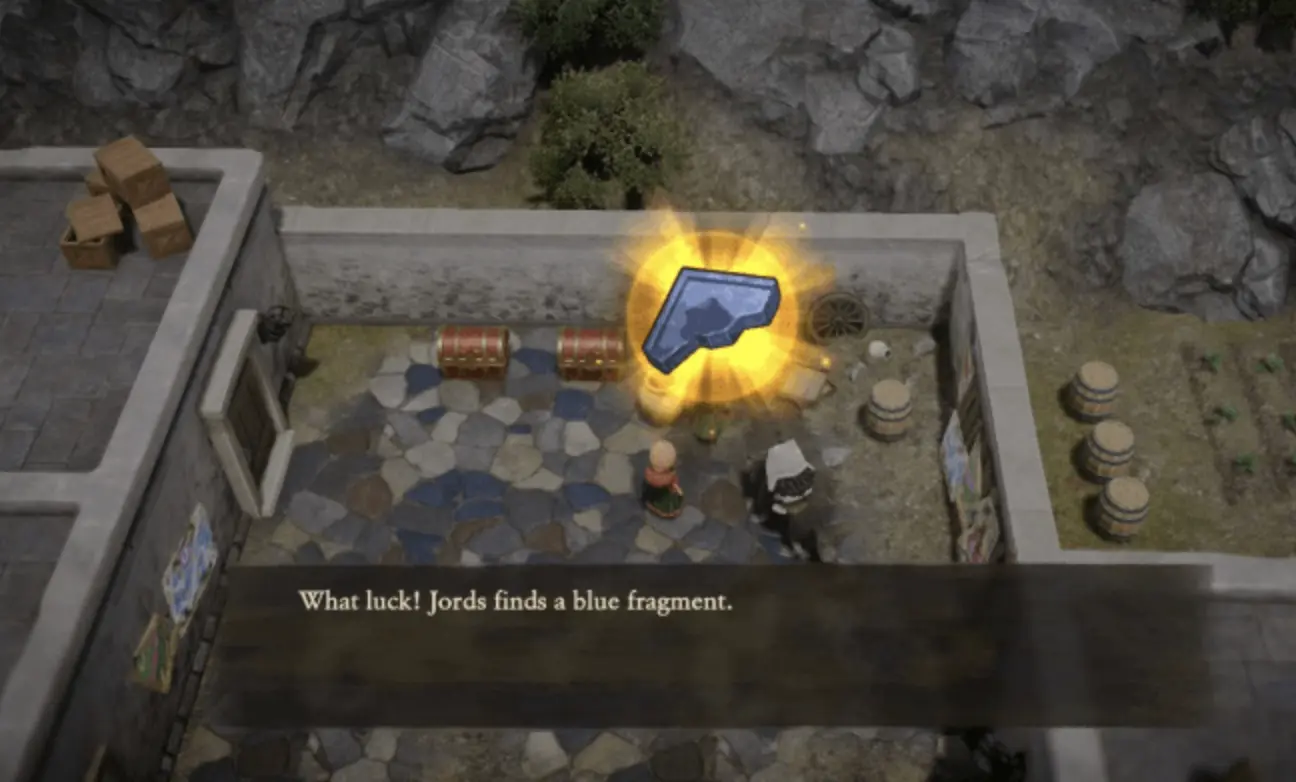
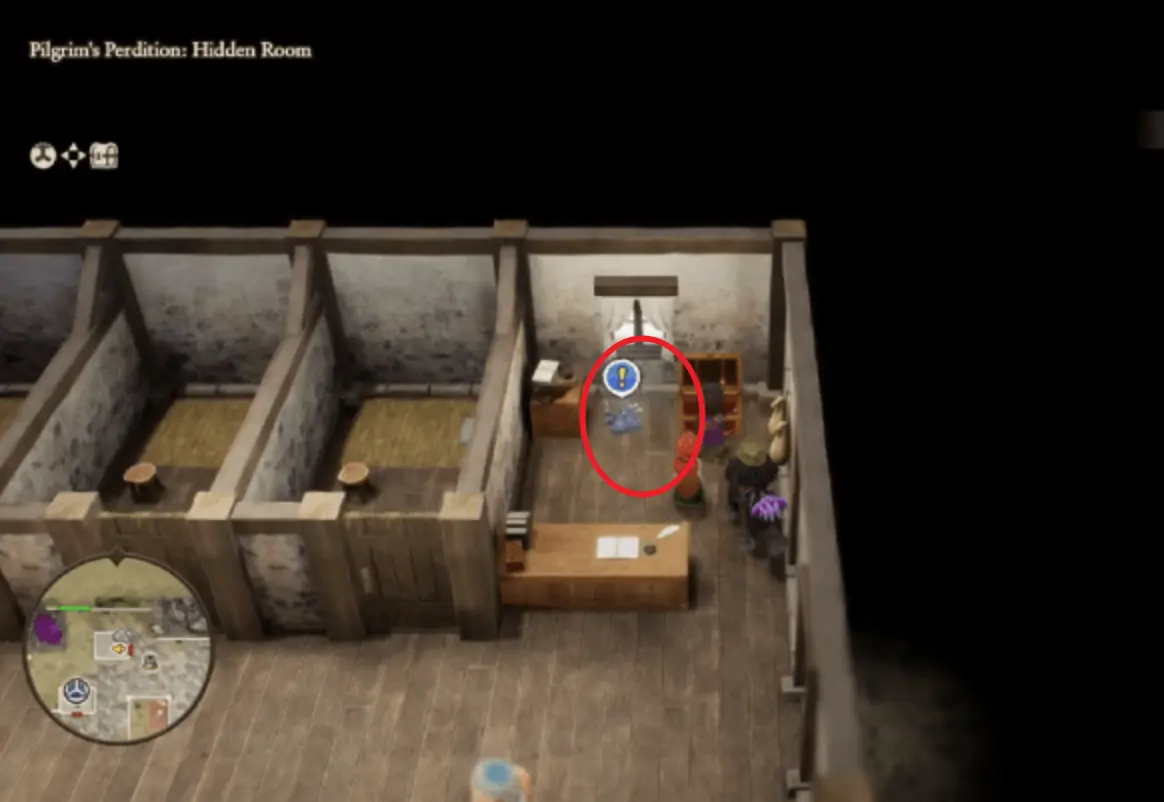
Fragment Sweep (Perdition)

  • Blue Fragment: chest in a western building.
  • Hidden Fragment: behind/near the bank area — look for a concealed room trigger.

Survival rule: until your powers return, treat every fight like a resource puzzle. “Winning fast” matters less than “winning without spending all herbs.”

⚖️ Player Decision Module: Arena Prep Strategy

The Arena is a 5-fight gauntlet while you’re “skill-sealed.” Your biggest choice is whether you prep for consistency or speed. Pick one plan and commit — mixed strategies are how most runs fail.

Goal
Survive 5 fights with item economy intact.

Plan A: Safe & Consistent

Recommended
  • Buy herbs until each member can heal multiple times.
  • Always defend on unknown enemy turns (information > damage).
  • Focus-fire one target; reduce incoming actions first.
  • Enter each fight with HP ≥ ~70% (don’t gamble).

Plan B: Fast & Aggressive

Speedrun
  • Minimal shopping; rely on burst damage.
  • Use boomerang-style multi-hit tools if you have them.
  • Accept higher wipe risk; reset if the early fight goes bad.
  • Only heal when a KO is likely next turn.

Arena “No-Skills” Micro Rules

Target Priority Remove enemies that act twice / debuff first, then high damage dealers.
Healing Timing Heal before KO range, not after. KO turns waste actions.
Defend Value If you don’t know the enemy pattern yet, defend = information insurance.

2 Western Cave → Arena Gauntlet (Past)

Your next objective is the Western Cave. Treat it like a “pre-Arena exam”: your goal isn’t to fully explore — it’s to secure the key progression item that allows entry to the tournament.

Cave Play Pattern

  • Avoid “attrition fights.” If a battle is going long, defend + stabilize.
  • Don’t blow all items here — the Arena is mandatory and longer.
  • If you find yourself chain-healing, leave and restock before the Arena.

Arena Failure Pattern

Most wipes happen because players enter Fight 3+ with “half inventory, half HP.” If your resources look shaky after Fight 1–2, it’s faster to reset than to crawl to a guaranteed wipe.

Practical prep: assign one character as “item-healer” by turn order. If your fastest character heals, your slower characters get to keep attacking/defending without panic.

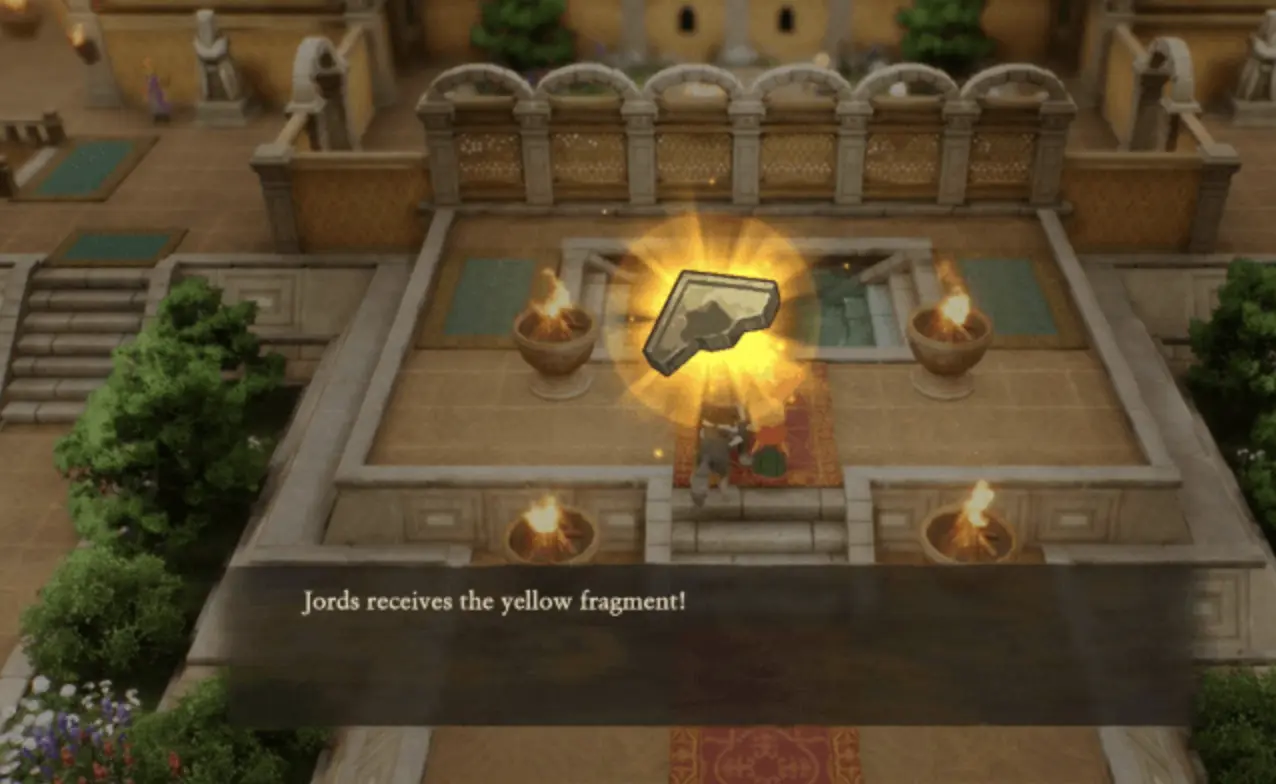
3 Boss: Cardinal Sin (Past)

After the tournament, you confront Cardinal Sin — the checkpoint boss that ends the “sealed” arc. This fight is simpler than the Arena in one way: it’s a single opponent, so focus-fire is trivial. It’s harder in another way: the boss punishes sloppy healing timing.

Boss Brief Cardinal Sin
Win Condition Maintain stability for ~6–10 turns and never allow back-to-back KOs.
Risk Burst turns that drop two allies into KO range at once.
Default Plan Defend if uncertain; heal early; only “all-in” when boss is clearly near defeat.

Upon victory, the true abbey authority returns and you receive a Yellow Fragment.

4 Present Day: Class System Unlocked

Return to Alltrades Abbey in the Present. It’s restored — and the world opens up. This is where you unlock vocations (class changes), which permanently changes how you plan party growth.

First Vocation Advice (Practical)

  • If you struggled in Arena: pick a vocation path that gives early survivability tools.
  • If you’re speedrunning: prioritize damage + mobility, then backfill utility later.
  • Don’t overcommit to “perfect builds” now — your goal is momentum through the next island.

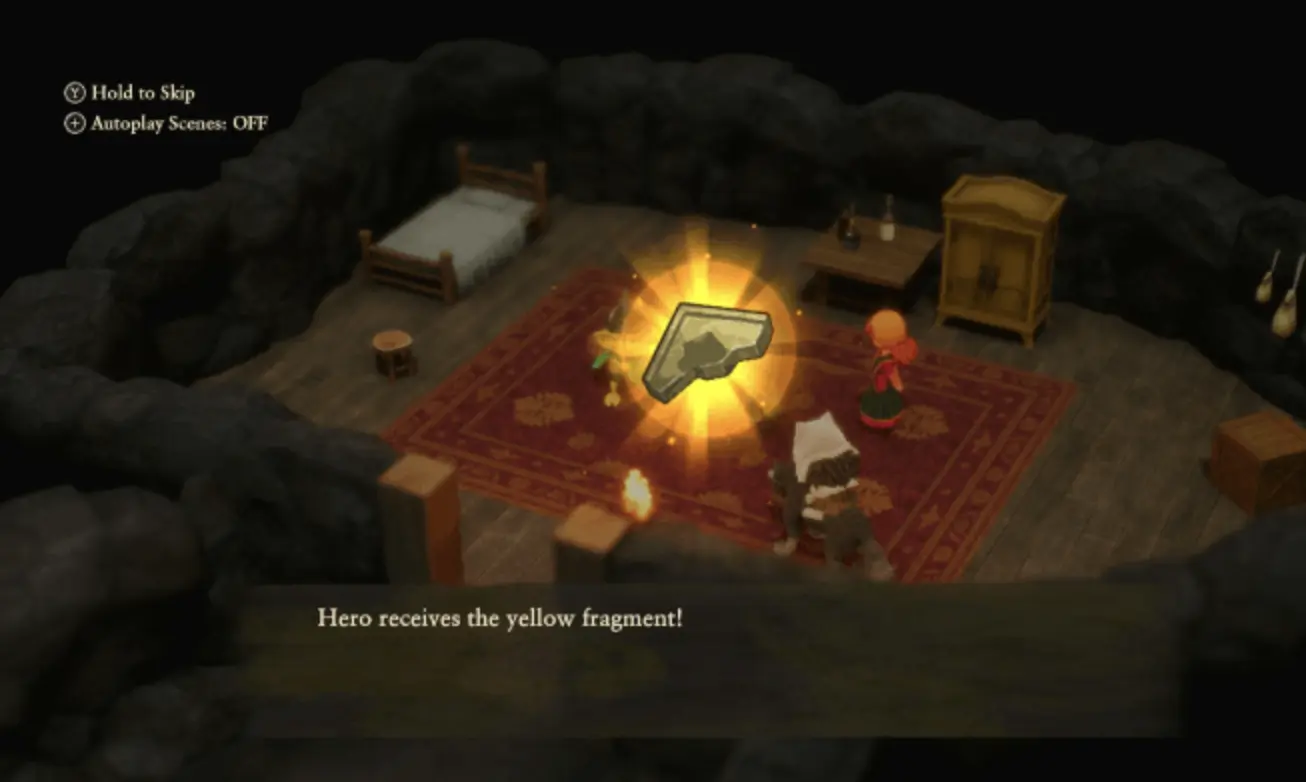
Present-Day Fragment Sweep

  • Yellow Fragment: talk to the High Priestess in the main hall.
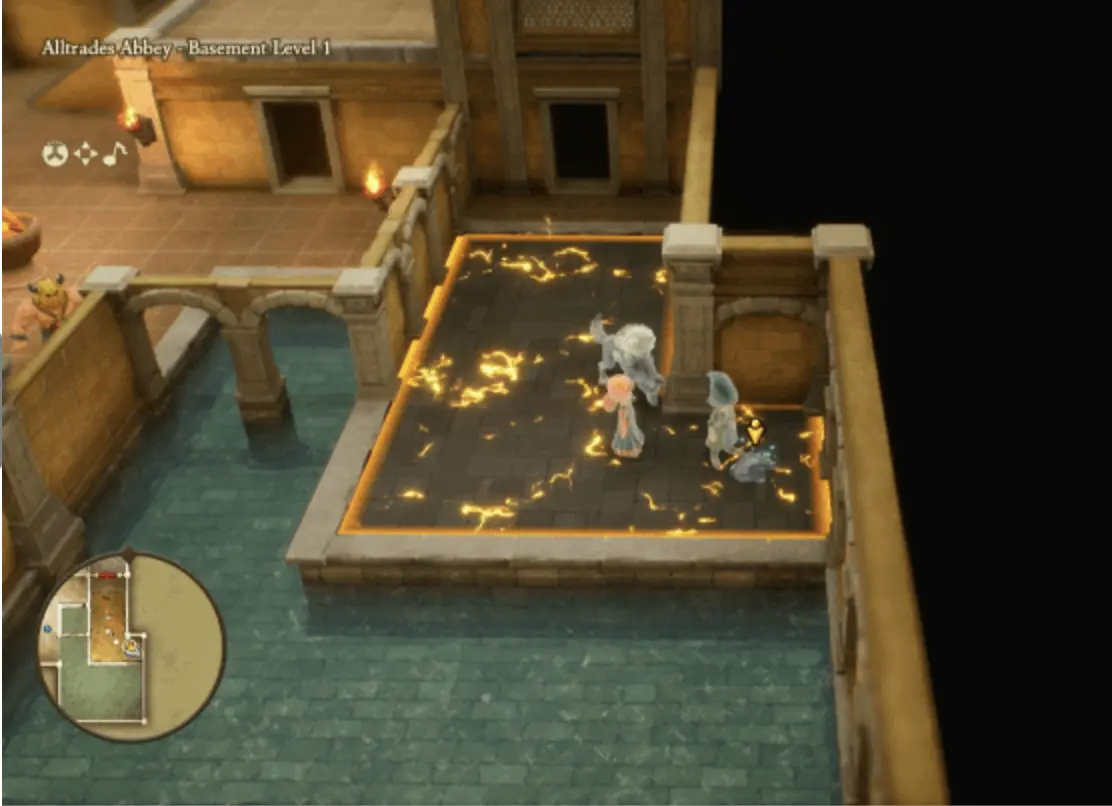
  • Bandits’ Base: revisit in Present for a fragment reward.
  • Abbey Basement / Past cleanup: check missed basement + hidden areas.
⚠️ Troubleshooting & Softlock Database

Softlock: “Arena won’t start / I can’t enter”

Trigger: You didn’t obtain the progression item from the Western Cave.
Fix: Leave the Arena, clear the Western Cave objective, then return.

Loop Failure: “I keep dying on Fight 3–4”

Trigger: Entering mid-gauntlet fights with low inventory and “hope healing.”
Fix: Commit to Plan A (safe) and heal early; if you’re speedrunning Plan B, reset early when Fight 1–2 goes bad.

Missed Collectible: “Where’s the hidden fragment?”

Trigger: The hidden room near the bank area is easy to overlook.
Fix: Re-check the northeast bank/adjacent tiles for an interaction prompt; rotate camera if needed.

6

Region Collectibles

Alltrades Abbey has 6 fragments across Past & Present, plus the Class System unlock.

Region Completion (6/6) Past & Present
yellow Shard
High Priestess giving Yellow Fragment Past

Yellow Fragment (Cardinal Sin)

Region: Alltrades Abbey (Past)

Location: Main Hall

View Guide
yellow Shard
Jacqueline giving Yellow Fragment Present

Yellow Fragment (Jacqueline)

Region: Alltrades Abbey (Present)

Location: Main Hall

View Guide
yellow Shard
Might Pip giving Yellow Fragment

Yellow Fragment (Bandits' Base)

Region: Bandits' Base (Present)

Location: Chief's Room

View Guide
blue Shard
Blue Fragment in Pilgrim's Perdition

Blue Fragment (Perdition)

Region: Pilgrim's Perdition (Past)

Location: West Building Chest

View Guide
grey Shard
Grey Fragment Alltrades Basement

Grey Fragment (Abbey B1)

Region: Alltrades Abbey (Past)

Location: Basement Level 1

View Guide
grey Shard
Fragment in Hidden Room Perdition

? Fragment (Hidden Room)

Region: Pilgrim's Perdition (Past)

Location: Bank/Hidden Room

View Guide
💡

If your shard UI shows 5/6, the hidden Perdition fragment is the most commonly missed.

🧭 Missable Recovery: If You Already Left the Region

Fast backtrack plan
Missing 1/6 (Most common)

If your shard UI shows 5/6, the usual culprit is the Hidden Perdition fragment. Return to Pilgrim’s Perdition (Past), re-check the bank-side area, and rotate camera for interaction prompts.

Forgot a Present sweep

If you unlocked vocations but missed fragments, do this in order: Abbey main hall (Priestess) → Bandits’ BaseBasement cleanup. This minimizes travel and re-triggers.

Alltrades Abbey Completion Checklist

Saved locally in your browser (per-page).

Tip: reuse this pattern on other chapters by changing data-checklist and the storageKey.