How I Progress Through PixARK Terracrypt
I follow Terracrypt from the crash site to Greystone Mine and the bunker, with the quest gates, gear checks and route mistakes that actually slow progression.
Updated:
Quick Answer
Start at the Signal Tower, finish the Cave 1 survival tasks, return to the Cave 1 terminal, then use the Primitive Detector in Cave 2 to find the Elevator Access Chip.
The main route then runs through the Primal Underfolk Village, Lenna’s level 15 and level 20+ hunts, Forge City and the level 30 Greystone Mine objective.
Once I reach Nafil outside Greystone Bunker, the recommendation jumps to level 40. That is where I stop pushing the route and prepare properly before heading into the bunker and toward Armoredrat.
Terracrypt looks open enough that it is easy to assume every cave, tame and side path is useful immediately. The story is much easier to follow once I keep the active quest as the spine of the run and explore around it instead of replacing it.
The opening especially punishes sequence breaks. It is physically possible to reach places before completing the terminals that explain how to get there, but doing that usually means climbing all the way back to recover an objective I skipped.
The route below is the progression I use to avoid that kind of backtracking.
Start at the Signal Tower and Follow Cave 1
The Signal Tower near the crash site is my first anchor.
Grera explains that the escape route uses the cargo elevator beneath the platform, leading into the middle layer where the Underfolk live. The elevator is not the first objective, though. She sends me to the survival signal terminal inside Cave 1.
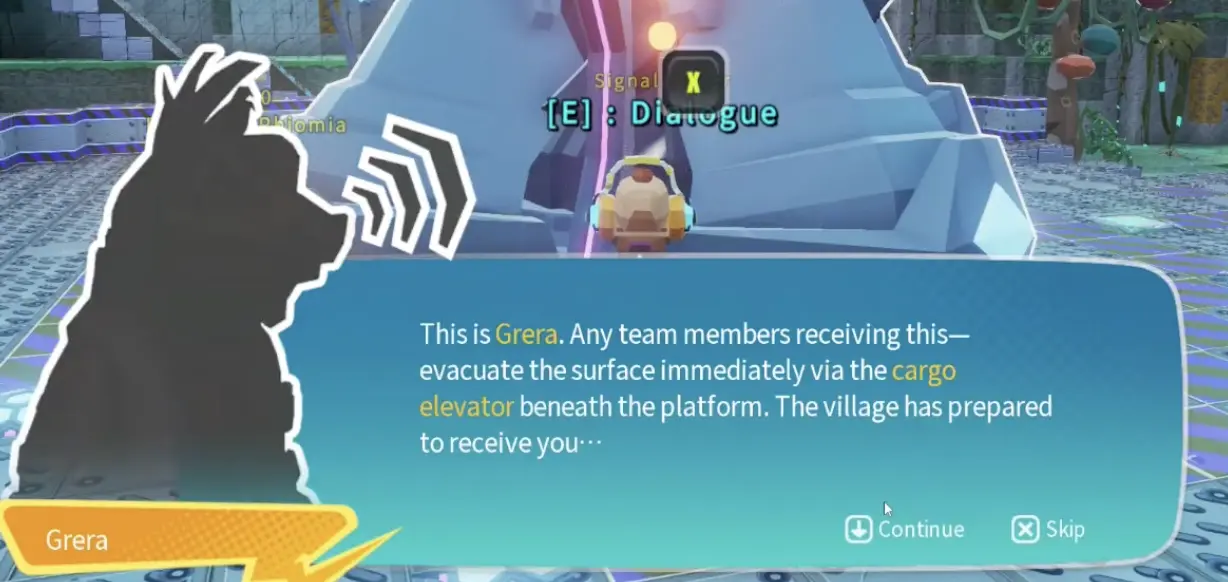
The numbered cave marker is much more reliable than trying to read the terrain around the pit.
Inside Cave 1, I reconnect the small terminal. The conversation establishes that the underground is split into middle and lower regions, with the Underfolk settlements in the safer middle layer.
The next objectives are basic survival checks:
craft a Crude Wooden Glow Stick and tame a Dodo.
I finish both near the opening area and then return to the Cave 1 terminal.
That return is the important step. Finishing the Glow Stick and Dodo tasks does not mean Cave 2 is ready automatically; the follow-up conversation gives me the actual route out.
A permanent base is unnecessary here. Storage is useful if my inventory is getting messy, but the opening pit is temporary and some spots will reject structure placement while the wreckage is still present.
Cave 2: Take the Primitive Detector Before You Dig
The Cave 1 terminal sends me to Cave 2 for the Elevator Access Chip.
Near the entrance is a chest containing the Primitive Detector.
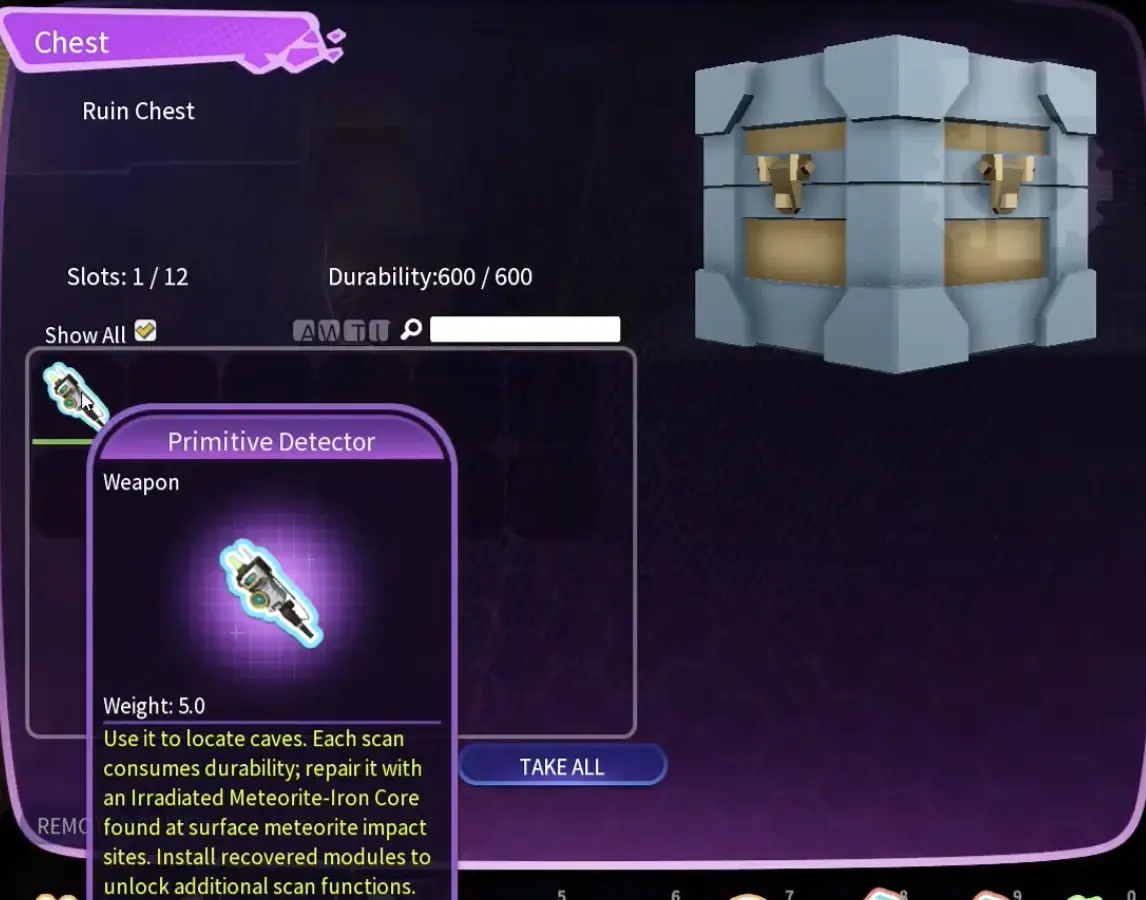
The item description says the detector locates caves and loses durability with every scan.
One or two useful scans are more valuable than sweeping the whole cave. I use it near the buried objective, follow the exposed route and light markers, and only break blocks that are moving me toward the target.
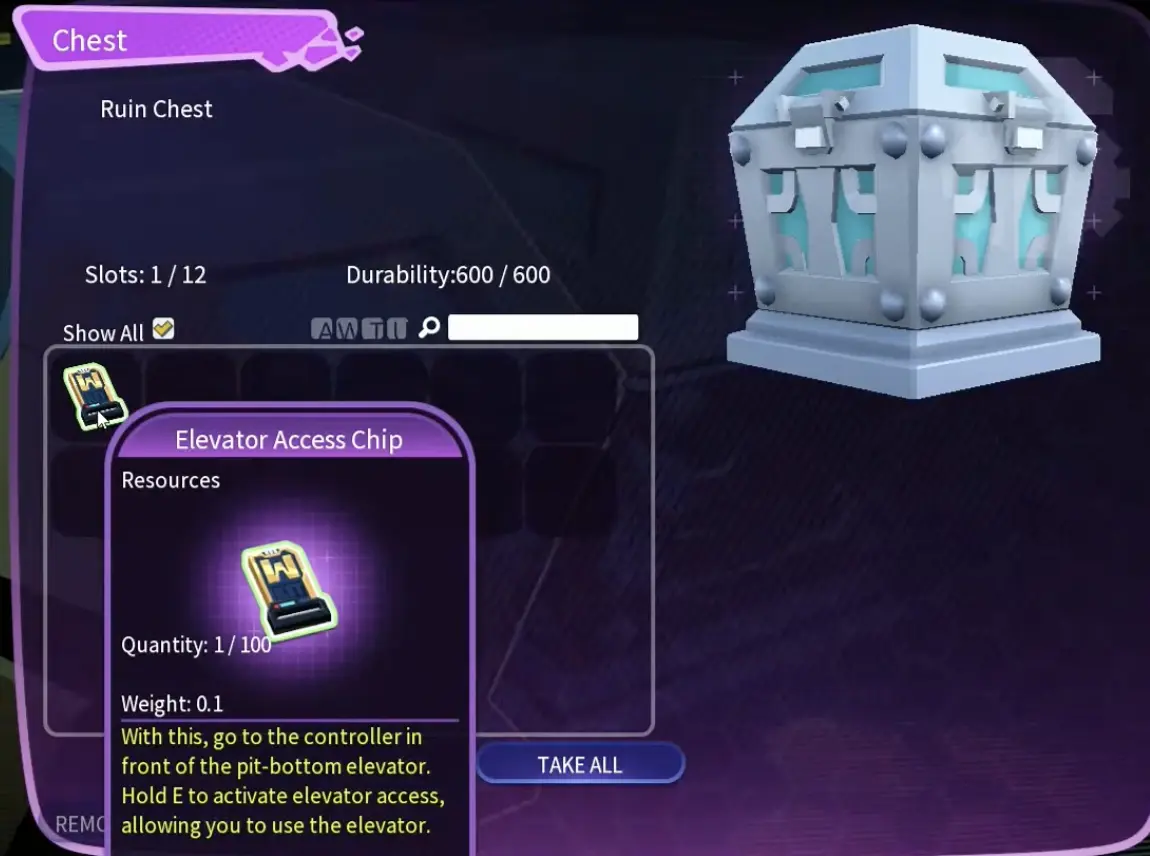
The buried chest contains the Elevator Access Chip.
There is extra loot in Cave 2, but this is also where inventory weight starts becoming annoying. I keep tools, food, useful equipment and progression items, then leave the low-value blocks and duplicate drops behind.
Activate the Pit-Bottom Elevator and Head for the Village
The Elevator Access Chip needs to be used at the controller in front of the pit-bottom elevator.
I go to the lowest level and hold E at the controller. Once access is active, I wait for the elevator and ride it into the middle layer.
The map becomes much more useful after the descent.
My next destination is the Primal Underfolk Village, where Grera is waiting.
I use the bed Grera offers as a respawn point before doing anything risky.
That one interaction saves a lot of recovery time later. The middle layer has enough vertical terrain and hostile wildlife that dying without a nearby respawn quickly becomes more expensive than the original mistake.
From Grera, I visit Village Chief Shira in the tallest building.
Shira introduces the village crafting work, including a Campfire, then sends the progression toward Lenna and the hunting chain.
Forge City is already being discussed at this stage, but the village has two important combat checks before I am really ready to move on.
Lenna’s Level 15 Iguanodon Hunt Is the First Gear Check
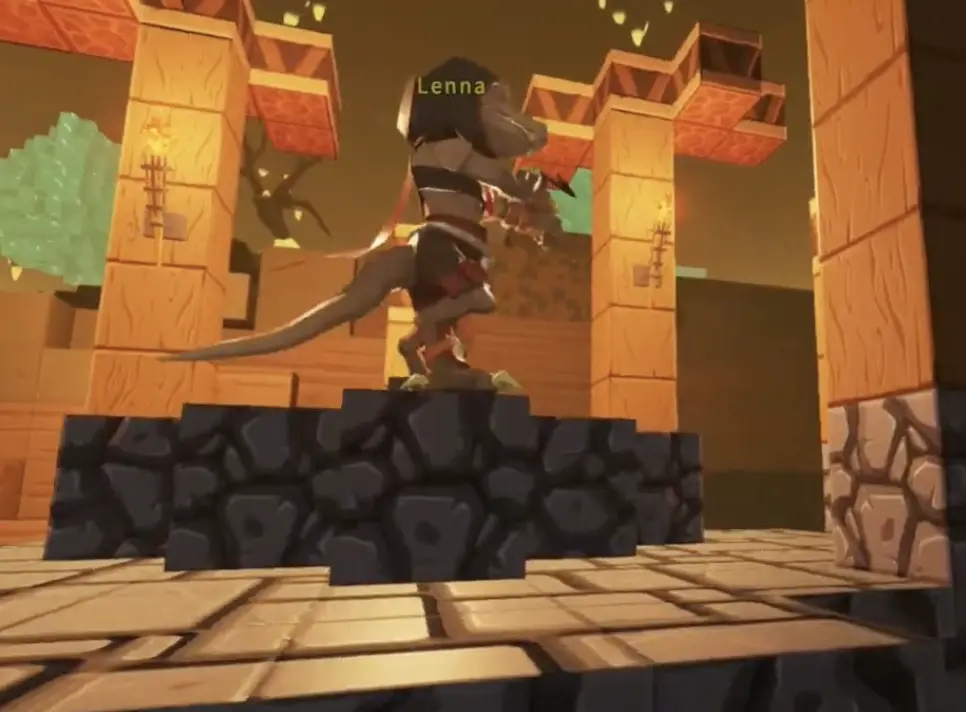
Lenna’s first real hunting lesson sends me after an Iguanodon with a weapon I crafted myself.
The recommended level is:
Level 15
This number is a preparation signal rather than a hard wall.
A low-level Iguanodon can still be killed below 15, but the fight immediately shows whether my damage has fallen behind. One attempt with weak arrows and a spear turned into a much longer fight than the target justified.
That is usually my cue to spend a few minutes on arrows and basic equipment rather than trying to solve every combat problem with more melee swings.
The village stage also starts dropping and unlocking equipment with useful tradeoffs. A Miner’s Lamp Cap, for example, can give up armor compared with a better leather helmet while providing light. I only equip those sidegrades when the utility actually helps the route I am on.
After the Iguanodon objective, Lenna escalates the hunt.
Elite U-Phiomia: Bring More Ammunition Than the Earlier Hunts Needed
Hunt the Giant Beast sends me after the red-furred Elite U-Phiomia in the valley near the village.
The quest says to arrive fully equipped and recommends:
Level 20+
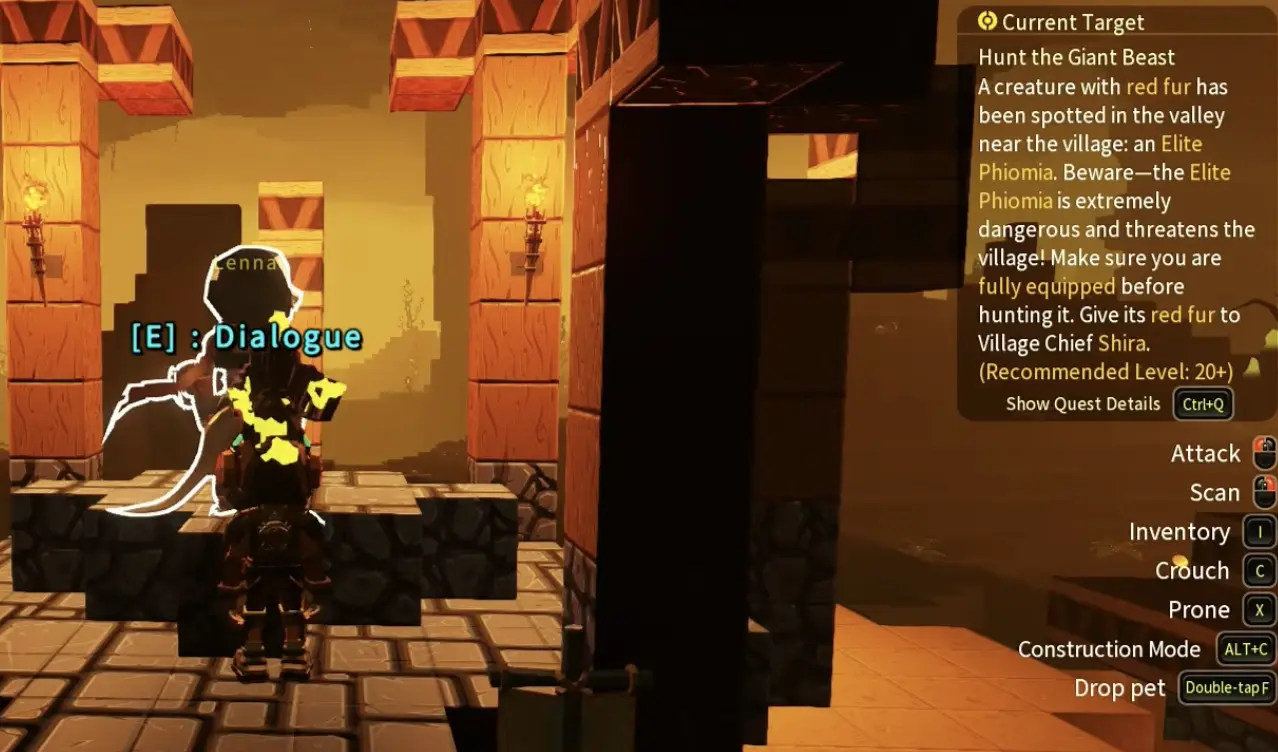
A small stack of arrows feels fine against normal wildlife and suddenly feels very small here.
On one preparation run I had 37 regular arrows and decided that was too light. I eventually crafted 100 stone arrows and another 10 Fire Arrows, keeping normal arrows on the crossbow and Fire Arrows on the bow.
That is more than a perfect attempt may need, but the extra stack costs less time than leaving the hunt halfway through because the target is still alive.
Fire Arrows also gave me useful damage over time while I kept distance. I still rely on direct ranged damage for the fight rather than treating fire as a shortcut.
Once the Elite U-Phiomia dies, I take the red fur back to Village Chief Shira.
The kill also gives an important progression item: the Great Tusk.
The Great Tusk Is the Normal Step Into Iron Progression
The Great Tusk is meant to lead into a new pickaxe tier.
The Glowing Tusk Pickaxe can open access to materials such as Iron Ore and Molten Crystal, which then feed into the iron equipment progression.
There is also a useful shortcut if exploration has already paid off.
In one run I had found Iron Ore inside crates, smelted it and made an Iron Pickaxe before reaching the Great Tusk step. That effectively let me bypass the normal transitional tool route.
So after turning in the hunt, I check what I already own before crafting another pickaxe.
If I still lack a tool capable of harvesting the new materials, the Great Tusk progression matters.
If an earlier crate has already put me into iron, I continue with the better tool rather than duplicating the step just because the quest has now introduced it.
This is also the point where I start looking at iron armor, stronger ranged equipment and mobility tools rather than buying every new engram that appears.
Keep Mega Phiomia in the Village Hunt Chain, Not the Main Route Summary
The village also leads into the Mega Phiomia hunt.
This target takes enough punishment that leftover ammunition from an ordinary quest is not a sensible starting point. I restock first and bring the creatures I actually trust in combat rather than every tame that happens to be following me.
Once Mega Phiomia is down, I turn the hunt in and continue the story.
Its completion overlap belongs in the Terracrypt achievements guide; for progression, the important part is simply finishing the hunt and moving on.
Greystone Mine Is the Level 30 Destination
After the village and Forge City progression, the quest becomes much more specific:
Travel to Greystone Mine and find Nafil near the entrance to Greystone Bunker.
Recommended level:
30
This is the point where the trip itself starts testing my setup.
The terrain changes noticeably on the way to Greystone Mine, with much more vertical movement than the village area. I reached the biome transition, saw the walls and drops ahead, and turned back while the base was still only a short trip away.
That short return for Climbing Picks was worth it.
The tool can climb and hang from almost any surface, although it consumes stamina while I am attached. Once the route gets vertical, it gives me far more control than placing blocks every time I need to gain or lose height.
I also clear excess weight before leaving again. Slow stamina recovery and a heavy inventory are much more noticeable on this trip than they were around the village.
Use the Greystone Mine Markers as Confirmation, Not Exact Coordinates
The journey to Nafil is longer than it first looks.
I follow the quest direction through the changing biome, using Climbing Picks whenever the route turns into a wall or steep drop. At one point I found a Greystone Mine Medicine Crate, which was useful confirmation that I had reached the correct mine area even though the terrain still required more digging and descent.
From there, the route eventually drops toward a lower industrial section.
A waterfall gives me a way down, but the fall is dangerous enough that I learned not to rush it.
After reaching the lower section, I keep following the quest marker through the machinery and hostile creatures until Nafil comes into view.
The final approach is more of a trek than a quick walk from Forge City, so I arrive with healing and enough food to avoid turning around just before the objective.
Talk to Nafil Before Entering Greystone Bunker
Nafil is waiting near the Greystone Bunker entrance.
His warning is much more useful than the bunker exterior suggests.
The outpost is:
- filled with guards and traps;
- poorly lit;
- supplied with torches I can light inside;
- home to Armoredrat on the first basement level.
The more important number appears after this conversation.
The recommended level jumps from the level 30 Greystone Mine journey to:
Level 40
That is a separate preparation gate.
The recommended setup shown here includes Iron Armor, Iron Boots with Spring, a Simple Pistol and a Revive Dummy. The recommended creature is Cave Kicker.
I do not need every item on the panel to step inside, but arriving several levels short with incomplete iron equipment is a clear sign that this is a good place to stop and prepare.
That is a much more useful break point than grinding ten levels earlier simply because Greystone Mine showed level 30.
Greystone Bunker Leads to Armoredrat on the First Basement
Once the level 40 preparation is in place, I enter the bunker with light, healing and enough ammunition for a real boss encounter.
Nafil places Armoredrat on the first basement level, so I use that as my navigation goal rather than clearing every side room first.
There is also a large boss-key chest inside the bunker. The key comes from Armoredrat and is consumed when the chest opens, but it is a reward chest, not proof that the main route itself is locked behind that container.
The detailed fight, including exposed weak points, armor recovery and ammunition pressure, belongs in the Terracrypt boss guide.
For this walkthrough, the important progression decision is simpler:
Greystone Mine at level 30 gets me to Nafil; Nafil’s level 40 recommendation tells me when the bunker and Armoredrat deserve a real preparation stop.
When Progress Stops, Check the Quest State Before Digging Again
Most of the wasted time in this stretch comes from one of three problems:
the previous terminal was never completed;
a quest item still needs to be returned;
or the route has reached a new equipment gate and the current setup is no longer keeping pace.
The progression covered here is:
Signal Tower → Cave 1 → Glow Stick and Dodo → Cave 1 terminal → Cave 2 → Primitive Detector → Elevator Access Chip → pit-bottom elevator → Primal Underfolk Village → level 15 Iguanodon → level 20+ Elite U-Phiomia → iron progression → Forge City → level 30 Greystone Mine → Nafil → level 40 Greystone Bunker → Armoredrat
If the objective marker and quest log still make sense, I keep moving.
When they stop matching what I see on screen, I check the previous objective before opening another tunnel.