How I Beat Armoredrat and Track the Terracrypt Bosses
I prepare for Armoredrat at the level 40 bunker stage, target its head, plan for returning armor and keep the other Terracrypt bosses on one completion checklist.
Updated:
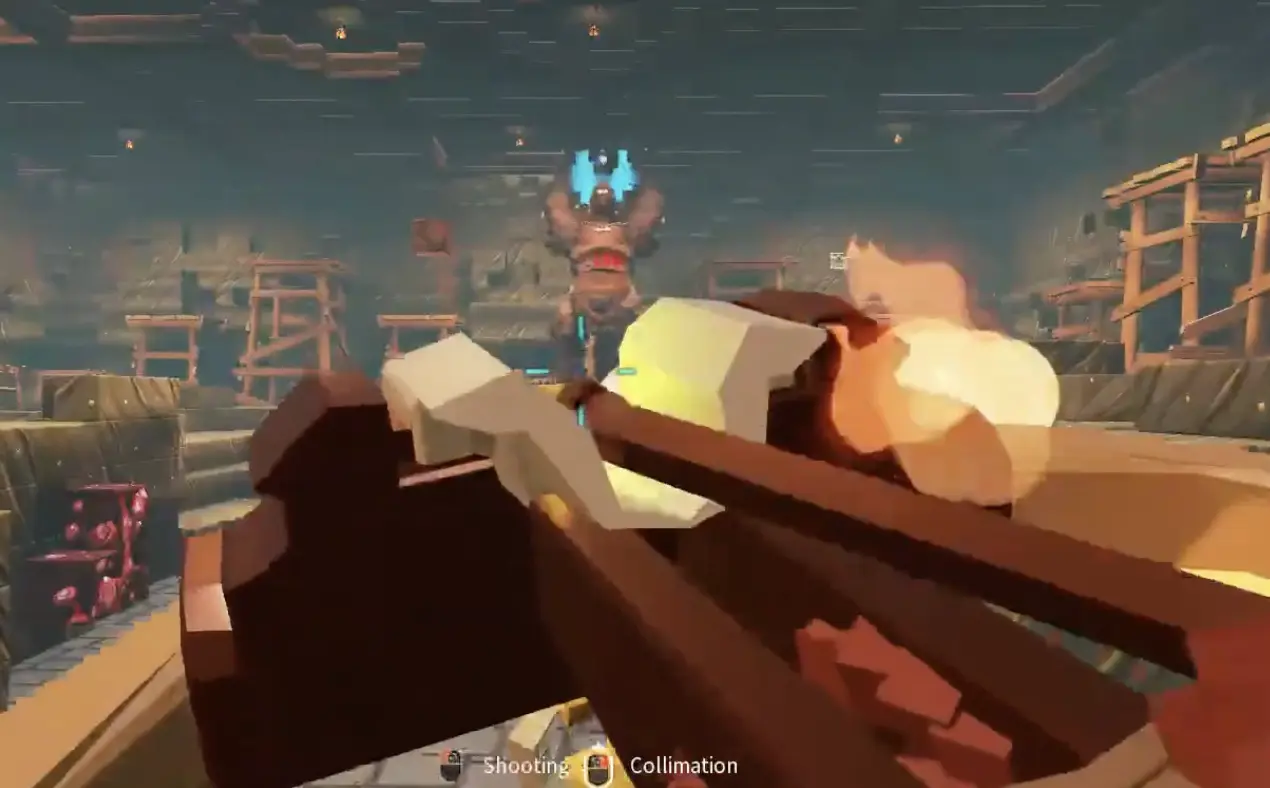
Quick Answer
For Armoredrat, I prepare around the level 40 Limestone Bunker briefing, not the earlier level 30 trip to Greystone Mine.
The game recommends Iron Armor, Centroider Iron Boots With Spring, a Simple Pistol, a ReviveDummy and CaveKicker. It also identifies Armoredrat’s head as the weak point.
I bring a large ammunition reserve because its armor can return during the fight. After the kill, the boss key opens the large reward chest in the bunker.
Armoredrat begins the boss-achievement chain with Tunnel Buster. Supervisor is the confirmed final boss.
The village hunts prepare me for tougher combat, but the Terracrypt boss chain is a separate completion track.
There are 11 boss-defeat achievements. Armoredrat is explicitly described as the first step to victory, while Supervisor’s achievement calls that encounter the final battle.
The middle bosses are useful completion targets, but I do not use their achievement numbering to invent a story order that the game has not shown me.
The Terracrypt walkthrough handles the route through Greystone Mine and up to the bunker stage. Once Armoredrat becomes the immediate problem, this is the setup I use.
The Armoredrat Preparation Check Is Level 40
The route toward Greystone Mine first gives me a level 30 recommendation, but that is not the Armoredrat readiness check.
After reaching Nafil, the bunker stage becomes much more demanding.
There is also a naming detail worth knowing. Nafil refers to the Cobalt outpost behind him as Greystone Bunker, while the Armoredrat briefing card itself is titled:
Limestone Bunker
That card recommends:
Level 40
and lists:
- Iron Armor
- Centroider Iron Boots With Spring
- Simple Pistol
- ReviveDummy
- CaveKicker as the recommended creature

The same briefing also tells me something more valuable than another suggested weapon:
Armoredrat’s head is the weak point when attacked.
That removes most of the guesswork once the fight starts.
I use the recommended loadout as a benchmark rather than a mandatory shopping list. If my current gear already gives me reliable ranged damage, healing and enough survivability, I do not delay the fight just to reproduce every item exactly.
Arriving well below this stage with weak armor and a small arrow stack is a different matter. That usually means the preparation problem will follow me into the arena.
Nafil Points Me to the First Basement
Nafil gives useful information before I enter the outpost.
He warns that the bunker is packed with guards and traps, that it is poorly lit, and that the torches found inside can be lit.
More importantly, he places Armoredrat on the:
first basement level
That becomes my navigation target.
I still loot useful supplies on the way down, but once I am burning through healing or ammunition just clearing ordinary enemies, I take that as a warning. Starting Armoredrat already short on resources makes the fight much more expensive than turning around before it begins.
The darkness is also worth preparing for. The bunker provides torches, so I use the environment rather than sacrificing visibility and trying to fight through every room in the dark.
Aim for the Head When Armoredrat Opens Up
Armoredrat is covered in armor, and firing continuously into whatever part of the model happens to be visible wastes a surprising amount of ammunition.
The briefing tells me the head is the weak point, and that matched what I could repeatedly use during the actual fight.
Other parts of the body can visibly open or light up during the fight, including areas around the back, but the head is the target I trust because the game identifies it directly.
When the head is exposed, I take the clean shot.
If Armoredrat turns away or the angle becomes poor, a brief reposition usually costs less than emptying arrows into armor and then having to leave for another resupply.
Range also gives me more room to read its movement. Chasing the weak point from too close makes the arena harder to control and turns a simple aiming problem into a healing problem.
Expect the Armor to Return
Breaking through Armoredrat’s protection once does not mean the rest of the fight is just a health-bar cleanup.
I saw the armor return repeatedly during the encounter.
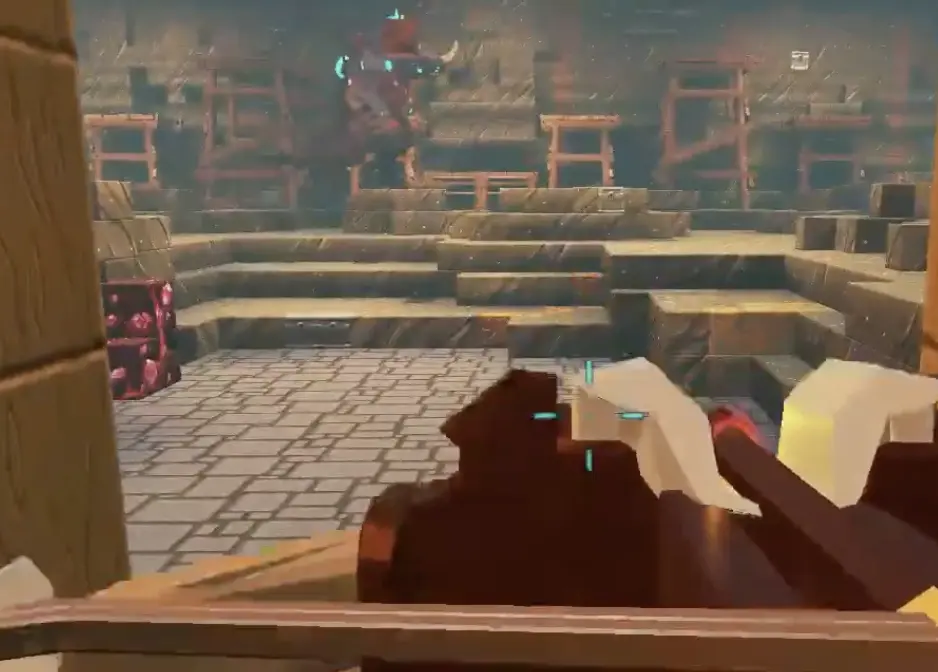
That is what makes a small ammunition stack dangerous.
A few missed shots are manageable against a normal target. Against Armoredrat, those misses compound with another armor cycle.
My loadout therefore assumes the fight may last longer than the cleanest possible attempt.
I keep healing accessible and carry substantially more ammunition than I expect to need for one perfect sequence.
During a weak attempt, regular arrows ran low quickly enough that leaving to craft more became part of the encounter. At that point, another armor return made every previous shortcut in preparation more expensive.
Explosive Arrows Help If I Can Already Afford Them
Regular ranged weapons can handle the fight, so explosive ammunition is not a required mechanic.
It becomes attractive because of the resource pressure.
Once I had already spent a large number of ordinary arrows and watched the armor return, explosive arrows looked much more appealing than another long supply run.
If the required materials are already available in my progression, I bring some.
If producing them would require a large detour of its own, I stick with a strong ranged weapon, a large normal ammo reserve and clean head shots.
Fire is not something I build the strategy around. I did not see enough reliable payoff from it to value it above direct weak-point damage.
The Boss Key Is for the Large Reward Chest
Inside the bunker is a large chest that cannot be opened normally.
Its message specifies that:
a key dropped by the boss is required, and the key is consumed when the chest opens.
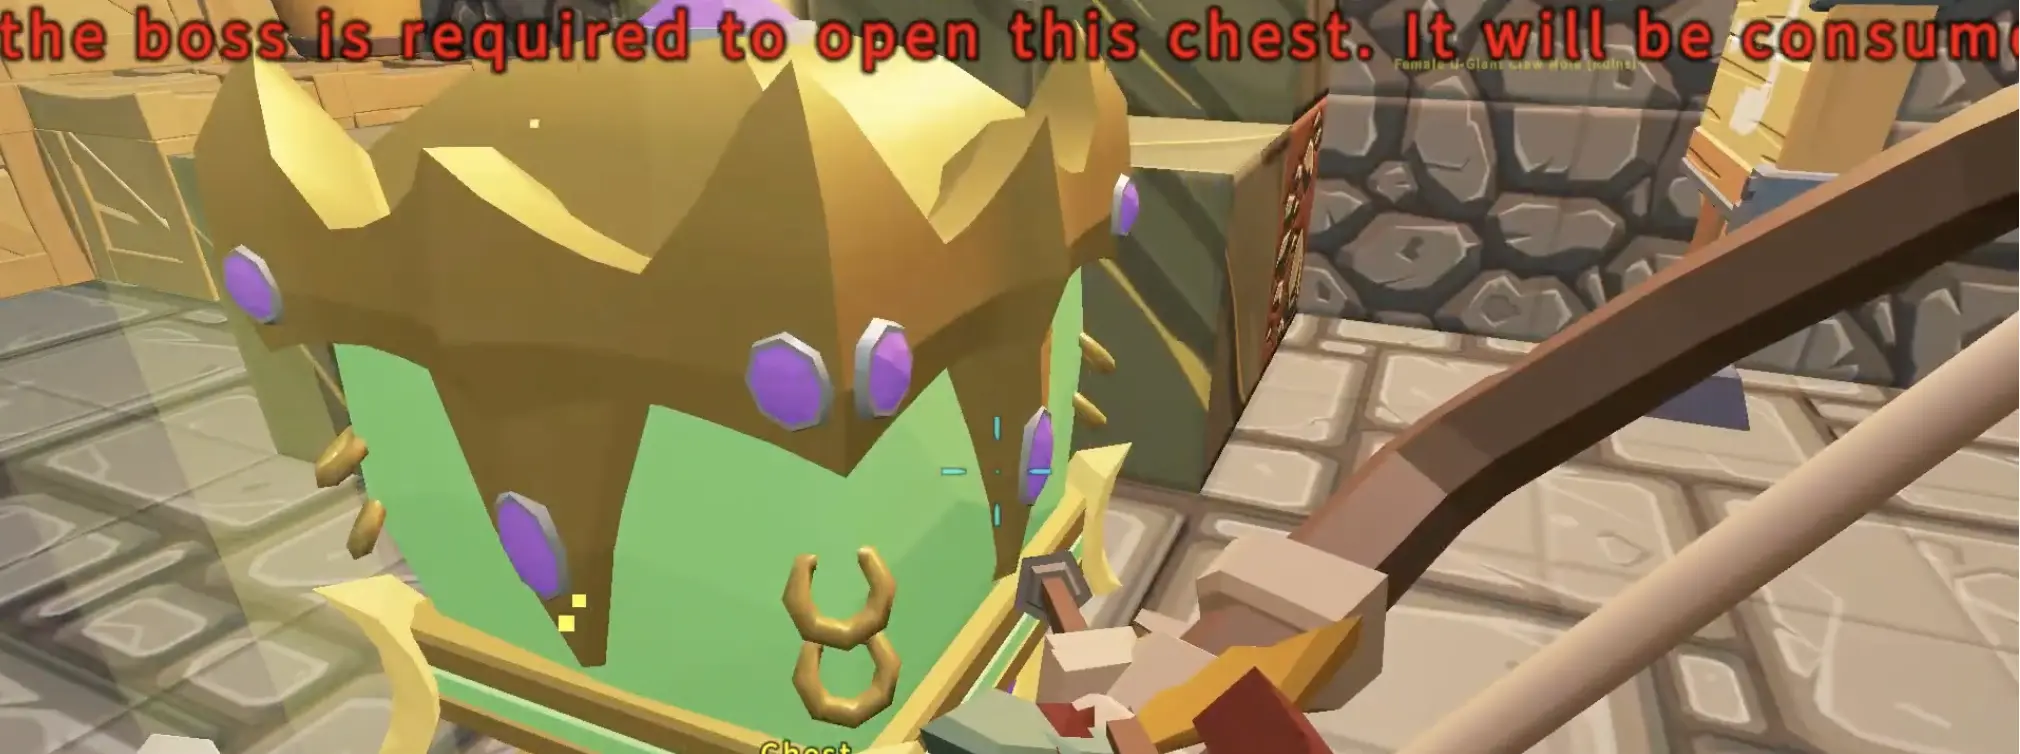
There is no reason to search the surrounding walls for another terminal or access card.
The chest is waiting for Armoredrat’s key.
It also should not be confused with a universal progression lock for every route through the bunker. The message applies to this reward container.
Once the boss is dead, I return and open it with the key.
Tunnel Buster Starts the Boss Completion Chain
Defeating Armoredrat completes:
Tunnel Buster
The achievement description calls this kill the:
first step to victory
That is the clean dividing line I use between the earlier village hunts and Terracrypt’s main boss completion set.
Elite U-Phiomia and Mega Phiomia can feel like bosses during progression, but they are not part of these 11 boss-defeat achievements. Mega Phiomia instead has its own Local Legend condition in the Terracrypt achievements guide.
The Other Terracrypt Bosses
After Armoredrat, I keep the remaining achievement targets as one checklist:
- Largespider — Venom Recycler
- Cobaltstarsaeki — Cobalt Star General
- Mechanicalworm — Mechanical Terminator
- Fenrir — Frost Sentinel
- Firebat — Blaze & Sky Monarch
- Crazydoctor — Wild Science Overlord
- Queenhornet — Queen Slayer
- Venerthorn — Onyx Wings
- Venom — Immune to All Poisons
- Supervisor — Origin Savior
These achievement names tell me which bosses must eventually be defeated.
They do not tell me enough to start buying speculative elemental resistance, poison protection or a special weapon before I have actually reached those encounters.
Supervisor Is the Confirmed Final Fight
Origin Savior explicitly describes the Supervisor encounter as the:
final battle
So this is the endpoint I can identify confidently even without forcing the nine middle achievement entries into a fixed narrative sequence.
By this point, the lesson from Armoredrat is still the one I carry forward: reaching a boss is not the same as being prepared to finish it.
I keep my ranged setup, healing, ammunition and useful creatures moving forward with the campaign instead of waiting for another boss to expose the same shortage.