Arms of God Crux and Cathedral Guide
A practical Arms of God Crux and Cathedral guide explaining souls, Crux Invocation, aura buffs, Cathedral buildings, Vows, Shrine, Confessional, Bell Tower, and Tier 3 weapons.
Updated:
Quick Answer
In Arms of God, the Crux is the run-based Cross system and the Cathedral is your long-term progression hub. Souls you leave behind can feed the Crux, which levels independently and can unlock aura buffs, healing, damage, defense, speed, HP delay reduction, and other holy cross effects. After your first Act 1 clear, the Cathedral opens, letting you spend Vows and other resources on permanent upgrades, Crux Invocation, weapons, blessings, character unlocks, Confessional bans, and Tier 3 weapon merging.
Crux and Cathedral: The Difference
The Crux and Cathedral are connected, but they solve different problems.
| System | Where it matters | What it actually does |
|---|---|---|
| Crux | During a crusade | Uses souls left behind to level independently and unlock Cross-based aura or hero effects |
| Crux Invocation | Run progression / combat | Unlocks character leveling and holy cross abilities tied to the Crux |
| Cathedral | Between crusades | Rebuilds structures and turns run rewards into long-term power |
| Statue | Cathedral | Permanent passives, Crux Invocation, starting bonuses, and Tier 3 weapon merge progression |
| Gunsmith / Weaponsmith | Cathedral | Unlocks weapons and weapon upgrades for future runs |
| Shrine | Cathedral | Unlocks blessings after they are revealed through Sermon of Revelation |
| Confessional | Cathedral | Removes unwanted blessings and upgrades from the future pool |
| Bell Tower | Cathedral | Shows character unlock requirements and later reveals stats / main ability |
How Souls Feed the Crux
Souls are not only shop currency. They also decide how much power the Crux receives.
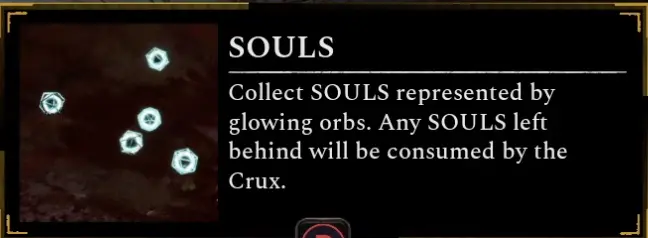
During a wave, your normal instinct is to grab every soul. That is not always correct. If a soul pile is unsafe or too far away, letting the Crux consume it can still create value.
| Situation | Better choice | Why |
|---|---|---|
| Your shop is weak | Collect souls yourself | You need weapons, blessings, upgrades, or refreshes now |
| A soul pile is surrounded | Let the Crux take it | Losing HP for a few souls can ruin the run |
| You are low HP | Stop diving for souls | Surviving the wave matters more than perfect pickup |
| Your build is already stable | Feed more to the Crux | Crux levels can add aura and hero value |
| You need one key merge | Collect more aggressively | A weapon copy or upgrade may matter more than Crux progress |
| The wave is nearly over | Take only safe piles | Do not turn a won wave into a death |
What Crux Invocation Actually Does
Crux Invocation is the first Cathedral upgrade that makes the Crux system feel like more than a background object. The in-game text describes it as unlocking the power of the Cross during combat, and the run tutorial connects it to character leveling and holy cross abilities.
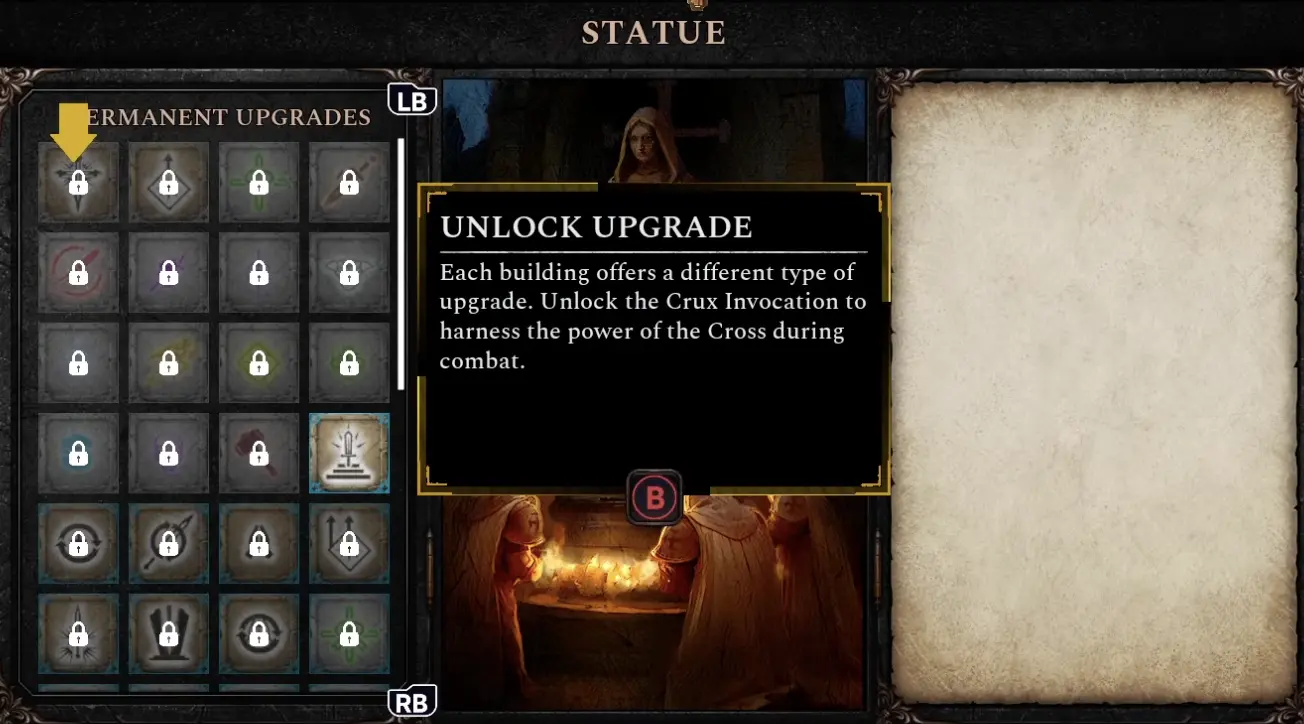
In practical terms, Crux Invocation turns the Crux into an active part of your run progression. It can unlock defensive buffs, enemy debuffs, aura effects, and active holy cross actions depending on the Crux choices you take.
| Crux Invocation effect | What it means in a run |
|---|---|
| Crux leveling becomes important | Souls left behind can push Crux progress instead of only being missed shop money |
| Defensive buffs / blessings unlock | Crux choices can improve survivability, aura value, healing, armor, speed, or HP delay |
| Enemy debuffs / curses appear | Some Crux routes can weaken enemies instead of only strengthening your hero |
| Active cross actions become available | The Crux can gain combat effects such as shock waves, piercing beams, or other divine strikes |
| Aura choices matter more | The area around the Cross can become safer, stronger, or easier to use depending on your choices |
| Positioning changes | Standing near the aura can help, but leaving danger zones still matters more |
| Build tuning opens up | Crux choices can be tuned toward ranged safety, melee survival, boss pressure, or crowd control |
Crux Buffs, Aura, and Curse Choices
After the Crux gains enough progress, you can choose from a Crux board. Picking one tile can open nearby options, so early choices affect later routes. The important part is that Crux choices are not only generic stat upgrades. They can appear as Buff, Aura, or Curse options.

| Crux choice type | Example choice | What it does |
|---|---|---|
| Buff | Shield of the Martyr | Grants hero defense such as armor while standing within the sacred aura |
| Aura | Aura Expansion 1 | Expands the Crux aura range and makes its influence easier to use |
| Curse | Curse of Weakness | Reduces enemy damage and lowers pressure from enemies inside the Crux presence |
| If your run needs… | Better Crux choice |
|---|---|
| More safety near the Cross | Take Buff choices such as armor or defensive value |
| An easier aura to stand inside | Take Aura range or aura improvement choices |
| Less enemy pressure | Take Curse choices that weaken enemy damage or threat |
| Better boss survival | Favor defense, aura access, healing, or enemy weakening before pure damage |
| Better event routing or pickup safety | Take speed, aura range, or other movement-friendly choices when offered |
| More damage after survival is stable | Take damage or holy cross effects only after your build can survive the wave |
When the Cathedral Opens
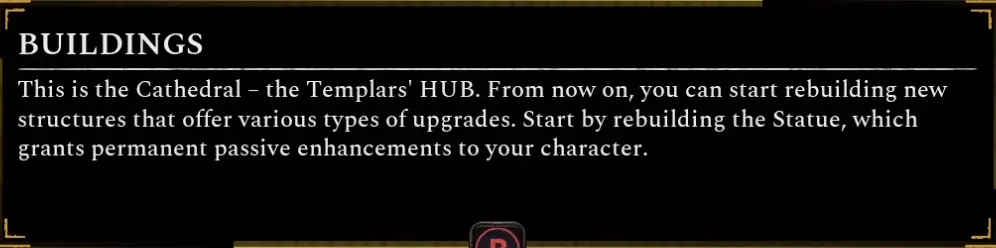
After your first Act 1 clear, the Cathedral becomes the Templars’ hub. It lets you rebuild structures and unlock long-term progression.
| Cathedral part | First thing to understand |
|---|---|
| Statue | Start here; it contains permanent passive upgrades and key progression nodes |
| Crux Invocation | Early Statue unlock that enables character leveling and holy cross abilities |
| Ascension Protocol | Statue-side upgrade that lets weapon merges create Tier 3 weapons |
| Gunsmith / Weaponsmith | Unlocks weapons and weapon upgrades for future runs |
| Shrine | Uses revealed sermons to unlock blessings into the future pool |
| Confessional | Bans unwanted blessings and upgrades, but refunds are partial |
| Bell Tower | Shows Templar unlock requirements |
| Resources | Different upgrades may require Vows, Edicts, Relics, Cores, or other materials |
Vows and Progression Resources
Vows are one of the resources that connect combat clears to Cathedral progression. You can earn Vows from boss or mini-boss progress, then use them on permanent upgrade systems.
| Resource / progress type | Where it comes from | What it is used for |
|---|---|---|
| Vows | Bosses, mini-bosses, and run progress | Cathedral / permanent progression upgrades |
| Edicts | Earned through run rewards and progression milestones | Confessional removal costs and some Cathedral systems |
| Relics | Progression rewards | Shrine blessing unlocks |
| Cores / materials | Run rewards, events, or post-run progression | Gunsmith / weapon unlocks and building upgrades |
| Sermon revelations | Sermon of Revelation events during combat | Reveal blessings before they can be unlocked at the Shrine |
| Codex discoveries | New enemies, weapons, bosses, blessings, and events | Helps track what you have discovered and unlocked |
Statue: Permanent Passives and Key Unlocks
The Statue is the most important early Cathedral structure because it contains permanent upgrades and key progression nodes.
| Statue upgrade type | Why it matters |
|---|---|
| Starting souls | Gives you more shop flexibility in early waves |
| Starting weapon enhancer | Can improve your main weapon at the start of a crusade |
| Health / damage passives | Smooths out early wave pressure |
| Free refresh / shop help | Improves your odds of seeing useful options |
| Crux Invocation | Unlocks Crux leveling and holy cross abilities during combat |
| Ascension Protocol | Lets weapon merges create Tier 3 weapons |
| Refund option | Lets you undo some choices, but do not rely on refunds as free experimentation |
Ascension Protocol and Tier 3 Weapons
Ascension Protocol is the Cathedral unlock that allows weapon merges to create Tier 3 weapons.
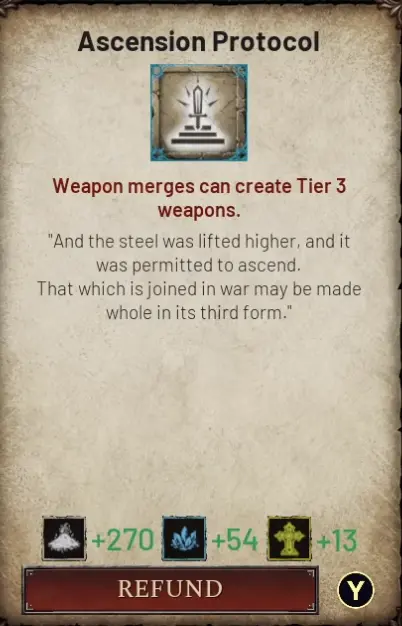
Do not assume every fresh save can make Tier 3 weapons immediately. First, clear Act 1 and open the Cathedral. Then check the Statue upgrades for Ascension Protocol and unlock it when your required resources are available.
| Your progression state | What to do |
|---|---|
| No Cathedral yet | Focus on Tier 2 weapons and strong upgrades |
| Cathedral just opened | Rebuild / check the Statue first |
| Ascension Protocol visible but unaffordable | Save resources instead of spending randomly |
| Ascension Protocol unlocked | Start planning Tier 3 merge paths with matching weapon copies |
| You cannot find copies in a run | Do not force Tier 3; build the strongest current weapon |
Gunsmith / Weaponsmith: Weapon Unlocks
The Gunsmith or Weaponsmith expands what weapons and weapon upgrades can appear in future crusades.

| Unlock choice | Good when… | Risk |
|---|---|---|
| New weapon | You want a new build path to appear | Your pool becomes wider and less focused |
| Weapon upgrade | You already know a weapon style you like | Off-plan upgrades can dilute shop quality |
| Element support | You are building fire, holy, electric, or another clear route | Wrong-element unlocks may not help current builds |
| High-tier support | You already have Ascension Protocol or a merge plan | Too early can create options you cannot use well yet |
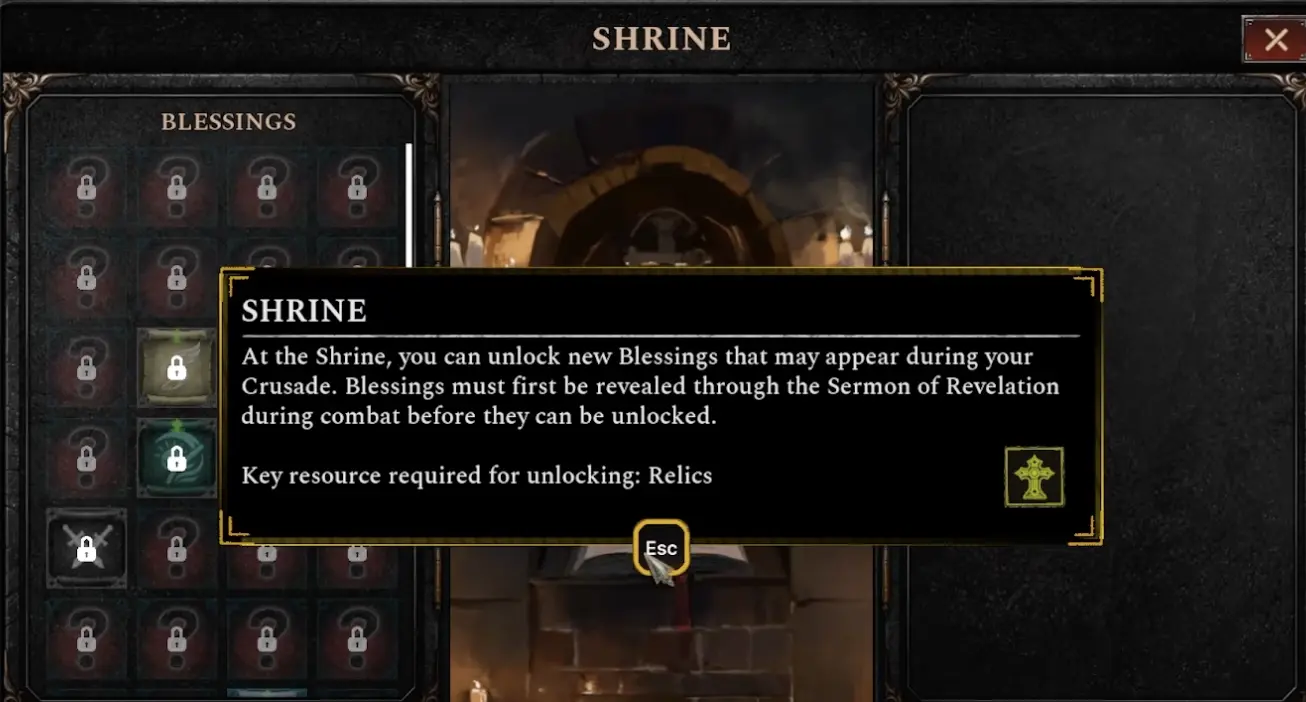
Shrine: Sermon to Blessing Unlock Flow
The Shrine does not simply hand you every blessing. First, a blessing must be revealed during a run, then it can be unlocked at the Shrine.
The flow is:
find Sermon of Revelation during combat
→ collect scattered sermon fragments
→ reveal a new blessing
→ return to Shrine
→ spend the required resource, such as Relics
→ blessing can appear in future crusades| Step | What it means |
|---|---|
| Sermon appears during combat | Treat it as a progression event, not just a temporary pickup |
| Collect sermon fragments | Restores the revelation and reveals a blessing |
| New revelation appears | The blessing is discovered but not always automatically added to the pool |
| Visit Shrine | Check revealed blessings and unlock the ones you want |
| Spend Relics / resources | Adds that blessing to future crusade options |
| Skip bad-fit blessings | Do not unlock blessings that weaken your preferred builds |
Confessional: Ban System, Cost, and Refund
The Confessional is one of the most important long-term optimization systems because it lets you remove blessings and upgrades you no longer want to appear.
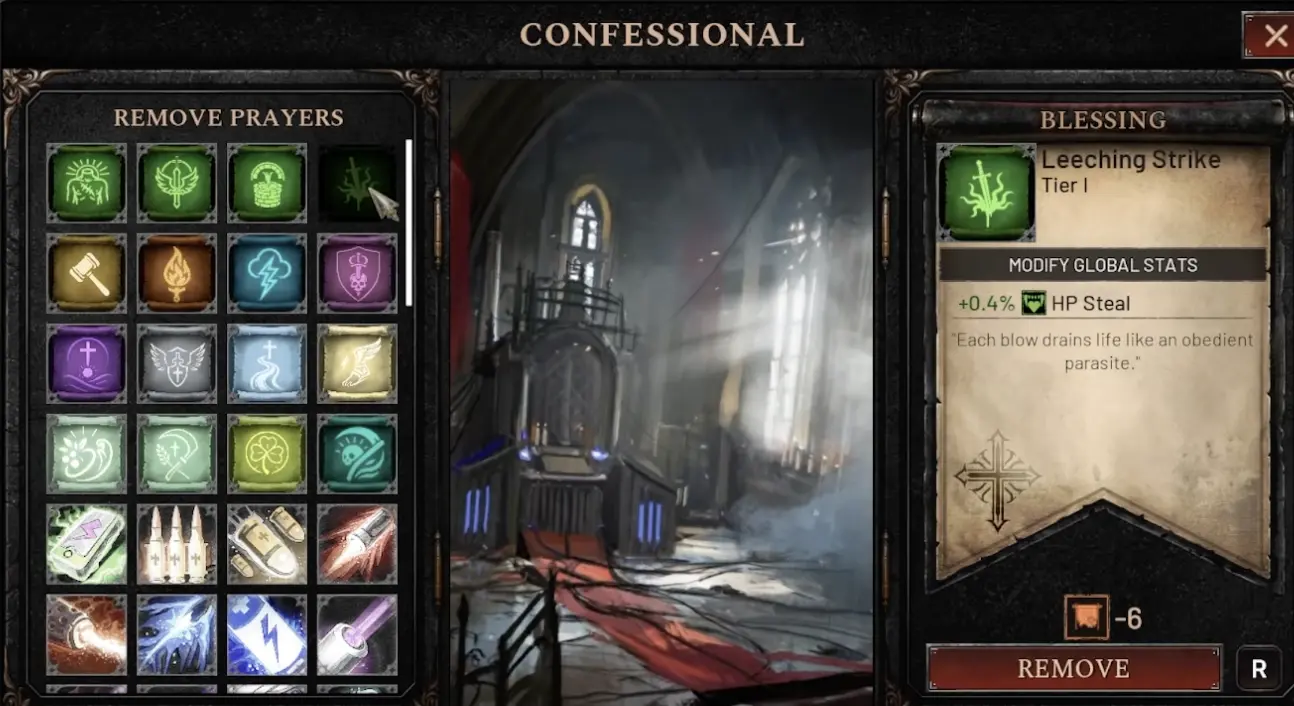
A seen Confessional removal cost is 6 Edicts, and restoring / refunding returns only 50%. That means a bad ban is not free to undo.
| Confessional action | What it means |
|---|---|
| Remove blessing / upgrade | It stops appearing in your future pool |
| Cost example | A seen removal cost is 6 Edicts |
| Refund example | Restoring / refunding returns only 50% |
| Best use | Remove options you consistently skip across many runs |
| Worst use | Removing something after one bad run because you were frustrated |
| Early rule | Wait until you understand your favorite builds before banning heavily |
| Use Confessional when… | Avoid it when… |
|---|---|
| You know which upgrades you never pick | You are still learning what each stat does |
| A blessing hurts your favorite builds | You only dislike it because one run went badly |
| You want a tighter build pool | You cannot afford the resource cost |
| You are optimizing repeated clears | You still need broad experimentation |
| You understand the 50% refund penalty | You may want that option later |
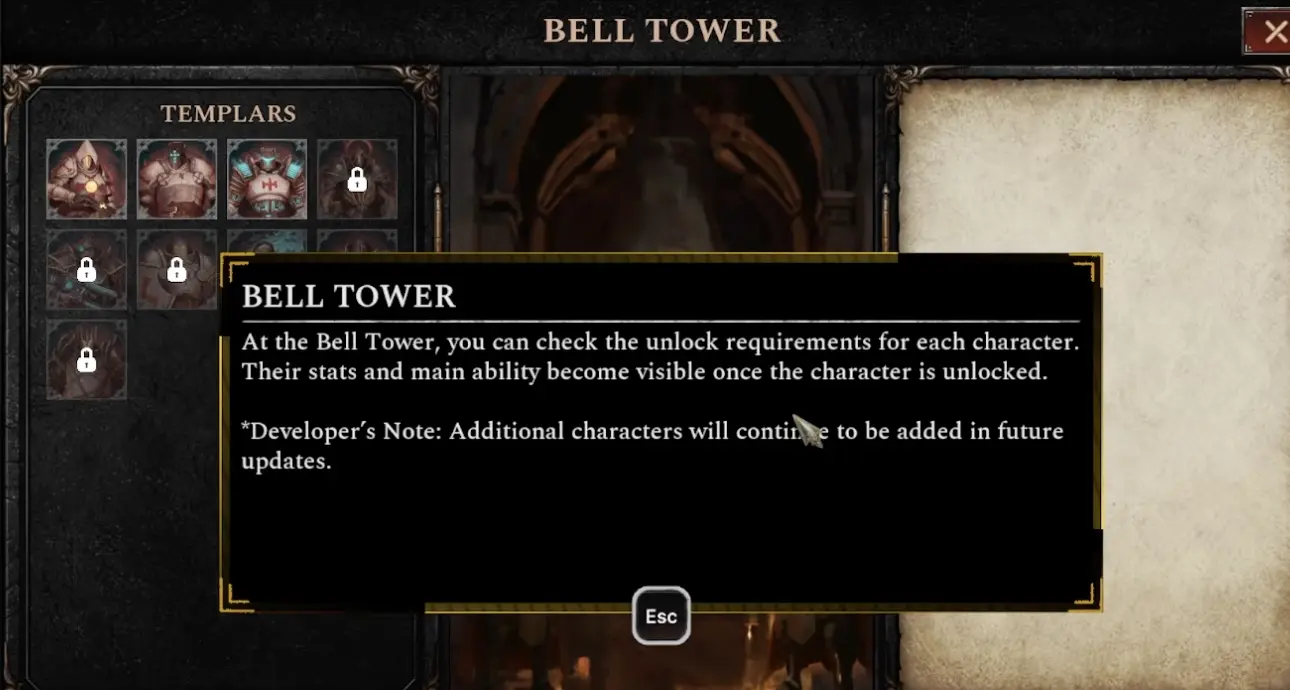
Bell Tower: Character Unlock Requirements
The Bell Tower is where you check Templar unlock requirements. Locked characters show their unlock condition first; their stats and main ability become visible once unlocked.
Known unlock-style examples include higher Act clears and difficulty-based goals, such as finishing later Acts or clearing Act 1 on harder difficulties. Spectre is confirmed from the current Early Access Act 1 Doom Herald clear route, while other characters should be checked directly in the Bell Tower.
| Bell Tower info | What to do with it |
|---|---|
| Locked character condition | Use it as your next progression target |
| Stats hidden until unlock | Do not assume the character’s build role before unlocking |
| Main ability hidden until unlock | Check again after unlocking to decide what builds fit |
| Act clear requirement | Plan around specific Act progression |
| Difficulty requirement | Return after stronger Cathedral upgrades |
| Future update note | Additional characters may be added during Early Access |
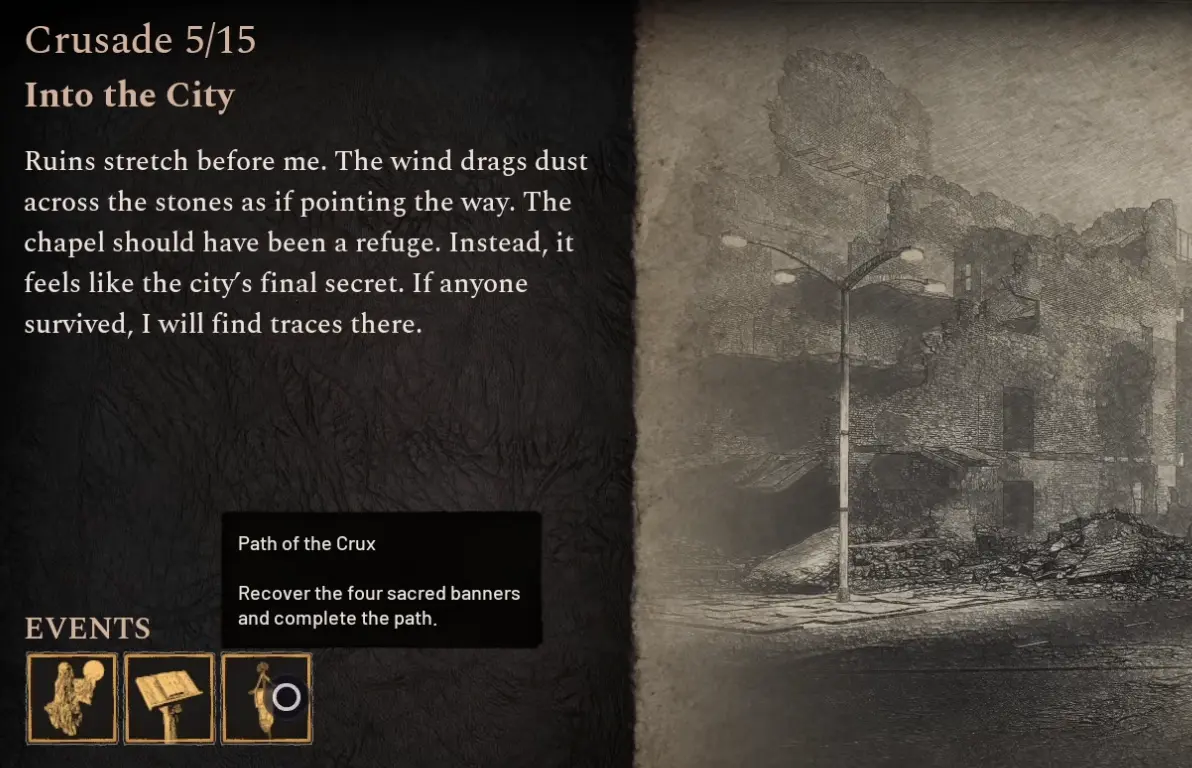
Events That Feed Crux and Cathedral Progression
Events matter because they connect your current wave to future unlocks. This section focuses on what each event feeds, not just what the event asks you to do.
| Event / objective | Progression connection | Why it matters |
|---|---|---|
| Path of the Crux | Crux-related rewards and run resources | Helps strengthen the Cross side of your run |
| Sermon of Revelation | Reveals blessings for Shrine unlocks | Required before some blessings can enter your future pool |
| Blood Chalice | Event rewards and combat-resource pressure | Good if your build can control where enemies die |
| Chests | Materials, resources, or unlock progress | Can feed Cathedral spending after the run |
| Mini-boss / boss progress | Vows and other long-term rewards | Helps fund permanent progression |
| Soul pickup choice | Shop currency vs Crux feeding | Changes both current shop power and Crux growth |
What to Unlock First
This is the practical early unlock order for most players.
| Priority | Upgrade direction | Why it is safe |
|---|---|---|
| 1 | Rebuild / check Statue | It controls the most important early permanent upgrades |
| 2 | Crux Invocation | Opens character leveling and holy cross abilities |
| 3 | Starting resources / starting strength | Makes early waves smoother |
| 4 | Ascension Protocol | Allows Tier 3 weapon merge paths |
| 5 | Survival passives | Prevents late-wave and boss deaths |
| 6 | Gunsmith / weapon unlocks | Expands build options once you know what you like |
| 7 | Shrine blessings | Adds useful global options after sermons reveal them |
| 8 | Confessional bans | Tightens the pool after you know what to remove |
| 9 | Bell Tower targets | Helps plan character progression after your base is stronger |
Common Crux and Cathedral Mistakes
| Mistake | Why it hurts | Better choice |
|---|---|---|
| Chasing every soul | You take damage and may still fail to build the Crux | Collect safe souls and let unsafe ones feed the Crux |
| Ignoring the Crux board | You miss aura and hero effects that can stabilize runs | Pick Crux buffs that solve your current problem |
| Taking only damage Crux choices | You may die before the damage pays off | Add speed, HP delay, healing, or aura defense when needed |
| Unlocking too many weapons too early | Future shops become less focused | Unlock around builds you actually play |
| Banning options too early | You may remove tools you later need | Use Confessional after testing multiple runs |
| Ignoring Sermon events | Shrine has fewer useful blessings to unlock | Complete sermons when the route is safe |
| Forgetting Ascension Protocol | Your weapon ceiling stays lower | Check Statue progression after Cathedral opens |
| Ignoring Bell Tower goals | You miss clear targets for new Templars | Use it after your core upgrades are stable |
Quick Progression Checklist
| Step | What to check |
|---|---|
| 1 | Clear Act 1 and open the Cathedral |
| 2 | Rebuild / check the Statue |
| 3 | Unlock Crux Invocation |
| 4 | Save for Ascension Protocol if Tier 3 merging is not available yet |
| 5 | Unlock starting power and survival passives |
| 6 | Use Sermon events to reveal blessings |
| 7 | Unlock useful revealed blessings at the Shrine |
| 8 | Use Confessional only after you know what to remove |
| 9 | Check Bell Tower for your next Templar goal |
FAQ
What does Crux Invocation do in Arms of God? +
Crux Invocation unlocks character leveling and holy cross abilities tied to the Crux. In practice, it lets souls left behind feed Crux progression, which can lead to aura buffs, healing, damage, defense, speed, HP delay reduction, and other Cross-based effects during a crusade.
Is Crux Invocation active or passive? +
It is best understood as a Crux progression and aura system rather than a normal weapon button. You still fight normally, while the Crux gains power from uncollected souls and provides aura or hero effects depending on your Crux choices.
How do you unlock Tier 3 weapons in Arms of God? +
Tier 3 weapon merging requires Ascension Protocol from the Statue side of Cathedral progression. After the Cathedral opens, check the Statue upgrades and unlock Ascension Protocol when the required resources are available.
What is the Shrine used for? +
The Shrine unlocks new blessings that may appear during future crusades. A blessing must first be revealed through Sermon of Revelation during combat, then unlocked at the Shrine with resources.
What does the Confessional do? +
The Confessional removes blessings and upgrades you no longer want to appear in the pool. A seen removal cost is 6 Edicts, and restoring / refunding only returns 50%, so do not ban options too early.
What are Vows used for in Arms of God? +
Vows are a long-term progression resource used for Cathedral and permanent upgrade systems. You can earn them from boss or mini-boss progress, then spend them on upgrades that improve future crusades.
What does the Bell Tower do? +
The Bell Tower lets you check character unlock requirements. Locked characters show the condition first, while stats and main ability become visible after the character is unlocked.