Introduction: The New "Flag System"
If you are returning from the PS1 or 3DS versions of Dragon Quest VII, you need to unlearn your muscle memory. In the Reimagined Demo, the Shrine of Mysteries is no longer a physics-based puzzle (you cannot push the statues manually).
Instead, the game uses a strict "Event Flag" system. You must trigger specific conversations in a set order to make key items spawn. Following this guide step-by-step will prevent the common "stuck at the shrine" issue.
Fishbel Village: The "Pilchard Sandwich" Check
The game begins in the Hero's bedroom. While it is tempting to run outside and explore the island immediately, the game enforces a "Domestic Phase" first.
The Trap: If you leave your house without the sandwich, you can wander the village indefinitely, but the guard at the gate will not let you leave, and the story trigger at the harbor will not activate.
✅ Mandatory Checklist
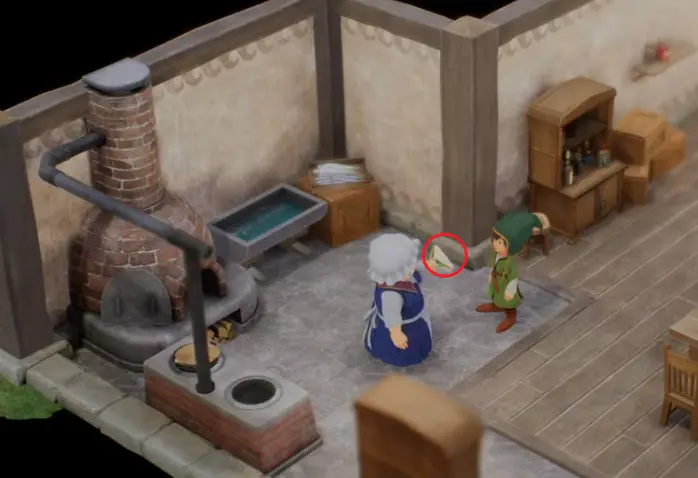
- 1. Go downstairs to the kitchen. Interaction point is on the table.
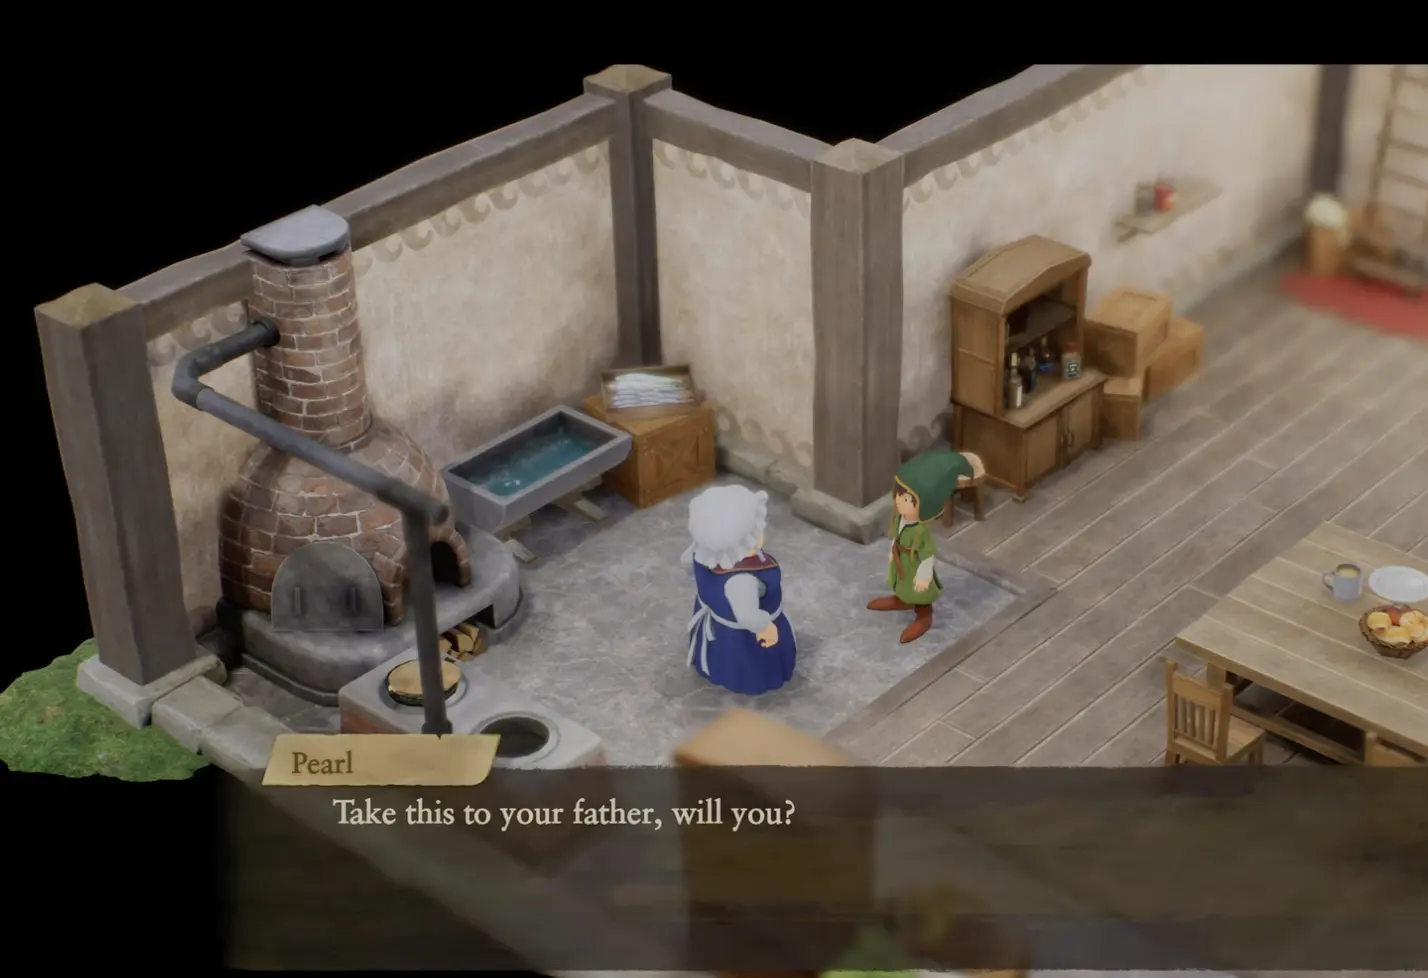
- 2. Speak to your mother (Pearl). She will give you the Pilchard Sandwich.
- 3. Walk to the Harbor (South) and speak to Borkano (Father).
*Pro Tip: Grab the sandwich BEFORE talking to your mother to save one dialogue cycle. This is a common speedrun tactic valid in the demo.
Estard Castle: Earning Permission
After leaving Fishbel, head straight to Estard Castle. The bridge guard will now let you pass (checking your "Village Complete" flag).
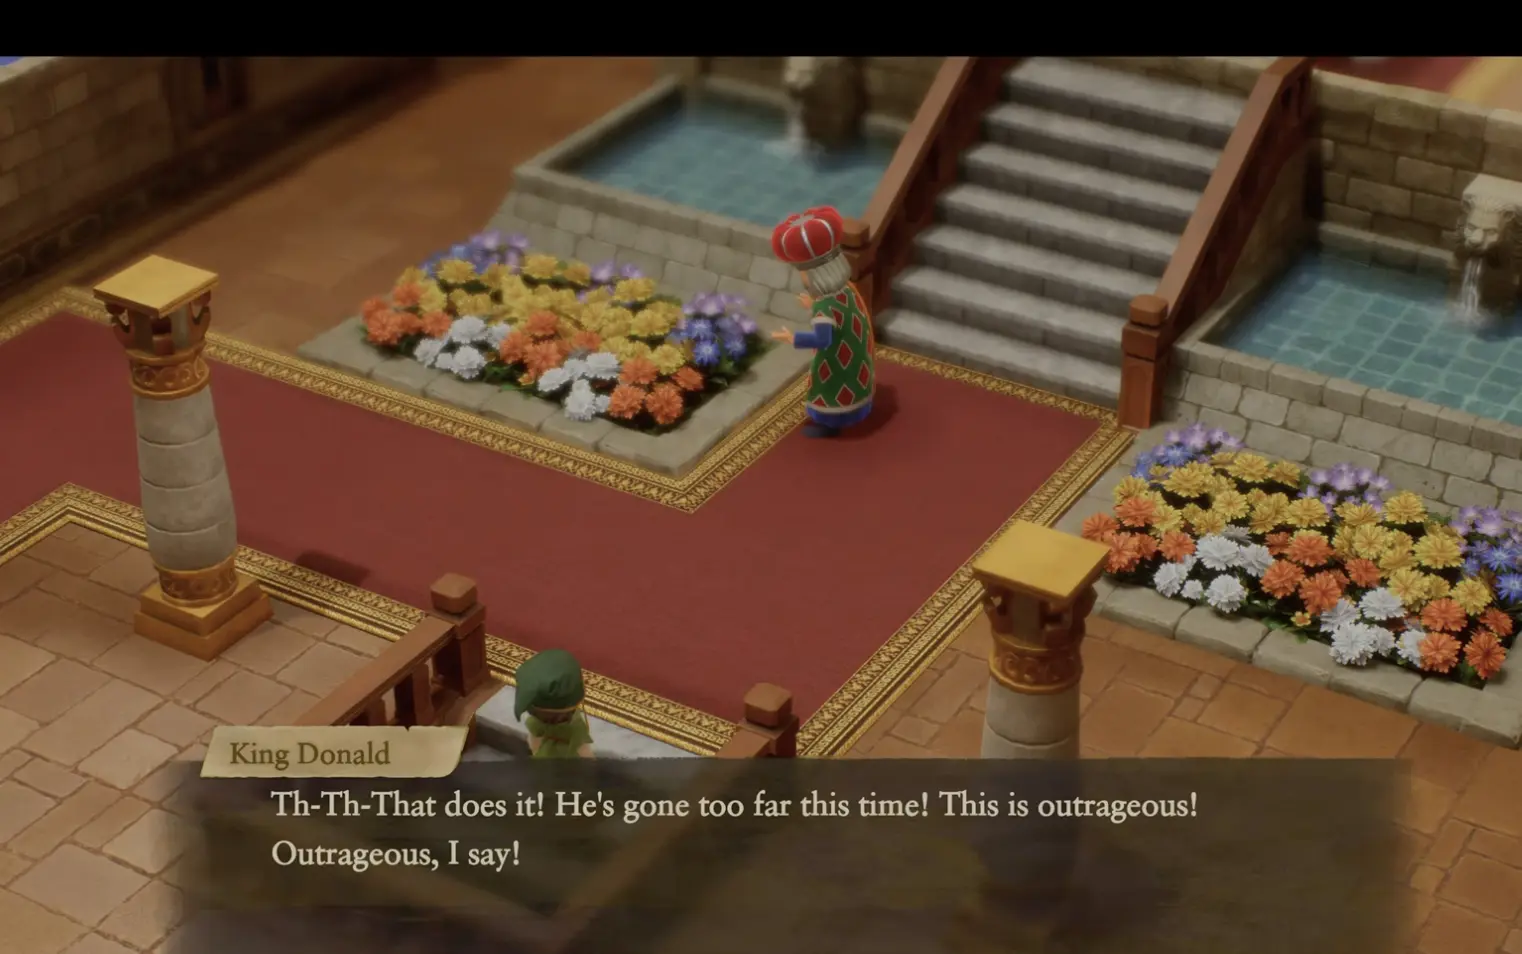
Your goal is not just to explore, but to establish the "Ruins Motivation". You must speak to King Donald. Even though he gets angry and dismisses you, this dialogue is the system trigger that unlocks the next phase of the quest.
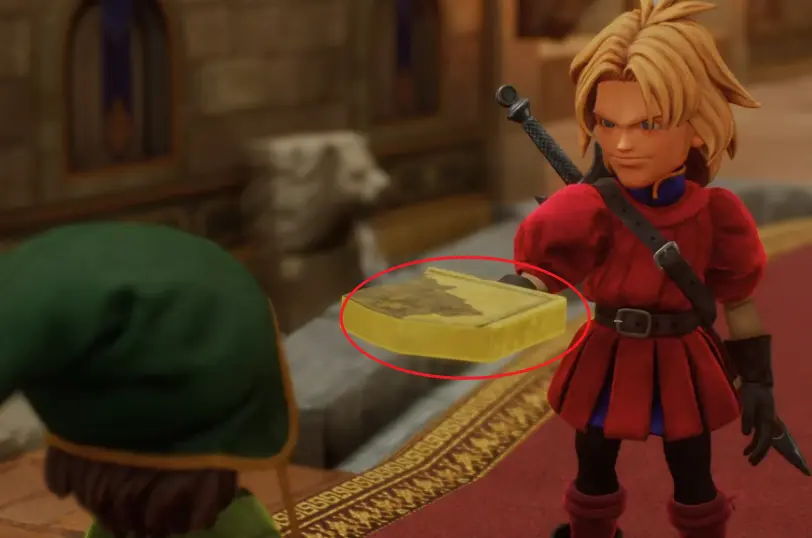
The Ancient Text: Following the King's scene, navigate to the castle basement (the old laboratory). Finding the "Ancient Text" here is what convinces Kiefer to head to the Shrine. Without this item in your inventory, the Shrine event will not start.
The Shrine of Mysteries: Solving the Statue
This is where 80% of players get stuck. You arrive at the Shrine, and Kiefer suggests using the items you have.
🚫 The Trap (Fails)
Using the "Hot Stone"
Kiefer gives you the Hot Stone and suggests it might work. This is a narrative red herring. Placing the Hot Stone on the pedestal does nothing in this version of the game. Do not waste time trying every angle.
✅ The Solution (Works)
The "Trial of Courage"
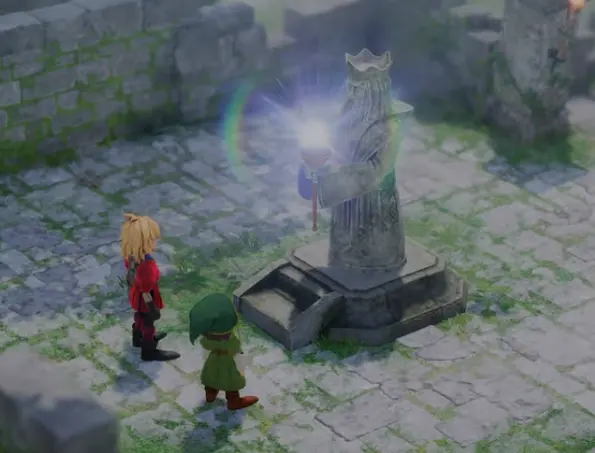
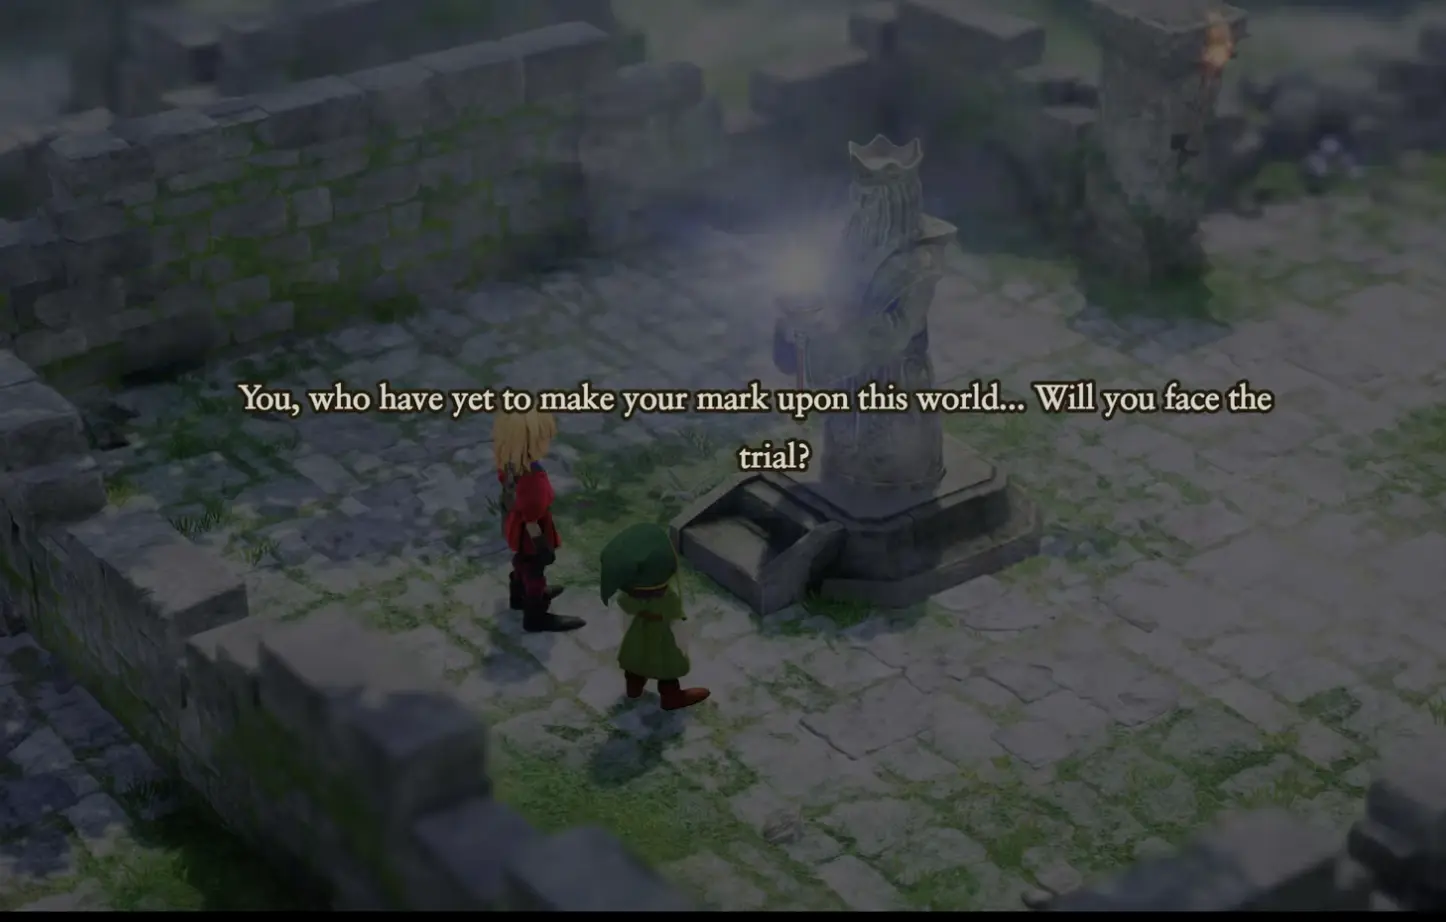
Ignore your inventory. Walk up to the Left Statue and interact with it directly (Press A/X). This triggers a voice-over cutscene where the Guardian demands proof of your resolve.
Once the Guardian speaks, a new Objective is added to your log: "Collect the Three Yellow Shards." Only AFTER this dialogue do the shards actually spawn in the world.
The Three Yellow Shards Locations
Now that the quest is active, you need to backtrack to find the fragments. Use the tracker below to ensure you don't miss any.
Detailed Text Guide (Backup)
Return to your home. Borkano will have returned from the sea. He leaves the shard on the kitchen table.
Condition: Must speak to Village Chief if not appearing.
Located in the Castle. After showing the Ancient Text to the Reclusive Elder (Basement), the King grants access to the Treasury.
This one is tricky. It spawns at the feet of the Guardian Statue, but ONLY after you finish the dialogue scene mentioned in Step 3.